
Learning how to invert colors in Photoshop can seriously level up your creativity. With only a few quick clicks, or even a simple keyboard shortcut, you can transform ordinary images into bold, surreal, and attention-grabbing visuals. It’s a must-know skill for any serious Photoshop user, from photography enthusiasts to content creators and even developers, too.
This guide explores four simple Photoshop invert colors methods to add to your arsenal.
What you’ll learn in this article
- 1 What is Color Inversion?
- 2 Method 1. Quick Method to Invert Colors in Photoshop
- 3 Method 2. Invert Using Adjustment Layer
- 4 Method 3. Inverting Specific Areas
- 5 Method 4. How to Invert Colors in Photoshop With the Black and White Filter?
- 6 Pro-Tips and Common Mistakes
- 7 Creative Use Cases for Designers, Photographers, and Other Users
- 8 When You Should Invert Colors vs. When You Shouldn’t
- 9 FAQ’s
- 10 Conclusion: Invert Images With Ease
What is Color Inversion?
Color inversion is an editing process which flips every color in a picture to its opposite on the color wheel. If you were to invert black and white in Photoshop, for example, all the black parts of your picture would become white, while the white elements would turn to black, producing a fascinating “negative” effect in which dark areas become light, and light areas turn to dark.
It works on colorful photos, too. Red becomes cyan, purple becomes green, blue becomes yellow, and so on. It’s a fascinating way to see an image in a completely different light, and it’s often been used throughout history by editors and creators to make dramatic, abstract, and even scary images out of relatively simple portraits and landscape photographs.
Method 1. Quick Method to Invert Colors in Photoshop
If you want to know how to invert colors in Photoshop the fastest way, this is it. All you need to do is select the layer you want to work with and use a simple, easy-to-remember keyboard shortcut to invert it in an instant. You don’t need to scroll through menus or do anything complicated, making this the ideal go-to option to reverse color in Photoshop.
Here’s how it works:
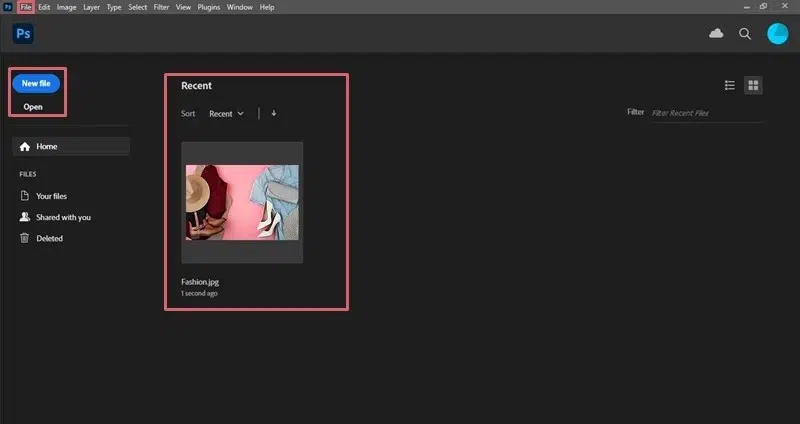
Step 1. Open a Project
Open a new or existing project in Photoshop and import the image you want to invert.
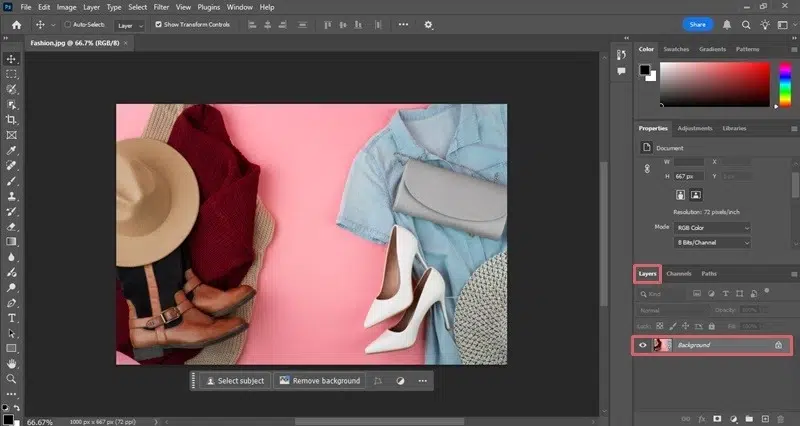
Step 2. Select Your Image
Select your image in the Layers panel.
Step 3. Activate the Shortcut
Press the “Ctrl” and “I” keys together, if you’re on Windows, or “Cmd” and “I” if you’re on a Mac to invert your image.
Method 2. Invert Using Adjustment Layer
The next Photoshop change black to white method involves creating a new “Adjustment Layer” on your image. It’s a little more complicated than the keyboard shortcut method, but still relatively simple compared to more advanced Photoshop features. It’s a good option to use when you want to keep your original image intact or just want to experiment with inversion without impacting the original picture.
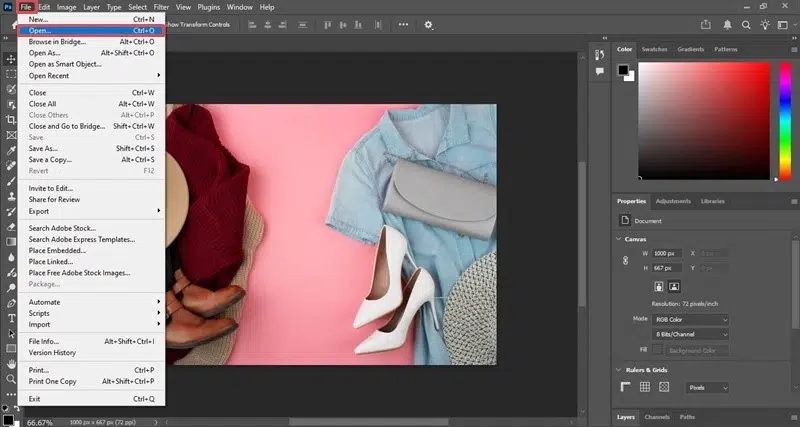
Step 1. Open Your Image
Open the image in Photoshop that you want to work with using the “File” and “Open” buttons.
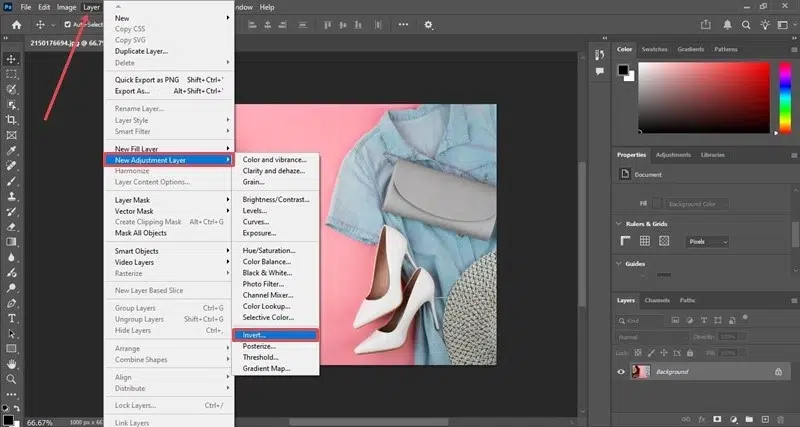
Step 2. Add a Layer
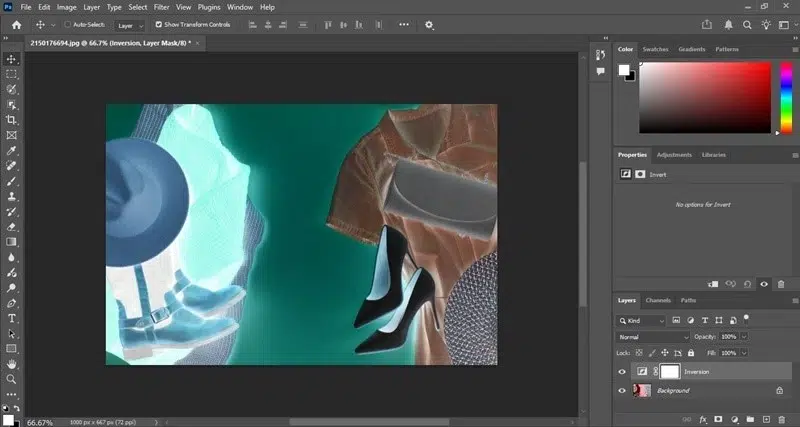
With your image selected, click on “Layer,” then “New Adjustment Layer,” and finally, “Invert.”
Step 3. Invert the Colors
Enter a name for your new layer (you can call it “Inversion,” for example) and then click “OK” to immediately invert all the colors of your picture.
How to Fine-Tune Your Inversions with the Brush Tool (Optional)
If you use either of the above methods to invert your image on Photoshop, but want to slightly fine-tune the end result or reverse the inversion in certain areas,
Here’s how:
Step 1. Activate the Tool
Select the “Brush Tool” from the sidebar.
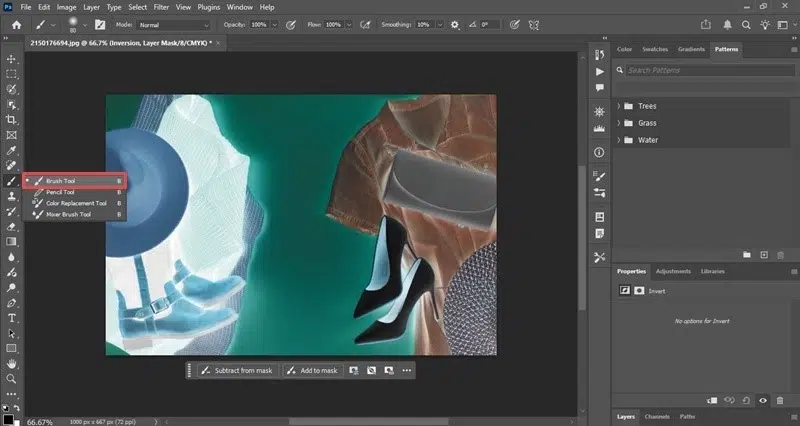
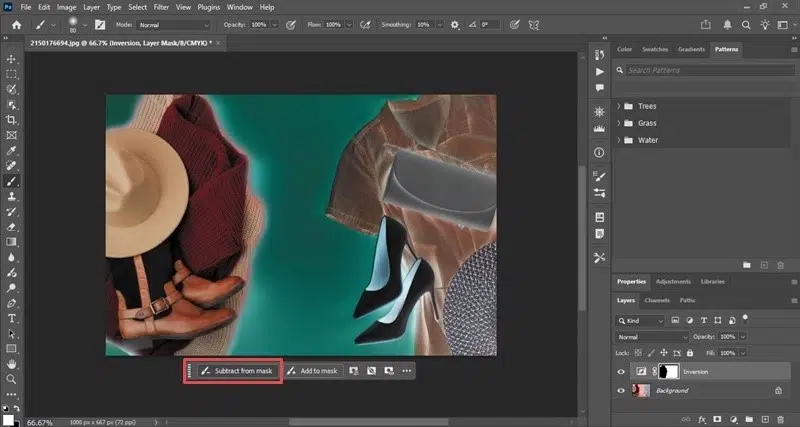
Step 2. Highlight the Area You Want to Invert
First, click on “Subtract from mask.” Use the brush and select the area you want to fix.
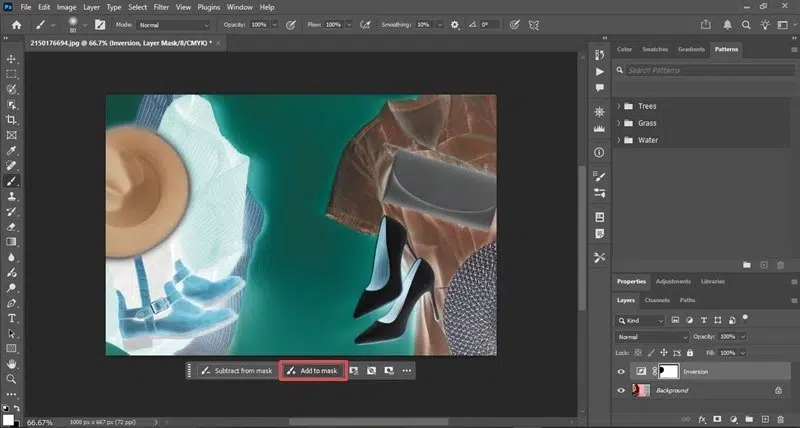
Step 3. Repeat As Needed
You can use the brush tool again and click “Add to mask” to highlight additional areas and invert them. Repeat this process until you’re content with the end result.
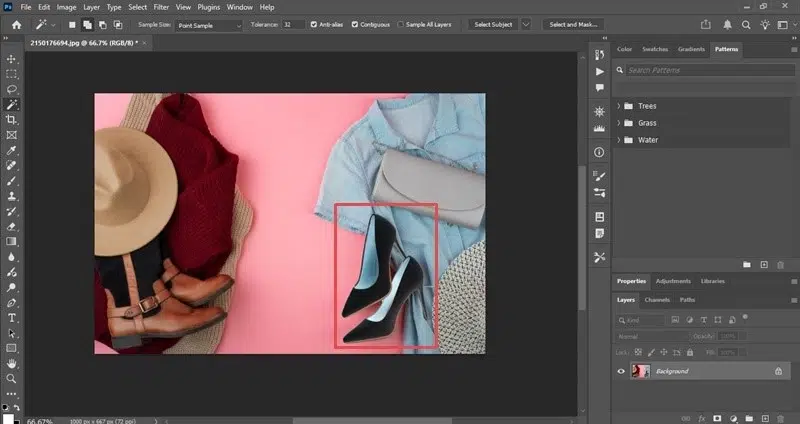
Method 3. Inverting Specific Areas
You might not necessarily want to invert an entire image, but only a small section of it, or one half, for example. Fortunately, it’s possible to do that. It requires a little extra work compared to the other methods, but it isn’t too difficult, once you know how.
Step 1. Open Your Image
Open the image you want to work with in Photoshop.
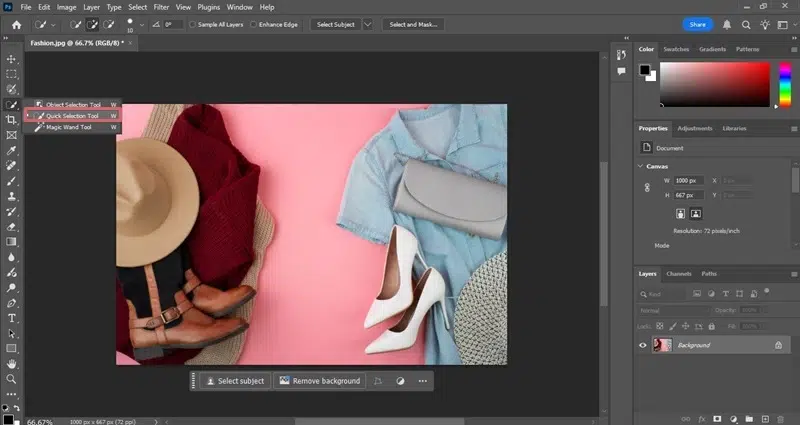
Step 2. Choose Your Tool
Using any of the selection tools, like the “Quick Selection,” “Magic Wand,” or “Lasso,” select the area you want to invert.
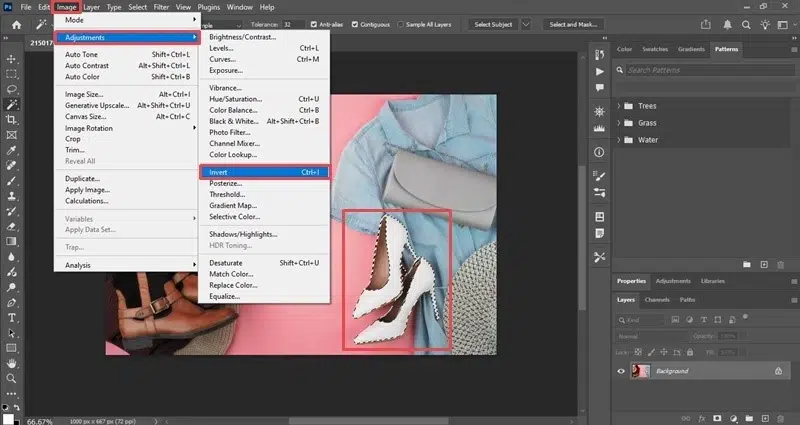
Step 3. Invert the Colors
Use either the keyboard shortcut (“Ctrl” and “I” on Windows or “Cmd” and “I” on Mac) to invert it, or press “Image,” “Adjustments,” and then “Invert.”
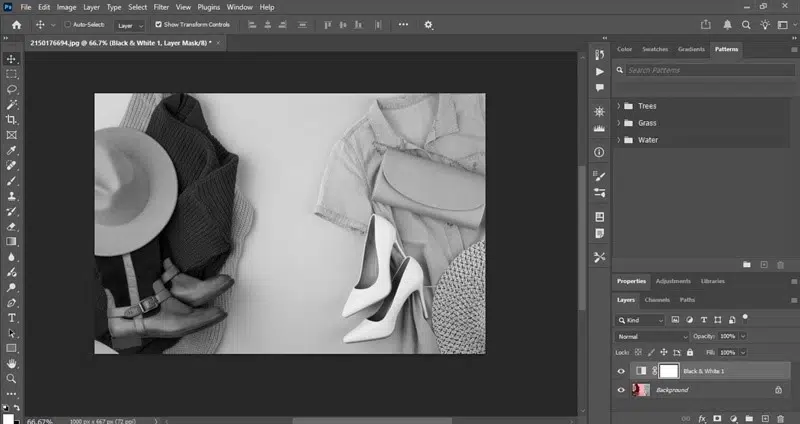
Method 4. How to Invert Colors in Photoshop With the Black and White Filter?
The fourth and final method of how to invert colors in Photoshop is by using a black and white filter. This is a helpful option if you want to turn your image into black and white before inverting it, giving you a grayscale result, without any other colors, which can look very sleek, stylish, and artistic.
Step 1. Open Your Image
Open the file you want to work with in Photoshop.
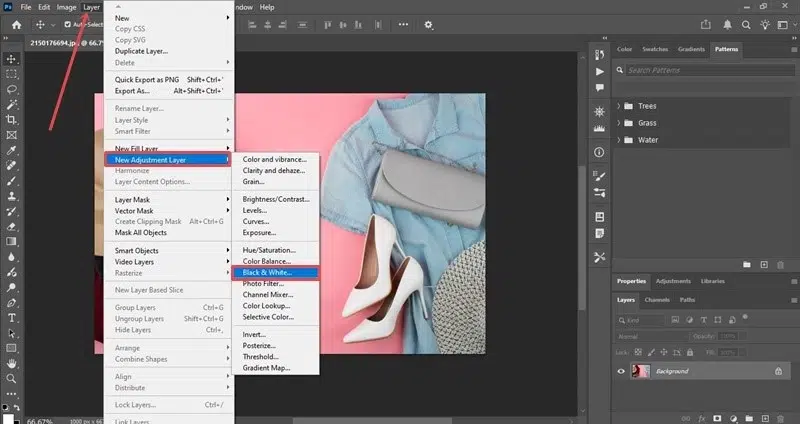
Step 2. Create a Layer
Click on “Layer,” then “New Adjustment Layer,” and then “Black & White.”
Step 3. Fine-Tune the Settings
In the dialog box, adjust the settings as you prefer. You can pick between different presets, for example, as well as applying tints or adjusting tones to get different effects.
Pro-Tips and Common Mistakes
Generally speaking, inverting colors in Photoshop is quite straightforward, but there are a few potential problems that might trip up new users along the way.
Here are some helpful tips and pitfalls to watch out for:
- Don’t rely solely on the keyboard shortcut method. It’s sometimes best to create an adjustment layer instead, as that won’t run the risk of ruining your original image.
- Experiment with different selection tools when you want to invert only a certain section of your image, as you may find one is much easier to work with than the others.
- Always make sure your chosen image or layer is selected before you use the keyboard command or “Invert” button, or else it won’t work.
- Make sure you’re using RGB color mode for normal, natural inversions. If you’re in a different mode, like Grayscale or CMYK, the results will be different.
- If you’re working with an image that contains text, note that it may become illegible after inversion, so be especially careful with pictures of this kind.
Creative Use Cases for Designers, Photographers, and Other Users
You might be wondering why you’d want to use the inversion feature in the first place. While it may seem like a mere novelty, it actually has many practical uses for creators, web designers, software developers, photographers, and other professional users. In fact, tools like inversion can also support changing color in Photoshop, helping users quickly experiment with different color variations and creative visual effects.
Here are some examples:
- Dark Mode Mockups: Many websites and apps offer a “dark mode,” which functions a lot like the invert tool in Photoshop. It changes dark colors to light ones, and vice versa. Using the “Invert” tool can therefore be a helpful way for web designers and software developers to see how their creations would look in this mode and address any abnormalities.
- Abstract or Surreal Art: Negative images created through Photoshop inversion often look dramatic or even otherworldly, breaking our perceptions of how colors and light should work. As such, artists and designers can create some fantastic surreal works with this tool, ideal for use as the likes of posters, album covers, and so on.
- Converting Negatives: Let’s say you have some old photographs or film negatives. Their colors will all be reversed by default. Uploading them into Photoshop and applying the “Invert” effect is one of the smartest ways for photographers to see how the original images looked with their natural coloring.
- Stylized Social Media Content: It’s increasingly difficult to attract attention on social media, with so much content saturating these platforms on a daily basis. Many images just blend in with the rest, which is why many brands and creators are starting to play around with bold visual effects. High contrast design, created through clever use of the “Invert” cool, may help content creators stand out.
When You Should Invert Colors vs. When You Shouldn’t
The invert feature can dramatically affect the way an image looks and feels, so it’s not something you’ll want to apply to all your images. Instead, it’s the kind of feature that demands careful, deliberate usage. It works well when you want to create experimental art, high-contrast designs, or images that are bold and surprising, for example.
It’s not ideal for situations when you want to create images that are natural, grounded, and soft in their colors and tones. Nor is it a suitable option when you’re working with pictures that contain lots of text, as it may become completely unreadable once the colors are reversed. So, make sure to consider your audience and your intent before deciding whether or not to invert colors.
FAQ’s
How do i invert colors in a single layer in photoshop?
The easiest way to invert colors in Photoshop on a single layer is by first selecting the layer, then clicking on “Image,” followed by “Adjustments,” and finally, “Invert.” You can also simply use the “Ctrl” and “I” (Windows) and “Cmd” and “I” (macOS) keyboard shortcut, with your chosen layer selected.
Can i invert colors in just a selected area of an image?
Yes, it’s possible to invert colors in a specific area of your image. To do this, you need to use a selection tool to highlight which bit of the image you want to invert. Then, with the area selected, use the “Ctrl” and “I” (Windows) or “Cmd” and “I” (macOS) keyboard shortcut to invert it.
How do i invert colors in photoshop on a smart object?
To invert colors on a Photoshop smart object, simply double-click on the object to select it. Then press either “Ctrl” and “I” (Windows) or “Cmd” and “I” (macOS) to invert its colors.
Is it possible to invert colors of multiple layers at once?
Absolutely, Photoshop lets you convert multiple layers at the same time. To do this, you first need to group the layers together, then apply an “Invert Adjustment Layer” to the group to reverse their colors.
How do i revert the colors back to normal after inverting?
If you want to revert your colors back to normal on Photoshop, you have a few options. You can use the “Undo” command, or the “Undo” keyboard shortcut (Ctrl and Z on Windows, Cmd and Z on macOS) to cancel out an inversion immediately after doing it, for example. Alternatively, you can remove or hide the “Invert Adjustment Layer,” or use the “Ctrl” and “I” (Windows) or “Cmd” and “I” (macOS) keyboard shortcuts to reverse an inversion.
Why is my invert not showing?
There are several reasons why an invert image Photoshop process may fail. It won’t work if you’re working in 32-bit image mode, for example, or if you accidentally selected the wrong layer of your image. Make sure you select the correct image, and if one inversion method doesn’t work, try one of the others.
What’s the difference between invert and negative?
The terms “invert” and “negative” are often used interchangeably in photo editing circles to refer to the process of inverting the colors of a picture or photograph. As such, there’s no major difference between them, though “invert” or “inversion” usually refers to the process itself, while “negative” is sometimes used to describe the end result.
Can i invert colors on multiple images at once?
Yes, it is possible to invert the colors of several photos at once. To do this, you have to first open one image you wish to invert and create a “New Action.” Click “Record” and then go to “Image,” “Adjustments,” and then “Invert,” or use the inversion keyboard shortcut. Then save your file and click the “Stop” button in the “Actions” panel. Then, you can click “File,” “Automate,” and “Batch.” Under “Set,” choose the action you just created, select the folder of photos you want to invert, and choose a place to save them. Click “OK” and Photoshop will automatically Invert all of your chosen pictures.
Conclusion: Invert Images With Ease
There you have it – four easy and proven ways how to invert colors in Photoshop. As you can see, it’s not a particularly tricky process, and once you know the quick keyboard shortcut, you can almost instantly invert any image you want, on-demand. Play around with this feature with your photos to see what it can do; you might be pleasantly surprised by some of the results.
