
The Gradient tool in Photoshop creates a gradual blend between multiple colors. As a versatile tool, you can choose from preset gradient fills or create your own. Photoshop offers 5 primary types of gradient tools: Linear, Radial, Angle, Reflected, and Diamond. Each type creates a unique color transition effect within an image. Photoshop experts use this tool to create smooth color transitions and blends, adding depth, visual interest, and professional polish to images, artwork, and designs.
These are 6 easy steps to use the Gradient tool.
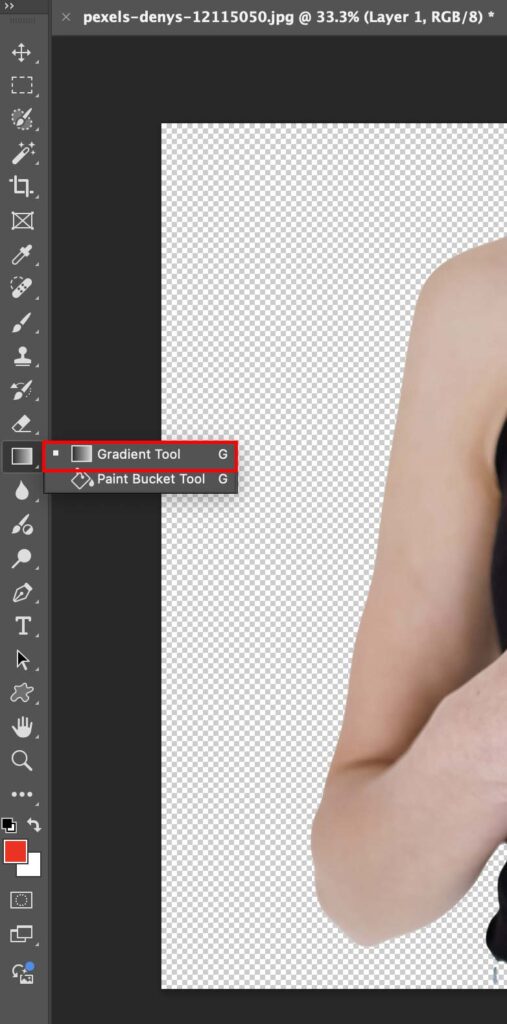
- Select the Gradient tool (G)
- Choose your desired gradient type
- Click the Gradient Preview bar
- Adjust the opacity & change blending mode
- Click and drag on your canvas to apply the gradient and
- Refine the Gradient (if required).
Step 1: Open the Gradient Tool
Open Photoshop, click on “File” from the Photoshop’s top menu, and select the “Open” option to access the edited image from your desktop.
Step 2: Choose a Gradient Type
Press “G” or find the gradient tool from the Photoshop toolbar. After that, select your desired gradient type:
- Linear: Creates a straight line gradient.
- Radial: Creates a circular gradient.
- Angle, Reflected, or Diamond: Offers different variations on the gradient’s appearance.

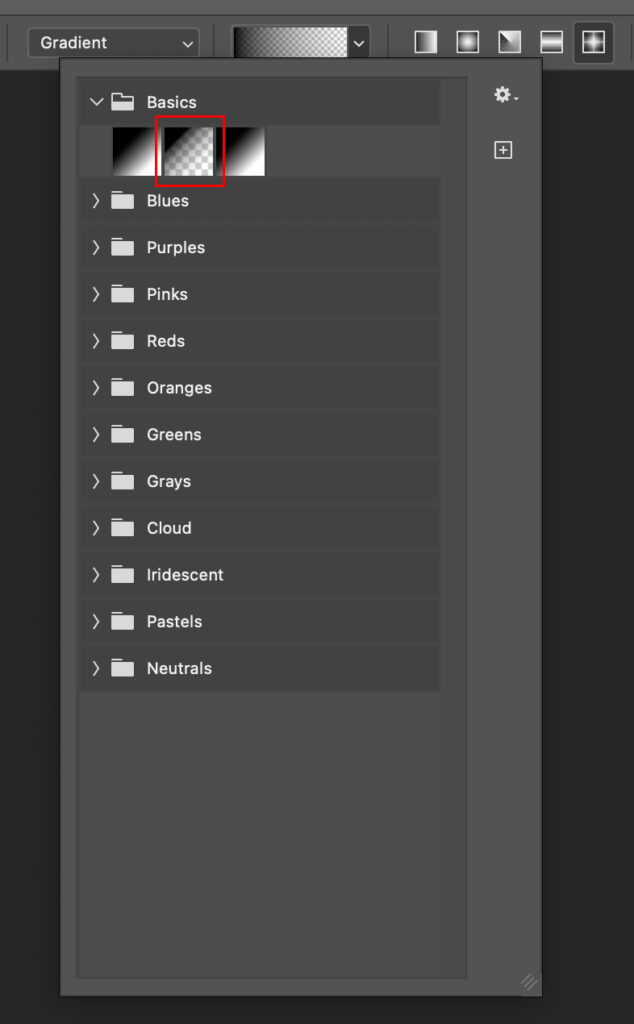
Step 3: Click the Gradient Preview Bar
When you click the “Gradient Preview bar,” this allows you to choose colors from presets, or you can create your own custom gradients with different colors.

Step 4: Adjust the Opacity & Change Blending Modes
Control the transparency of the gradient in the options bar and experiment with different blending modes (i.e., Difference or Overlay) in the Options bar to achieve creative effects.
Step 5: Apply the Gradient
Click and drag on your canvas – the starting point of your click and drag will be the beginning of the gradient, and the endpoint (blending) will be where it ends.

Step 6: Refine the Gradient
Use the controls (if available) in the document window to adjust the gradient’s shape, size, and position.
How to Draw a Gradient with the Gradient Tool in Photoshop?
Drawing a Gradient with the Gradient Tool in Photoshop includes creating a new layer, selecting the Gradient Tool, drawing your gradient, and placing the gradient.
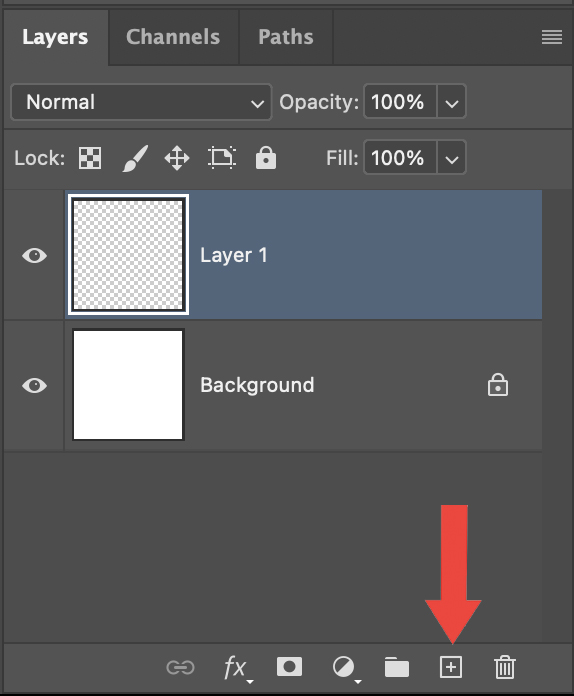
Step 1: Create a New Layer
This keeps your Gradient separate and easy to edit later.
Step 2: Select the Gradient Tool
Hit G on your keyboard or click the Gradient icon in your toolbar.
Step 3: Draw Your Gradient
Click and drag across your canvas in whatever direction looks best.
Step 4: Place the Gradient
Release your mouse button to set the Gradient in place.

How Do You Create a Transparent Gradient in Photoshop?
Creating a transparent gradient in Photoshop involves opening the Gradient Editor, creating a new transparent layer, and drawing your gradient.
Step 1: Open the Gradient Editor
Select a preset that includes transparency, or adjust the opacity stops yourself.
Step 2: Create a Transparent Layer
Create a transparent layer so you can make the Gradient transparent.

Step 3: Draw Your Gradient
Click and drag across your image where you want the transparency to fade.

How to Use the Gradient Tool to Replace a Background in Photoshop
Using the Gradient Tool to replace a background in Photoshop includes the following steps: open the image, select ‘Remove Background,’ create a new layer underneath the photo layer, select the Gradient Tool, choose the gradient and color, and apply the gradient.
Step 1: Open the Image
Import your image into Photoshop.

Step 2: Select Remove Background
Remove the background in your image by allowing the AI to remove it.


Step 3: Create a New Layer Underneath the Photo Layer
Create a new layer and drag it below the photo layer.

Step 4: Select the Gradient Tool
Press G or select the Gradient Tool from the toolbar.
Step 5: Select the Gradient and Color
Select the preferred Gradient type and color.

Step 6: Apply the Gradient
Add the Gradient to the new layer.

Watch the tutorial below to see how to use the Photoshop Gradient tool:
What is the Gradient Tool in Photoshop?
The Gradient Tool in Photoshop enables seamless color transitions in your designs. Select your preferred gradient type – linear, reflected, or custom – then drag across the canvas to create professional color blends. A gradient fill is perfect for enhancing backgrounds, adding dimension, or creating sophisticated visual effects.
What are the Key Differences Between Gradient and Classic Gradient?
A Gradient creates smooth transitions between colors or shades in linear, radial, or angular forms. Classic Gradients, representing traditional methods, typically use linear or radial transitions where colors shift in a defined pattern, forming the basis for modern Gradient techniques.
What Does the Gradient Tool Do in Photoshop?
The Gradient Tool creates smooth color transitions, which can be used for:

- Enhancing backgrounds with soft colors
Transform flat designs by blending multiple colors for sophisticated depth. Create professional transitions from dark to light. It’s ideal for website headers and marketing materials. Access the Gradient Editor for precise color control and dynamic effects.

- Creating lighting effects for images
Generate natural lighting effects using linear Gradients, essential for product photography and portraits. Blend from light to dark to simulate realistic shadows and highlights, elevating your commercial and editorial work.

- Designing unique artistic elements
Utilize reflected Gradients and custom patterns for sophisticated visual effects. Create dimensional elements like metallic surfaces, glass effects, and professional button designs. The Gradient fill option allows quick application across large areas.
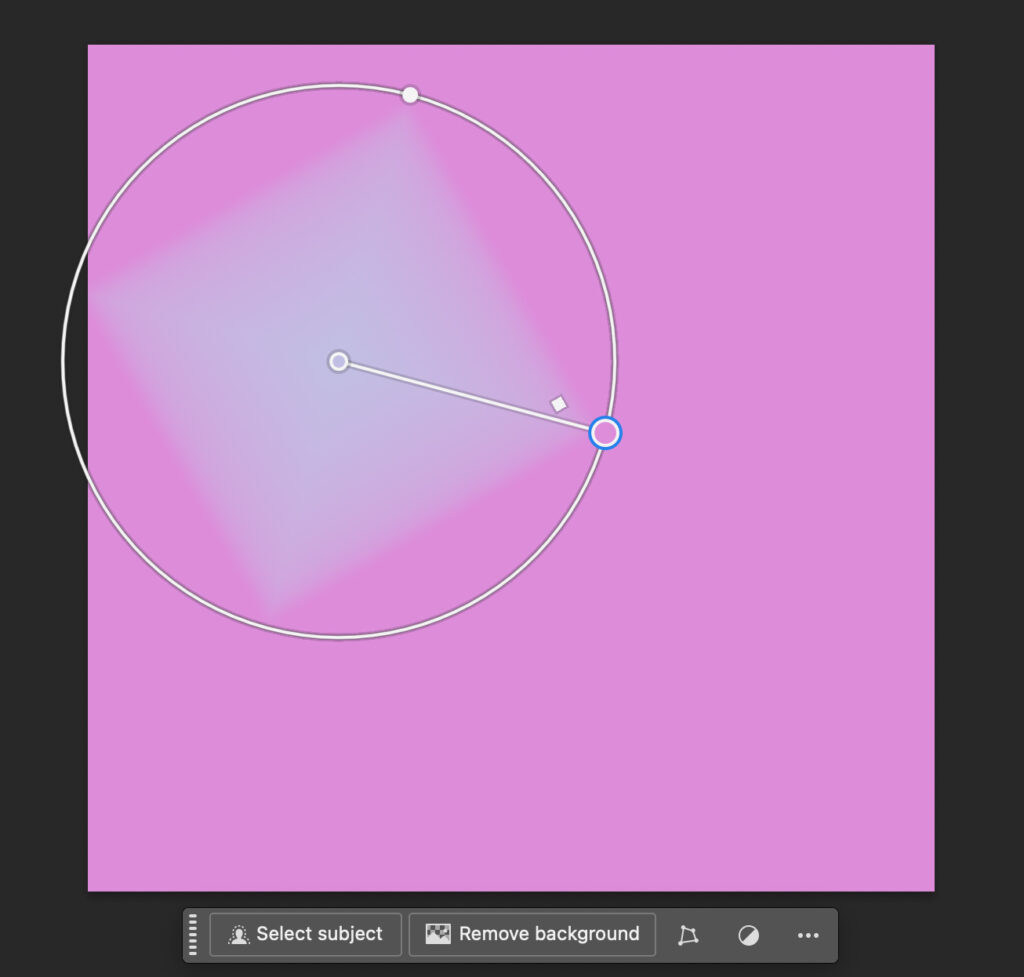
What are the Different Types of Photoshop Gradient Tools?
The different types of Photoshop Gradient Tools are the Linear Gradient, Radial Gradient, Angle Gradient, Reflected Gradient, and Diamond Gradient.
Linear Gradient
A Linear Gradient creates smooth color transitions in a straight line direction. Ideal for website headers, digital backgrounds, and professional shading effects. Commonly used in UI design to establish visual hierarchy and enhance content readability.

Radial Gradient
A Radial Gradient transitions colors outward from a central point, creating circular blends. Effective for spotlight effects, highlighting focal points, and adding dimensional depth. Essential for creating natural vignettes and concentrated lighting.

Angle Gradient
An Angle Gradient generates color transitions that rotate around a central point. It is particularly effective for dynamic interface elements and branded content. It is commonly implemented in modern UI design for loading animations and interactive elements.

Reflected Gradient
A Reflected Gradient produces symmetrical color transitions that mirror a central line. It is helpful in creating balanced lighting effects and realistic surface textures. Particularly effective for product visualization and interface design.

Diamond Gradient
A Diamond Gradient creates precise, geometric color transitions in a diamond pattern. Delivers structured color distribution for contemporary design applications. Effective for creating distinctive visual elements in branding and interface design.

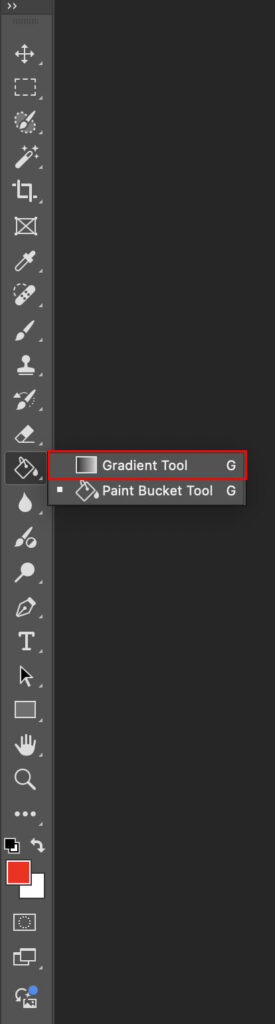
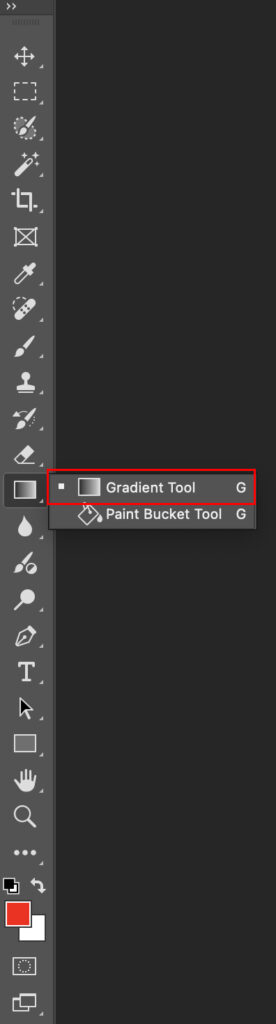
Where is the Gradient Tool in Photoshop?
Struggling with how to get the Gradient Tool in Photoshop? You can find the Gradient Tool in the Toolbar Panel on the left side of Photoshop’s interface. If it’s missing, press the “G” or check under the Paint Bucket Tool.
Why the Gradient Tool Doesn’t Work in Photoshop?
- Verify layer selection
Ensure you’re working on your intended layer and it’s not locked or hidden.

- Check opacity and blending settings
Confirm appropriate values and compatibility with your project needs.

- Review mask settings
Verify proper mask application and visibility settings.

What is the Shortcut Key for the Photoshop Gradient Tool?
The shortcut key for the Gradient Tool is “G.” If pressing G activates the Paint Bucket Tool instead, toggle between them using Shift + G.
Why Would You Use the Gradient Tool?
The Gradient Tool is essential for designers, photographers, and digital artists looking to create seamless transitions between colors. It enhances depth, adds subtle shading, and improves visual appeal. Whether you’re designing logos, web elements, or photo manipulations, Gradients can elevate your work by adding professional polish and dimension.
- Photographers rely on Gradients to enhance natural light and polish their images. From softening harsh shadows in portraits to adding warmth in landscapes or creating custom vignettes that draw focus to subjects, this Tool helps create professional-quality edits that still look natural.
- Marketing designers craft scroll-stopping content using Gradients to make their work pop. Whether it’s social media graphics, text overlays that command attention, or cohesive branded materials, they use color transitions to create professional content that drives engagement.
- Digital artists use Gradients to bring their artwork to life. From creating atmospheric backgrounds and realistic lighting effects to achieving smooth color transitions in digital paintings, they rely on this Tool to add depth and dimension that makes their work more compelling.
- Web designers transform basic interfaces into engaging experiences using Gradients. They create seamless background transitions, design eye-catching buttons with subtle depth, and craft headers that guide user attention – all while maintaining a clean, modern aesthetic that enhances usability.
- Logo designers use Gradients to elevate brands from basic to memorable. By adding sophisticated color transitions, metallic effects, and subtle depth, they create logos that stand out across all platforms while maintaining their professional appeal and scalability.
Elevate Your Photography Business with Our Gradient Tool Experts
Need help getting those perfect color blends in your photos? Our Photoshop editing experts handle the technical stuff while you grow your business:
- More shooting, less editing: Keep doing what you love – taking photos. We’ll handle the time-consuming Gradient work and detailed editing.
- Smart spending: Skip the cost of a full-time editor or expensive courses. Get professional edits only when you need them.
- Platform-ready photos: Get images that look great everywhere – from online stores to social media. Every edit meets professional standards.
- Consistent quality: Keep your signature look across all your work. We match your style for a cohesive portfolio.
- On-time delivery: Working with tight deadlines? We deliver polished photos when you need them, helping you keep clients happy.
