
A clipping path in Illustrator is a vector shape used to mask or crop an object. It defines an area where the content is visible, and anything outside of the clipping path is hidden. You can create a clipping path in Illustrator by placing a shape over an image or object and using the Make Clipping Mask option in the Object menu or using the shortcut Ctrl + 7 (Cmd + 7 on Mac).
Additional path functions, like cutting shapes, snapping paths, breaking and trimming paths, and making cut lines, were also covered to give you complete control over your artwork. In this article, we’ll walk through every function and the importance of outsourcing clipping path service in Illustrator.
What you’ll learn in this article
- 1 What is a Clipping Path in Illustrator?
- 2 How to Make a Clipping Path in Illustrator
- 3 How to Cut a Path Out of a Shape in Illustrator
- 4 How Do You Snap a Path in Illustrator
- 5 How to Break a Path in Illustrator
- 6 How to Trim Paths in Illustrator
- 7 How to Cut Lines in Illustrator
- 8 Why is the Clipping Path Not Working in Illustrator?
- 9 How Does Outsourcing Clipping Path in Illustrator Improve Your Business Workflow?
What is a Clipping Path in Illustrator?
A Photoshop clipping path (also known as a clipping mask) in Illustrator is a versatile and powerful tool for creating visually compelling designs. You can use this tool and create designs by controlling the elements’ visibility within a defined shape or area. It’s a non-destructive way to hide the rest of the portion and display only the content within the path.
Illustrator is for vector images, while Photoshop is for raster images; this is why the clipping path in Illustrator is slightly different. The clipping path in Illustrator uses vector masks, which make your designs scalable and perfect for making logos and other graphics.
Key Uses of Clipping Paths in Illustrator
Here is how you can use the clipping path in Illustrator:
- You can use it to isolate design elements.
- You can use it to create unique shapes for logos and stickers.
- You can use it to make textures and patterns.
- You can use it to clean your designs for printing.
- You can use compound clipping paths, allowing for more complex shapes and multiple clipping areas.
- You can use it to combine objects.
How to Make a Clipping Path in Illustrator
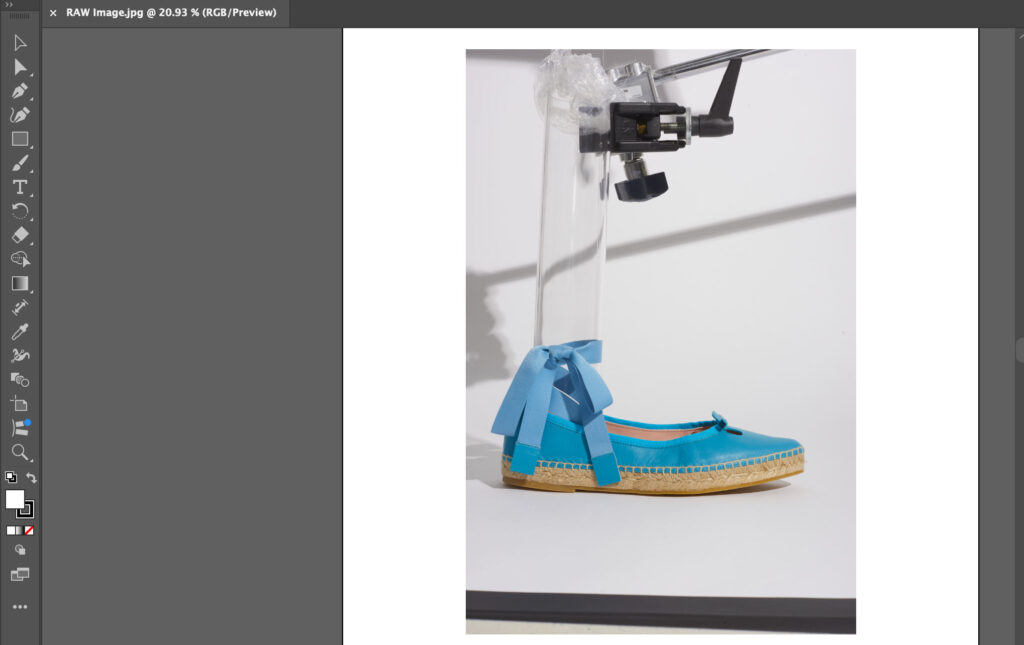
Step 1: Open the Image in Illustrator
Step 2: Draw a Path or Shape Step
Step 3: Select Both Objects Step
Step 4: Apply the Clipping Mask
Step 1: Open the Image in Illustrator
The first step is to open Photoshop Illustrator and the image file you want to use for the clipping mask. You need to use a vector image to create this mask.
Step 2: Draw a Path or Shape
To create a clipping mask, you need to draw a shape. This can be done by using the Pen Tool or Shape Tool to draw a path above the image.

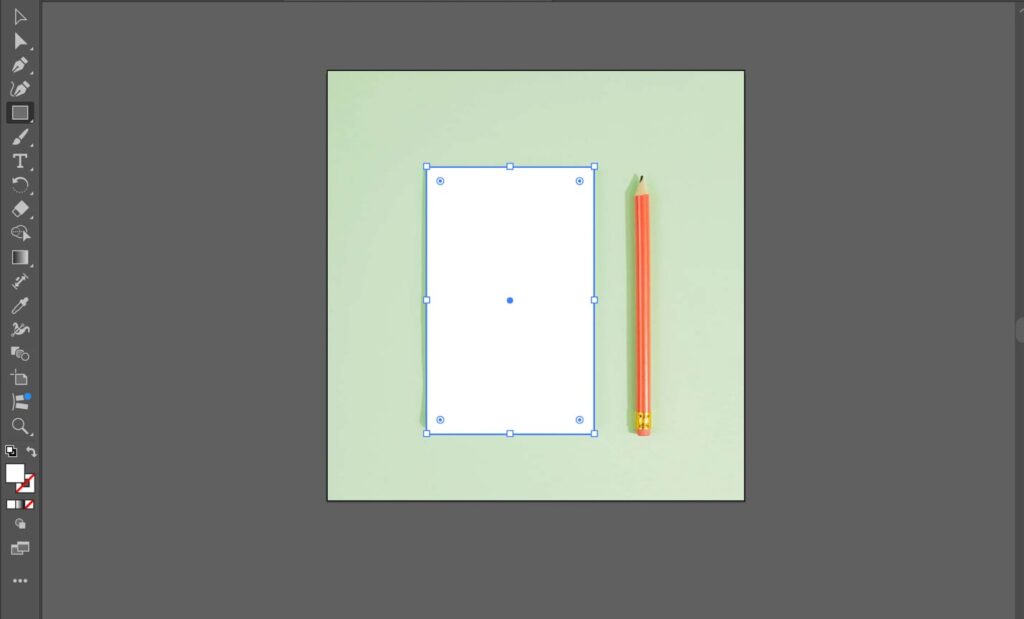
Step 3: Select Both Objects
The next step is to select both the shape and image or object that you want to mask in Illustrator.

Step 4: Apply the Clipping Mask
Now comes the most important step, which is to apply the clipping mask in Illustrator. You can do it by going to the menu Object > Clipping Mask > Make or use the shortcut Ctrl + 7 (Cmd + 7 on Mac).
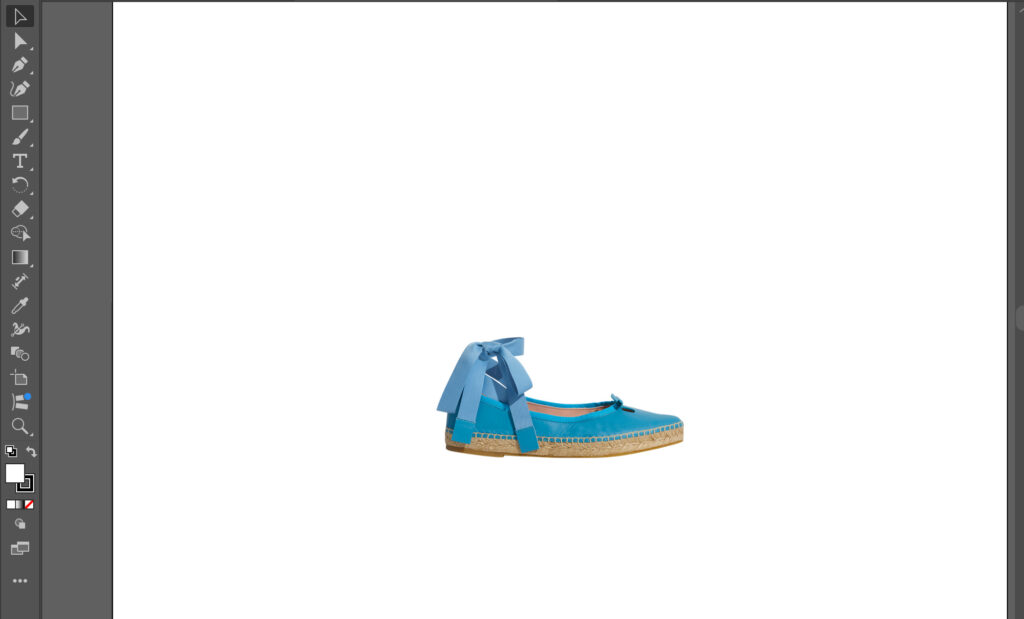
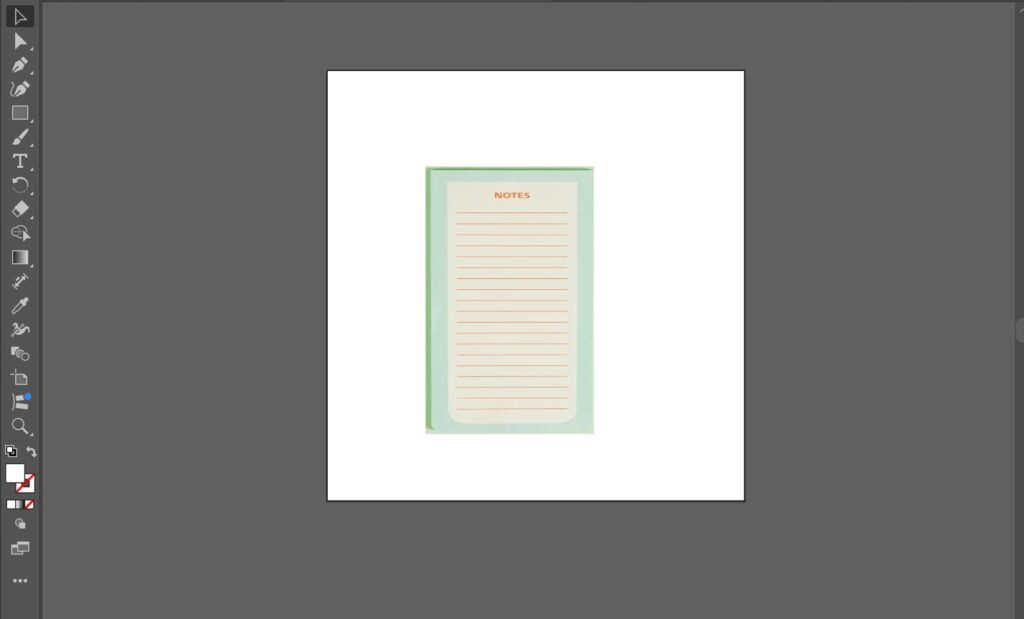
Once the mask is created, you can edit it by double-clicking on it and entering Isolation Mode to adjust the image underneath. Once satisfied, you can again click to go out of isolation mode.
This is how easy it is to create clipping paths in Illustrator. You can use this feature to make beautiful designs and impress your clients.
How to Cut a Path Out of a Shape in Illustrator
If you want to make unique logos and designs, you can use the clipping mask to cut out paths from shapes in Illustrator. Here is how you can do it:
Step 1: Open the File in Illustrator
Step 2: Draw a Shape
Step 3: Draw a Path
Step 4: Select Both Objects
Step 5: Apply the Clipping Mask
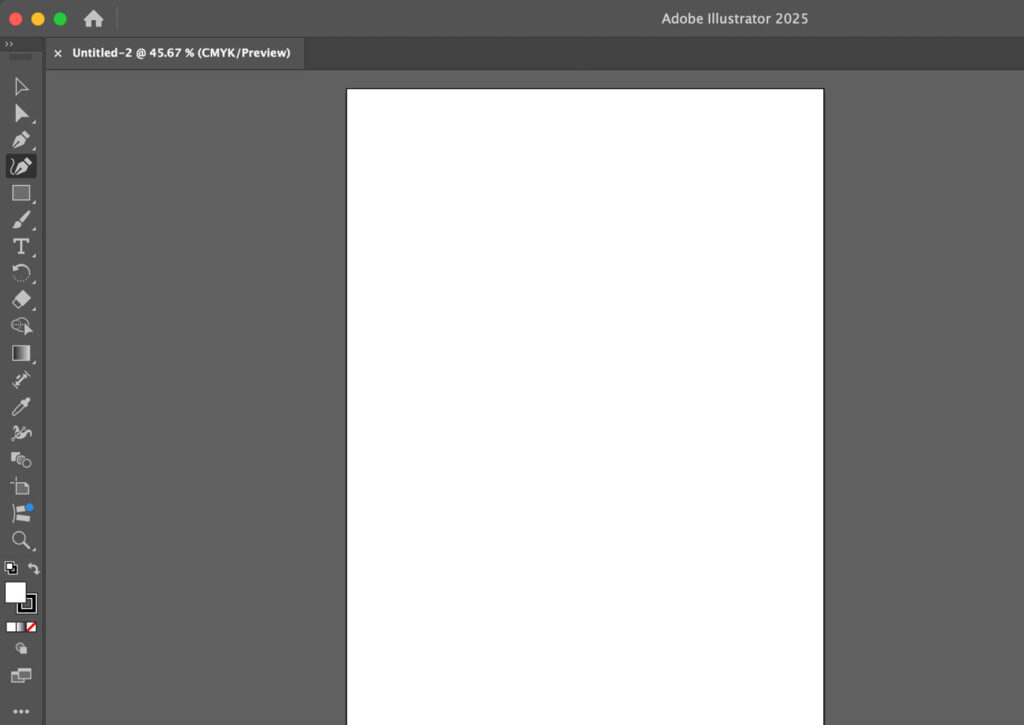
Step 1: Open the File in Illustrator
Start by opening Illustrator and creating a new file.
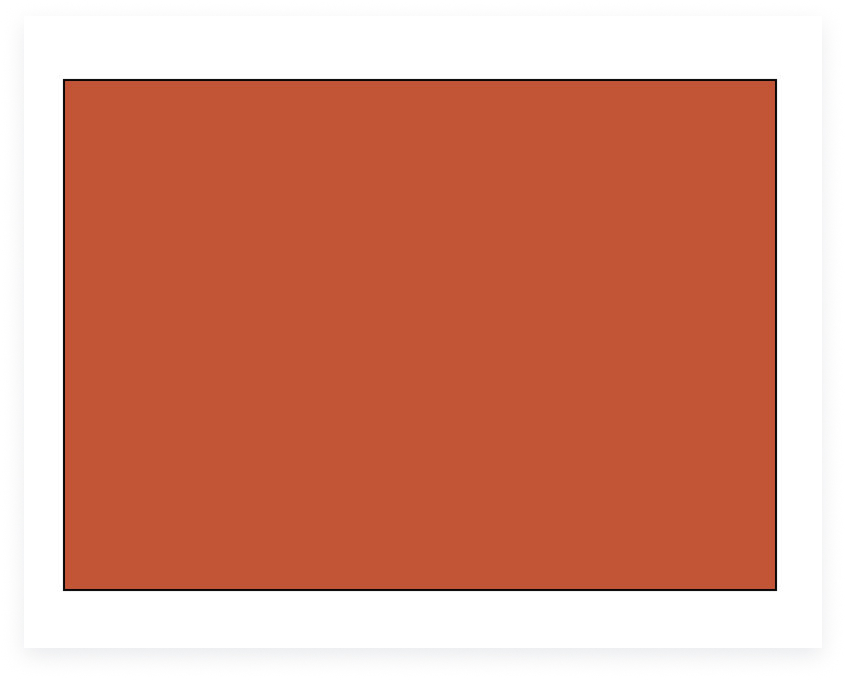
Step 2: Draw a Shape
The next step is to create a shape in Illustrator. You can do it using the Shape tool or the Pen tool.
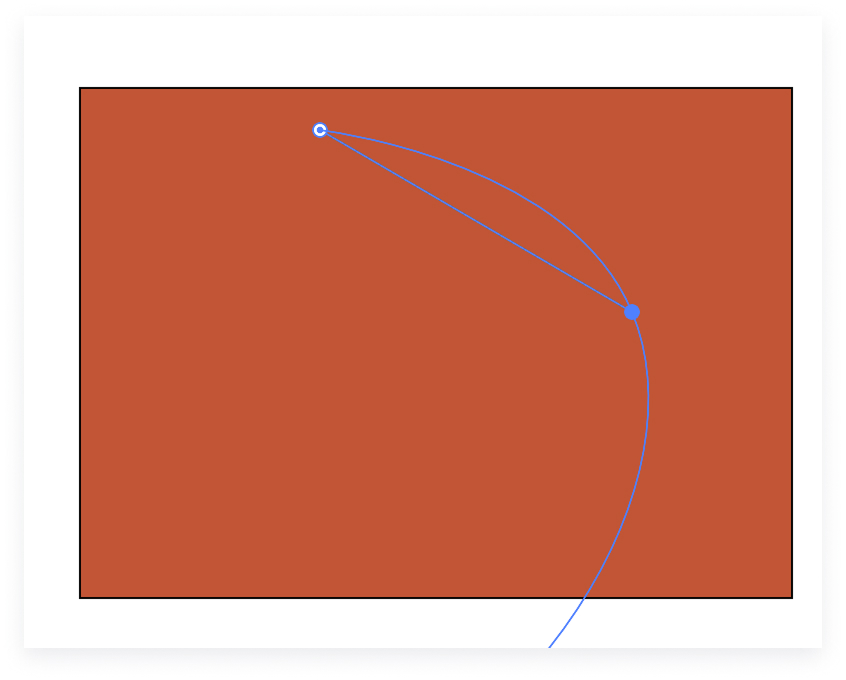
Step 3: Draw a Path
Now, all you have to do is create a path above the shape that you want to cut out. You can do it using the Pen Tool.
Step 4: Select Both Objects
The next step is to select both the path and the shape or object that you want to mask in Illustrator.
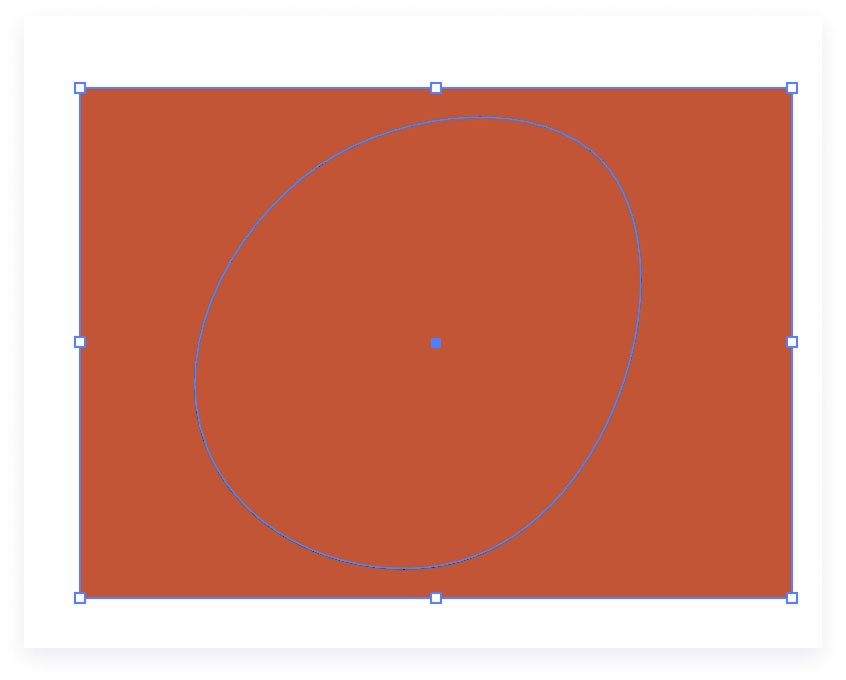
Step 5: Apply the Clipping Mask
Finally, apply the clipping mask by going to the menu Object > Clipping Mask > Make or using the shortcut Ctrl + 7 (Cmd + 7 on Mac).
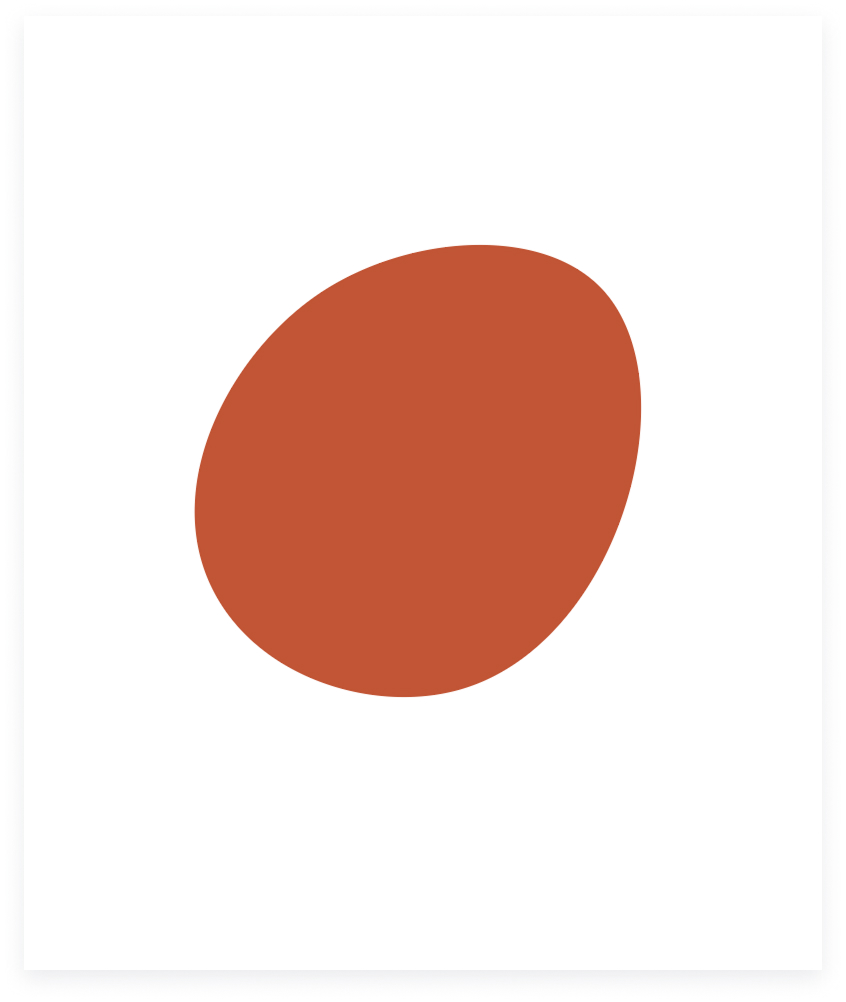
For designers working on logos, learning how to cut out paths from vector shapes can be a very useful skill to have.
How Do You Snap a Path in Illustrator
Step 1: Enable Smart Guides
Step 2: Snap to Point
Step 3: Use Clipping Masks
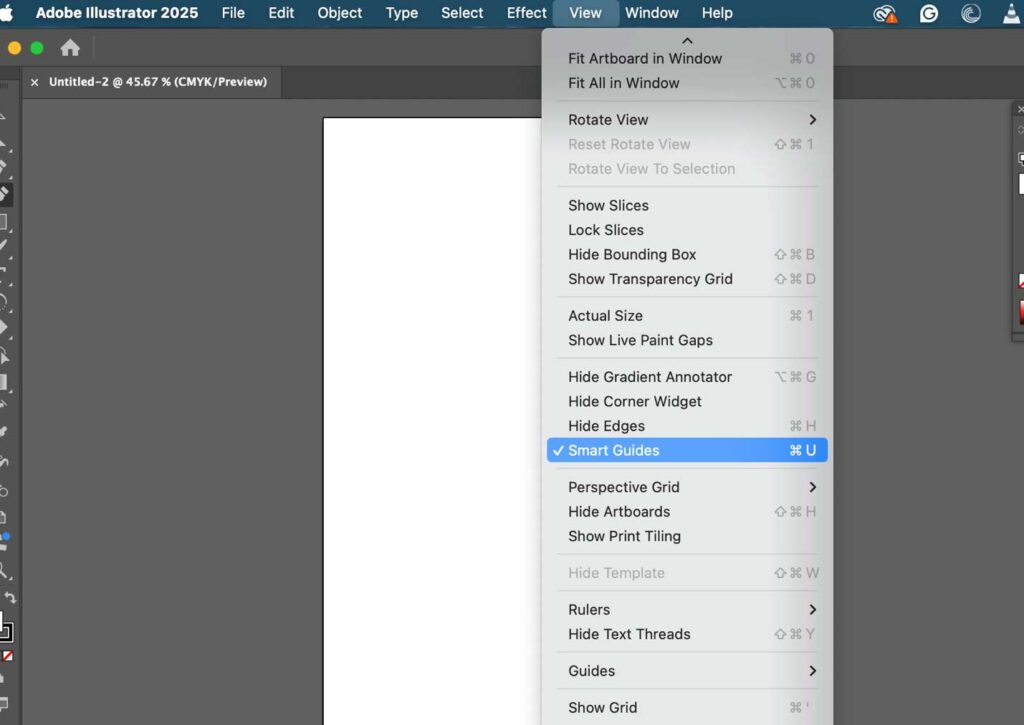
Step 1: Enable Smart Guides
Navigate to View > Smart Guides (Ctrl + U / Cmd + U). These help with dynamic alignment and snapping during movement.
Step 2: Snap to Point
Enable via View > Snap to Point to ensure anchor points and path segments snap accurately.

Step 3: Use Clipping Masks
If you’re trying to snap objects inside a clipping mask, Illustrator may not recognize those paths directly. To snap internal objects, double-click the group to enter Isolation Mode. This allows access and manipulation of objects inside the mask without affecting the entire group.
How to Break a Path in Illustrator
Step 1: Select the Path
Step 2: Choose Scissors Tool (C)
Step 3: Click on Anchor Points
Step 1: Select the Path
The first step is to select the path that you have created.

Step 2: Choose Scissors Tool (C)
Now select the Scissors Tool from the tool panel or press C on the keyboard.

Step 3: Click on Anchor Points
Click on the anchor points where you want to break the path.

This can be useful if you want to break the path in Illustrator to create unique designs.
How to Trim Paths in Illustrator
If you want to trim a path to match a clipping mask or precisely crop your artwork within Illustrator, here is how you can do it:
Step 1: Open the Artwork
Step 2: Go to the Pathfinder
Step 3: Create the Path
Step 4: Apply the Clipping Mask
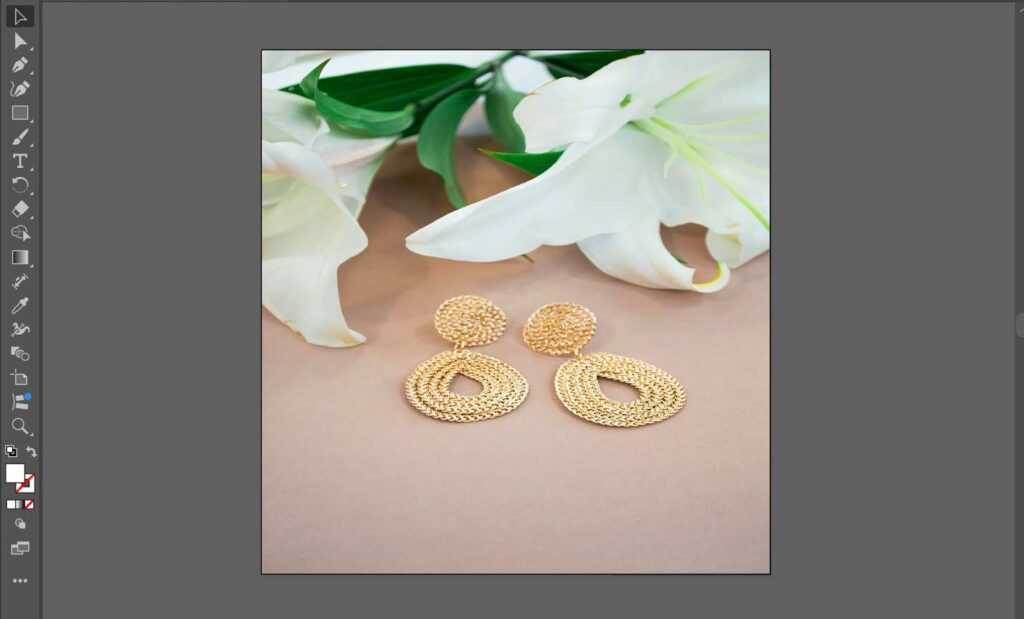
Step 1: Open the Artwork
Open the file you want to create a clipping path on.
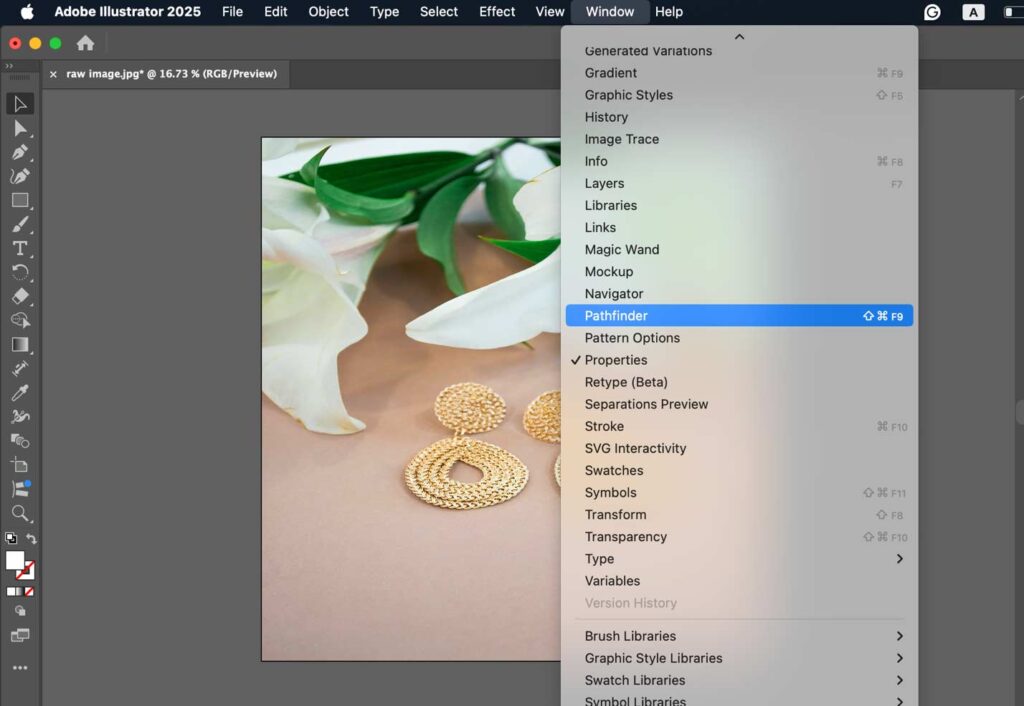
Step 2: Go to the Pathfinder
Go to Window > Pathfinder to open the Pathfinder panel.
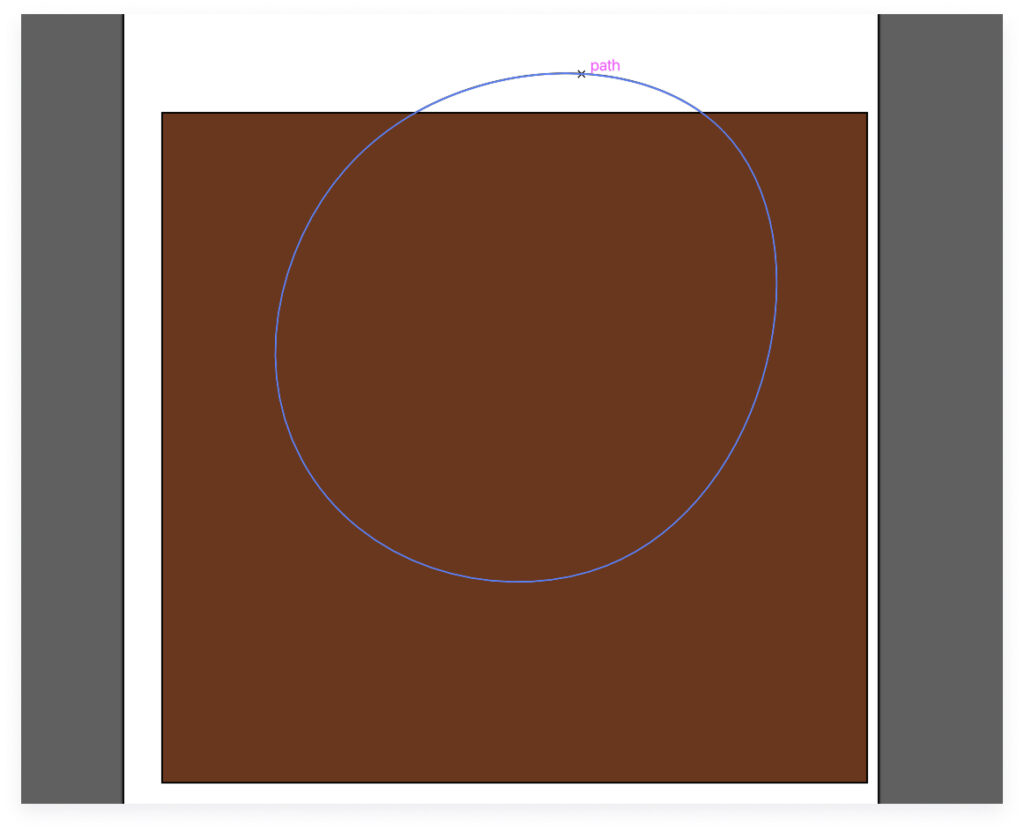
Step 3: Create the Path
Create a path using the Pen Tool, and select both the image and the path.

Step 4: Apply the Clipping Mask
Select both the clipping path and the artwork. Create a clipping mask above your artwork by going to the menu Object > Clipping Mask > Make or using the shortcut Ctrl + 7 (Cmd + 7 on Mac).
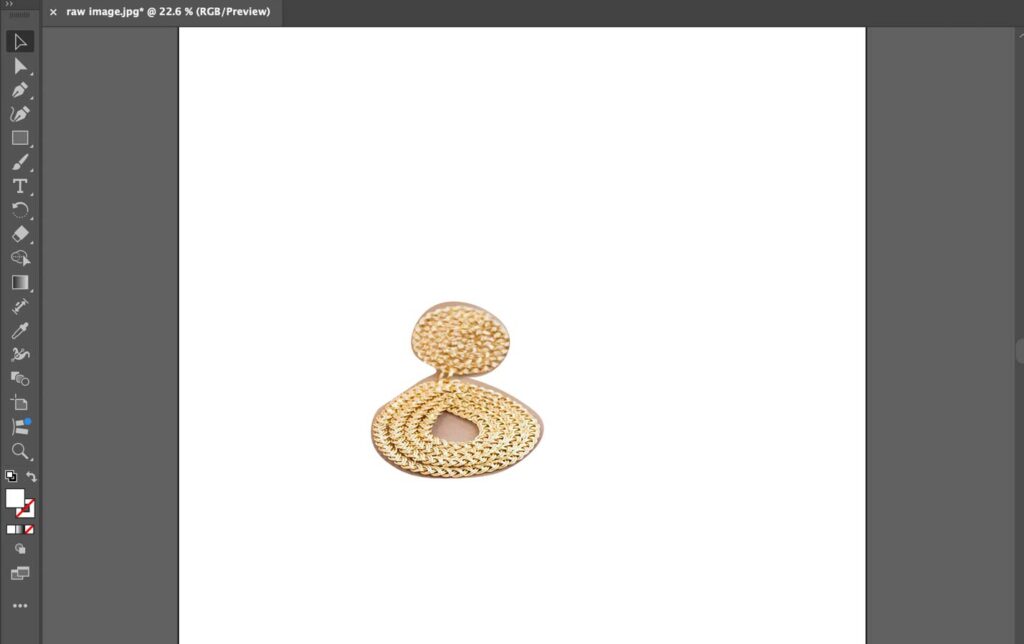
You will now be able to see the trimmed portion of the image.
This technique is highly effective when finalizing designs that need to be printed or exported with precision.
How to Cut Lines in Illustrator
Step 1: Open the Image
Step 2: Create a Line Path
Step 3: Select Both Objects
Step 4: Create a Clipping Mask
Step 1: Open the Image
The first step is to open the image you want to use for the clipping mask.

Step 2: Create a Line Path
You can create a line using the Rectangle Tool above the image to create a path.
Step 3: Select Both Objects
Select both the shape and the image.

Step 4: Create a Clipping Mask
Now create a clipping mask to cut out precise lines from the image by going to the menu Object > Clipping Mask > Make or using the shortcut Ctrl + 7 (Cmd + 7 on Mac).
This method gives you clean, editable cut lines which are ideal for professional print or production workflows.
Why is the Clipping Path Not Working in Illustrator?
If you are using the clipping path and are confused about why it is not working for you, then there could be several reasons behind it. We have The Photoshop clipping path in Illustrator might not work if the layers are not aligned correctly, use grouped objects instead of compound paths, or the layers are overlapping. Below, we’ve highlighted all the illustrator clipping path potential problems and solutions:
- Incorrect Order of Objects: If you want to use the clipping path, then it should be placed on top of all the objects you want to mask. You can click on “Bring to Front” to bring it to the top of other objects.
- Not using Vector Shapes: Another issue that might be hindering the use of clipping paths is the fact that you are not using a vector image. In Illustrator, you can not use photos or raster images.
- Using Locked or Hidden Layers: If you are using the layers or objects that are locked or hidden, the clipping path will not work on them. You will have to change the settings to use it.
These are some of the problems that can prevent you from using the clipping paths in Illustrator. However, these issues can be easily fixed, and you can use the clipping paths to create beautiful designs.
Struggling with Photoshop Illustrator? Meet the 10 Best Photoshop Clipping Path Service providers to Help!
How Does Outsourcing Clipping Path in Illustrator Improve Your Business Workflow?
Outsourcing clipping paths from professional Photoshop Clipping Path Illustrator services adds benefits to your business workflow, including:
- Saves Time: Outsourcing clipping paths can give your team more time to focus on the complex tasks for your business workflow, while an experienced design team can handle the repetitive tasks associated with designing.
- Improve Quality: Professional graphic designers understand how to use the clipping paths in Illustrator to create innovative designs. Outsourcing can help you improve the quality of your design.
- Ensures Consistency: Professional editors deliver uniform results, which is crucial for branding. This can ensure that the branding remains consistent throughout your designs.
- Saves Money: Outsourcing can also help you save money as it is better to hire freelancers for the short term than engage someone for a full-time position.
- Reduces Turnaround Time: Outsourcing can reduce the total time the company spends on designing engaging posts, and a quick turnaround can ensure that you are regularly posting and sharing designs.
