
Photography is the most used medium to connect with customers in the e-commerce world. This tool alone can increase the conversion rate significantly. In photography, post-processing is the final round of creating top-notch visuals. In this competitive sector, learning quick and easy methods of how to sharpen an image in GIMP can be an asset.
Blur image is never acceptable in the commercial world. The subject must have to be clear and sharp. GIMP is one of the best software to do post-processing work for photography. This tool can be a great assistant in creating stunning visuals for any kind of e-commerce business.
What Is Image Sharpening?
Sharpening in photography adds more clarity to the image. This refers to the process of bringing the edges into more focus. While taking pictures, if any part is not in clear view or focus, that area is blurred. It’s sharp only when the view is clear, and the edge is vivid.
Image sharpening in post-processing basically means making an image sharper. Sharpening brings out more details from the edges and separates the subject from the background. It doesn’t change the resolution but rather fixes the contrast of the edges to give a more defined look to the image.
How to Sharpen an Image in GIMP – Step-by-Step Tutorial
There is a filter in GIMP that you can easily use to sharpen an image. To sharpen an image in GIMP, you need to do some basic work at first, like reducing noise, high pass, and vivid light so that the image looks better after sharpening. After that, you can apply the sharpening filter.
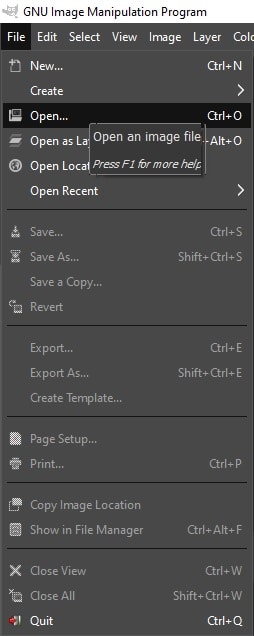
Step 1: Open
Go to File from the top left corner and click on Open to open the file you want to work on.
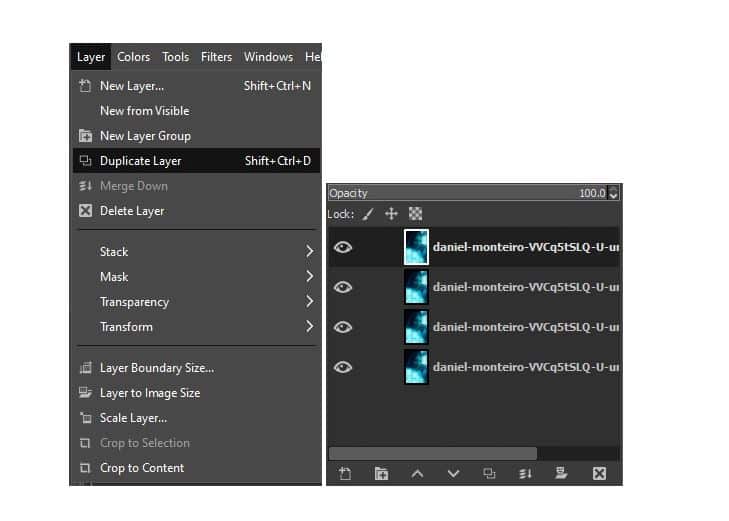
Step 2: Duplicate
Go to Layer and select Duplicate Layer to create a copy of the main Layer. Make 3 Layers of the main layer.
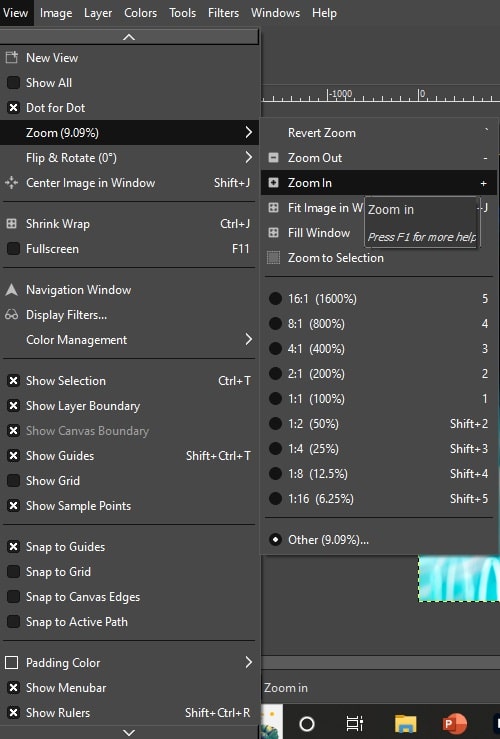
Step 3: Zoom In
Go to View and select Zoom to zoom in on the image to have a clear view and understand the amount of noise in the image.
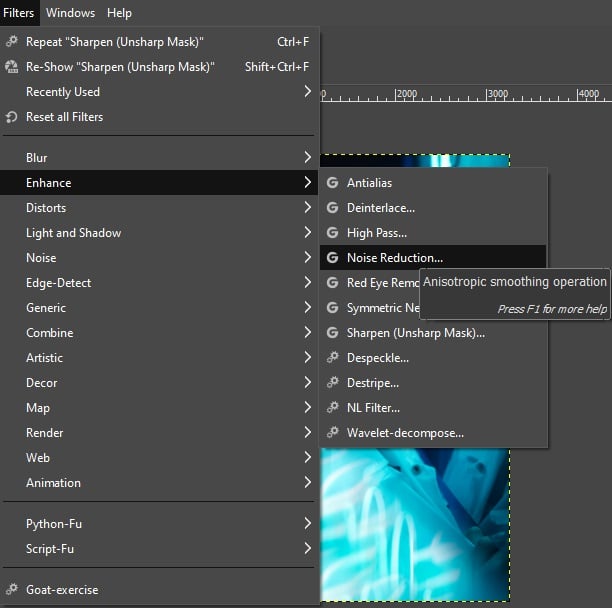
Step 4: Noise Reduction
Go to Filters and select Enhance and then click on Noise Reduction.
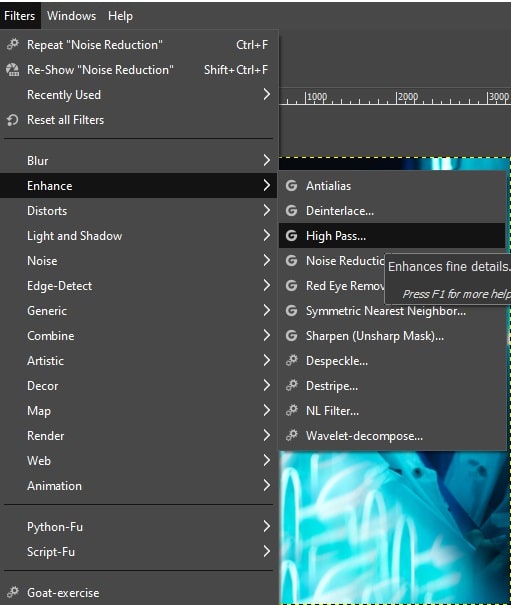
Step 5: High Pass
Again go to Filters>Enhance>High Pass. This will smoothen the image.
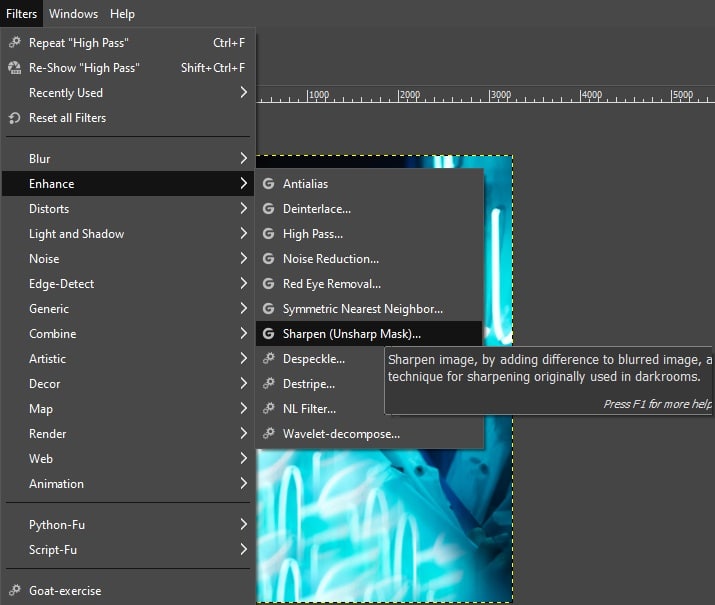
Step 6: Sharpening
Go to Filters, then select Enhance, and click on Sharpening.
A box will pop up where you’ll find the options to sharpen your image.
Radius: Indicates pixel numbers. You can change the number of pixels you want or just shift the slider.
Amount: Indicates the strength of sharpening. Shift the sliders and settle where you’re satisfied.
Threshold: Indicates the difference in pixel values and where the sharpening must be applied.
You’ll have to try and check what amount of sharpening is perfect according to your needs. Stop when you’re satisfied with the result.
Step 7: Save
Finally, go to File and select Save As to save the final file.

Sharpen Your Photos by Professional
Photographers and editors often have to deal with bulk images for large businesses or projects. It’s not possible to work with bulk images alone. Again, producing top-notch images is a must to survive in the market. To handle all these, one might need the support of photo editing service providers.
Among many other photo editing service providers, you’ll find Clipping Path Studio as one of the finest. The reputation they have gained over the years has come through their dedication and consistency in producing quality work. Our team has editors who are well-trained in the photo editing field.
Choosing Clipping Path Studio is a wiser choice because it’ll save your time and money, along with maintaining your reputation. You can go for the free trial to be sure of the quality of work before ordering. One thing you can be sure of is that, with us, the quality of your images will definitely improve, and so will your business.
FAQs
Why do digital images need sharpening?
Digital images often have blur edges or shallow depth of field where a sharp edge is required. Blurry edges ruin the details of photos. In those cases, digital images need sharpening.
How much sharpness should you add to an image?
This depends on the image and the editor mostly. One needs to have experienced eyes to understand if the image is sharp enough. Usually, a clearly defined edge is good enough.
What are image smoothing and sharpening?
Image smoothing is quite different from sharpening. Image smoothing is the process of reducing the noise (or grain) in an image. On the contrary, image sharpening defines the edges of an image by giving clarity.
When you sharpen an image, what improves?
Sharpening an image gives clarity to the image. This enhances the edge by creating a difference between the subject and the background. Clearly defined edges give more information about the image. Sharpening an image basically improves the overall visual experience of an image.
Bottom Line
In online businesses, photography is the language everyone speaks. Your images will represent you and your brand. High-quality photography can increase the conversion rate significantly, and without producing high-quality images, one can’t compete in the market. So, there is no way to compromise the quality of the images.
