")
If you’re shooting with a DSLR or similar camera, you’ve probably encountered the process of Post-Production in Photography before. It’s used to fix up photos, correct mistakes made by the camera, and boost colors so that your shots look crisp and vibrant.
In the past, post-production was just as complex as the actual photography process. But these days, you can brighten up your images and add special effects with less hassle.
It’s crucial to note that no amount of post-production can make up for bad lighting or poor composition. But it’s a huge help in making your photos look more professional. Today I am going to share some photography post-production tips for you with some guidelines.
What you’ll learn in this article
What is Post Production in Photography?
Post-production is the process of editing a sequence of images and sounds to create a finished product. It includes digital editing, color correction, digital processing, sound design, motion graphics, visual effects, and distribution.
It does not belong to the creative department. Several steps required the creative input of a person with post-production skills in the past.
There are two steps involved in the development of a film. The raw elements are shot on analog film stock in the first stage. It’s known as post-production editing photography, and it may include some additional footage taken or discovered along the process. You can use the raw material together in different ways using video technology.
The second step is to manipulate this material into a finished work. It may replace all the original footage completely or exist in isolation with some additional connecting material. It is the stage where a film comes together, and the director finds their vision.
Why is Photography Post Production Important?
There are many post-production photography services in which they do not use a camera. From optimizing a photograph to creating stunning digital images, image stabilization and color grading are more important.
It allows the photographer to control their result on the camera. It allows them to have a more personal connection with their work. They can tweak the tools to fit their style.
Post-production is crucial for a photographer to potentially get a better image with the tools they can capture.
Photographers can correct any mistakes they make in cameras using many of the tools available in post-production. Post-production works hand in hand with original photography. Without it, one might not create an image that is truly representative of themselves.
Get Photography post production service With an Affordable Price.
Started With Free Trial
Photography Post-Production Workflow – You Should Follow
Some of the most famous photographs in history include images that have undergone significant post-production work. While these photos can be considered iconic, they can be created using very basic methodologies.
Many of the photographers who took these amazing moments didn’t have access to post-production tools, so they had to make do with what the camera could capture. If you are a photographer using a digital camera, you have most likely started knowing about post-processing for photographers. You can use photography post-production in Photoshop to get your images what you want them.
Shoot Raw Photos
The term “RAW ” is associated with photography. The camera’s sensor captures the RAW format of images. It is designed to preserve the original digital data. This format is also known as RAW image format. Professional and advanced cameras support the RAW file format.
The RAW format of images allows for better photo post-processing. It provides more information than a compressed JPG format file. It offers the possibility of changing the white balance, exposure, sensitivity, curve adjustments, and more.
HDR Dynamic Range
HDR stands for “High Dynamic Range.” It is a technique that aims to reduce the problem of image exposure. If you own a high-end camera, HDR is probably something that comes in your camera’s software. Dynamic ranges express the difference between an image’s darkest and lightest values.
It can illustrate by comparing a typical digital camera image to a printed image. The two images have a different dynamic range because the sensor collects light differently. Digital camera sensors collect additional luminance information. However, their color picture information has limits to the human visual spectrum.
Expose to the Right
The closest equivalent in digital photography is exposure compensation. It allows you to adjust the camera’s automatic exposure settings to be brighter or darker than normal. Photographers often need to adjust their camera’s exposure settings.
One of the most fundamental ways to do this is through proper exposure values or other variations in brightness. It focuses on providing different hues while preserving the overall image’s highlights, mid-tones, and shadows.
Adjust Exposure and Contrast
People need to know how to post-process photos and develop their skills. Well, In photography, the camera’s aperture determines how much light will enter the camera through its lens. If you make the aperture smaller, less light enters the camera. Also, If you make it larger, more light enters.
The overall exposure that means the shutter speed and aperture combination is the amount of light that enters the camera. You can control the camera’s exposure setting. Contrast determines whether you want your picture to be light or dark.
When contrast is low, you will be shooting in a dim environment like dark streets at night. So, use a smaller aperture to make your picture brighter.
The picture’s exposure starts with the aperture and stops with the shutter speed. In the above illustration, an aperture is set to f16, and the shutter speed is set to 1/250s. Therefore, the picture will be exposed at f16 for 1/250s. It is the exposure that you want to get in your picture.
Understanding f16 and 1/250s in terms of film, you need to know a little bit about the film you’re using. The film is a very different technology from digital, so the camera simulates the film’s exposure time. It does not work very well when the shutter speed is faster than 1/250s.
Understanding White Balance
You have to understand the need for white balance for your pictures in terms of color casts. And You should also know how white balance affects a photo’s colors.
You should know when you should use a wide-angle or telephoto lens and which settings to use on your camera to get the best results.
Remove Unwanted Objects
You May Also Like: How To Cut Out An Image In Photoshop
There are few things more distressing than a blurry photo you can’t figure out how to edit. So you have to take many steps and learn the process. The good news is you’ve already done the hardest part; by capturing the picture. Now, it’s simply a matter of editing. There is no need to get frustrated or digress. It is necessary to follow these simple steps for a better photo and remove unwanted objects.
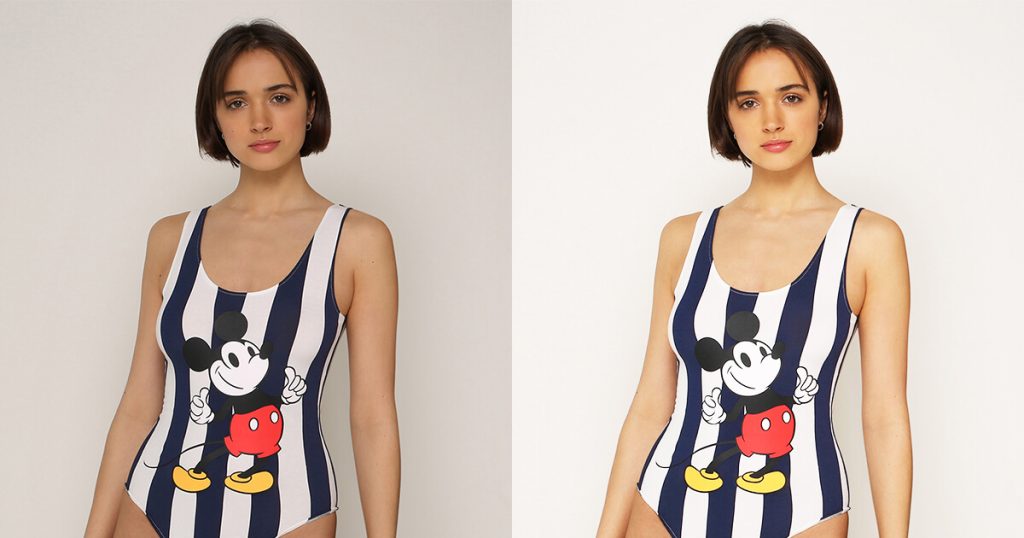
Get Rid of Blemishes
If you would like to get rid of blemishes in post-processing photography, this equipment will help you.
- Light is the most important
- Use a Tripod
- Use a Remote
- Use a Shutter Release
- Use a Remote Release
- Use a Lens Hood
- Use a Lens Cap
- Use a Lens Cleaner
- Use a Lens Filter
- Use a Lens Hood
To make sure that your photos are as bright and clear as possible. Ensure the light source you can position at your back, not from the side.
These ways can help protect your camera’s lens from dirt and dust. All those are the easiest ways to eliminate blemishes in photography. You will find those things in the market, and they are usually very affordable.
Crop Your Images
If you are looking to improve your photography skills and make them more powerful, it is important to learn how to crop images. Crop your images and hold on tight, because they can be both beautiful and artistic. You must crop your images in photography if you want them to be perfect.
Sometimes they are too big, sometimes they are not good enough and other times you want to change the image’s subject. If you fail to do this, you will have an image that does not look perfect. Cropping your image can teach you the basics of proper camera usage, light hold, and many other important things that you need to know to be a successful photographer!
Flatten an Image in Illustrator
If you want a faithful reproduction of your graphics, then you might not want to flatten the image. You may also need to edit many layers before getting a good result. In this case, you will want to preserve your layers for future editing.
However, if your project relies heavily on photographs, then you may need to flatten the image. You need to flatten the image so that everything is uniformly colored. Flattening an image in Illustrator will only work if there is a single layer with no transparency. If there are transparent areas within the layer, then it will not flatten.
How Do Professional Photographers Do It?
Photographs are taken by professional photographers using either traditional film or digital cameras. They could photograph news events or another media agency or take pictures of people in a portrait studio. Some photographers specialize in commercial photography, while others focus on fine art photography. After taking a shot, photographers spend hours processing and editing it.
In addition to managing a camera, professional photographers must know how to use post-production editing photography software. They should have knowledge in using digital film and how to develop conventional picture film if they use traditional photo film. You’ll need to build a portfolio as a professional photographer to show potential employers or clients.
DIY Photo Editing
The first step in any DIY photography project is to develop a plan. Think about what you want from your photographs, and try to aim for that goal. A good place to start is to find out which photo editing software suits you and your project best. It should be the first thing you do because it will determine how your pictures will turn out.
There are many free photo editing software packages that you could consider for DIY photo editing. Now I’m going to tell you some tips on doing your DIY photo editing.
1. Make sure the photo is in focus, and you can adjust before adding any effects, such as color changes or de-saturating the colors.
2. Never use a program for photo editing for your editing. Because it will deteriorate the quality of the picture.
3. Never use a filter that gives the finishing touch on a picture (black and white, sepia, etc.) if needed.
4. For instance, if you are doing a low light picture, you might use levels to adjust the colors.
5. To remove dust and other small defects like a mosaic, use the help of the editing software.
6. To remove large defects like a mosaic, you can use ImageMagic to remove the background. ImageMagick is a command-line tool that runs commands on images.
7. If you want to remove blemishes from a face, I would use the Gimp program because it’s the easiest program to use.
There are so many DIY photo editing techniques online. You can choose those on your own or follow my techniques. Hope you like my photo editing tips.
Outsource Photography Post-processing
Many photographers save time and money by outsourcing post-production photography. It is the simplest approach to enhance RAW photos naturally. If you are a photographer, you need to be aware of how time-consuming and exhausting post-production can be. Instead, you can use your free time to find new customers models, plan new photoshoots, develop marketing strategies, and so on.
What Types of Post-Processing Software to Use While Editing?
Today I want to talk about photo post-processing techniques. Post-processing software consists of the tools applied after the editing process to improve the quality and enhance certain parts of your photos.
Adobe Photoshop
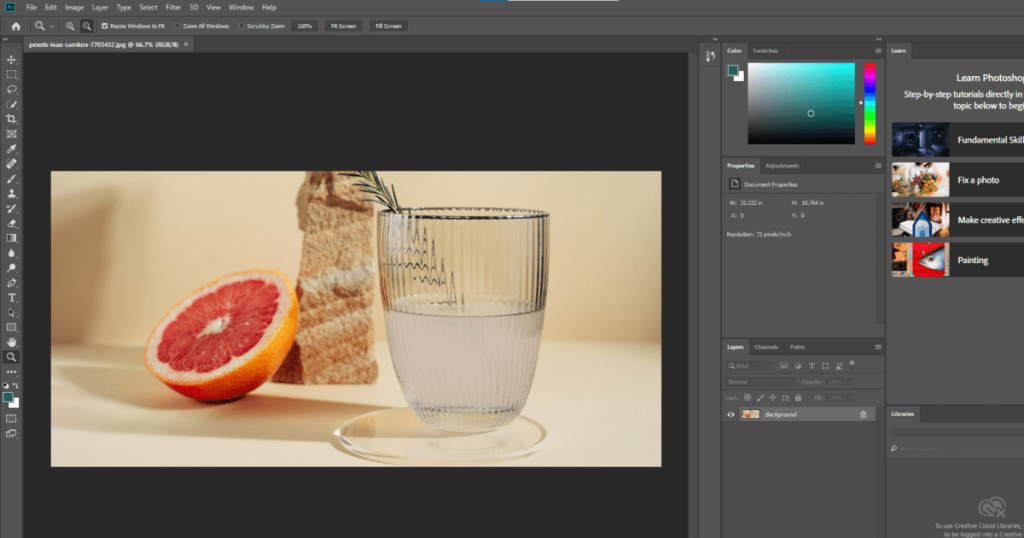
Adobe Photoshop is an essential tool for post-editing photography for commercial and personal purposes. It is one of the most iconic and demanding in the world. You can use it to edit digital photos, create signs and posters, digital artwork, and billboard advertisements.
You can also create beautiful images, change the colors of clothes, create realistic paintings, manipulate facial features, and much more. If you’re looking to add a splash of color or prints to your photographs, it’s easy with Photoshop. Photoshop’s gradient tools will allow you to find the perfect shade of purple or yellow that works across your entire photo.
You May Also Like: How to Change Color of Clothes in Photoshop
Photoscape X

PhotoScape is a free application for editing photographs. It has a variety of tools and filters that allow you to turn your photos into pieces. It looks like they have taken with a DSLR or from an analog camera. It allows you to create professional-looking images in minutes.
There are two ways to use PhotoScape: Quick Fix mode and Full Edit mode. If you are not sure what you’re doing, try Easy mode. When you are ready to start editing, move to Full Edit Mode. You can save your photos in a variety of formats.
Adobe Lightroom
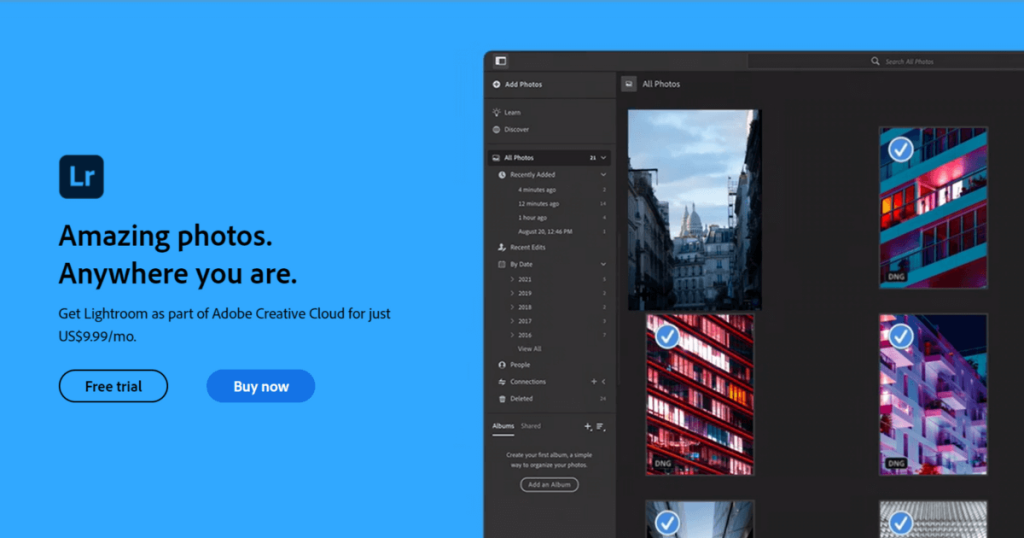
Adobe Lightroom is a photo management software and a photo editing tool. It accepts images in over 100 common file formats and optimizes their quality. So, they are ready to use too. Not only that, its catalog automatically synchronizes with your other devices, whether that is a computer or a camera.
It is a fast, user-friendly tool that puts all your photos in one place. It makes the photos easy to organize and edit. No matter what the photo size is. It helps you to organize, mark up and manage your photos and images, so they are ready for editing.
You can now easily create new albums with all your photos in one place. You can apply filters and adjustments like black and white, negative, sharpen and blur to your photos. You can see in real time the effect of your adjustments before applying them.
GIMP
GIMP is a free program that professional photographers and photo enthusiasts have used. It is not just another photo editing tool, it’s really powerful open-source software. You can use it to create amazing images with more features than Photoshop.
You can also use a basic image editor, but it has advanced options as well, giving you far more freedom in designing your own works of art. Because of its open-source nature, it is free to use on almost any platform and available for anyone who wants to experiment with something new. It is a very powerful graphics tool that also handles print design, digital painting, and web design.
Skylum Luminar

Skylum Luminar is a powerful post-production photography software for photographers who use RAW files to edit all kinds of photos creatively and combine them. It is also a remarkable photo editing program that packs incredible features into an easy-to-use interface.
It’s not just a photograph editor, it’s an all-inclusive creative tool. It includes features for retouching and painting, text creation, and much more.
ACDSee Photo Studio Ultimate

The difference between ACDSee Photo Studio Ultimate, and Adobe Photoshop, is that it is easier to use for beginners. It includes a wide variety of options and a much more intuitive interface than Photoshop does. So, break this down and know about what ACDSee offers in post-production in photography.
You May Also Like: How to Feather Edges in Photoshop
Post-Production Mistakes to Avoid When Photo Editing
If you have invested in expensive cameras and lenses, you have more ambitious plans to take photos and edit them. In this section, you will know about the post-production mistakes while editing photos.
Brightening Shadows Too Much
One of the most common comments online is something along the lines of “The photo makes my friend look too dark. “I’m not sure if it’s the lighting or editing. Whatever the case is, you should avoid brightening the shadows too much.
Over Saturating Photo
It means boosting the saturation levels of your image, essentially making it more colorful. For example, if you take a picture of a blue sky, you might make it much more saturated so that its color is closer to that of the rainbow. So don’t over-saturate your photo.
Contrast is Too High
Let’s say, for capturing a photo; you could have a dark shirt and white pants. But the background is very light. Your eyes are drawn to the dark shirt, and it isn’t easy to see details in your photo. Instead, you should ensure that your background is in higher contrast than your subject.
Too Much HDR
People should not use HDR in every picture that they take. They should only use HDR when it is necessary. Nothing else can fix their picture. No matter what the picture is, always try to make it look natural and real.
Using the Wrong Aspect Ratio
Aspect ratio is frequently used in settings where you would like to display a specific image. But the image itself doesn’t fit into what we call the “native screen resolution” or “native height or width.”The most common ones are 4:3, 16:9, and 1:1.
Excessive Sharpness
Excessive sharpness can be caused by two things: bad focus or a bad lens. It should never be too much. Excessively sharpened photos can emphasize imperfections and distract from the subject.
Too Much Noise Reduction
In photography, noise reduction is the process of removing or reducing random speckles or fine graininess from a digital image that can be introduced either by heat, faulty electronics, or natural noise in the sensor, film, or digital camera. Noise can reduce an image’s quality and detail.
Unrealistic Photo Compositions
Photographers agree that the difficulty in the composition is one of the most significant challenges for many novice photographers. Do not change your main subject throughout the entire composition. The composition must need balance so that one side of the frame does not overpower the other. The subject must lead your viewers through the entire composition.
Final Verdict
Post-production in photography includes resizing, adjusting the contrast, removing red-eye effects, sharpening images, and wrinkles from skin textures.
By adjusting the photo during post-production, you are able to create effects that are impossible to do during a shooting. Some of these can be very subtle, but other adjustments could drastically alter an image.
