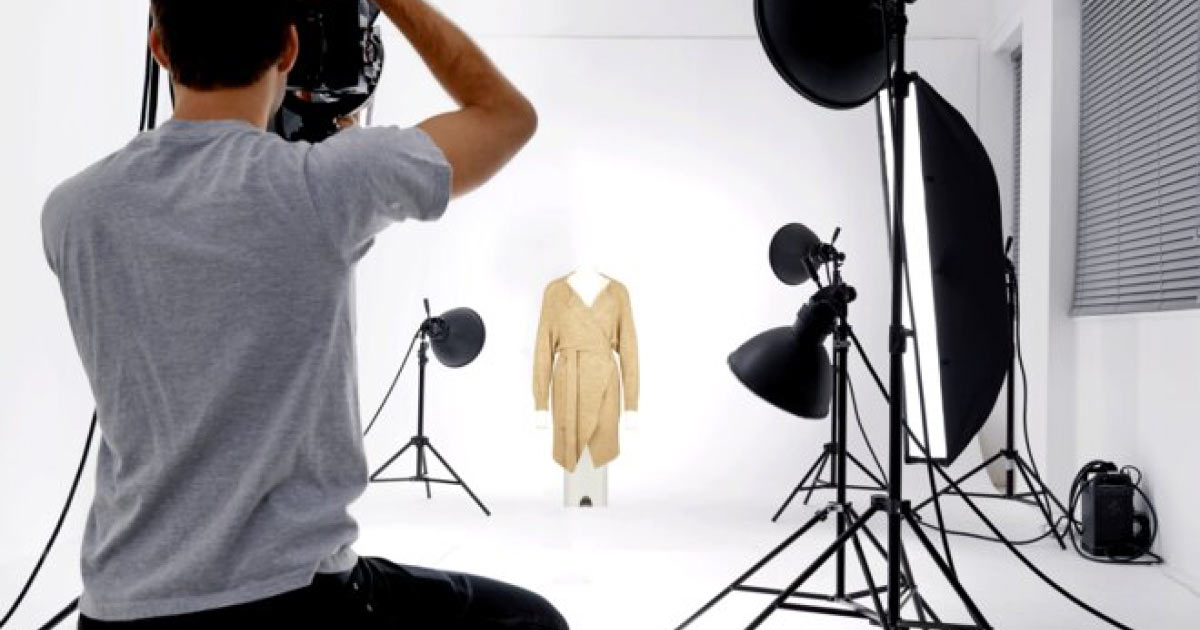
Photos are dominating the entire apparel world. If your product appears attractive and attracts an audience. Then, your conversion rate will undoubtedly grow.
As J. K. Rowling says, “A good first impression can work wonders”
A proper lighting setup for clothing photography supports the creation of the mood, aura, and style that you desire in your images. It can also be used to add scenery and intensity to your images, making them appear more professional.
Whether you’re a budding fashion photographer or want to improve your skills, you might want to have an idea of how to use good lighting to make apparel product looks good. But don’t be concerned!
We’re here to discuss some inventive solutions to let your e-commerce store’s wardrobe look so good that visitors flock to it. This article will walk you through the best lighting setup for clothing photography.
So, Let’s dig in.
What you’ll learn in this article
Why Do I Need a Lighting Setup for Clothing Photography?
Even though your online clothes store delivers excellent service like the quickest home delivery method and a fair exchange policy. But, if the appearance of your products does not appeal to buyers, you will have to suffer the greatest loss in your business.
As a result, the product photography lighting setup helps as your assistant. It enhances the appearance of your products, and proper lighting and color theory make it more shareable and sellable. Then your company will flourish like the magic bean.
The foremost concern is product details. These are what attract purchasers. But this happens when the lighting setup for apparel photography is done precisely. Because no shopper will buy a product if it lacks distinctiveness and appearance.
Learn, How to Outsource Clipping Path Service for Your Product Image.
Effective Clothing Photography Lighting Setup
While we are set up to photograph mannequin outfits or a fashion model, the appropriate lighting background is indeed crucial. So, you must consider the light that falls on your subject.
The best lighting for clothing photography comes from the front and sides, with a warm light in the backdrop. A key light, a fill light, and a backlight can be used to create this lighting arrangement.
Here are eight of the ideal lighting setups for clothing photography:
Ring Light
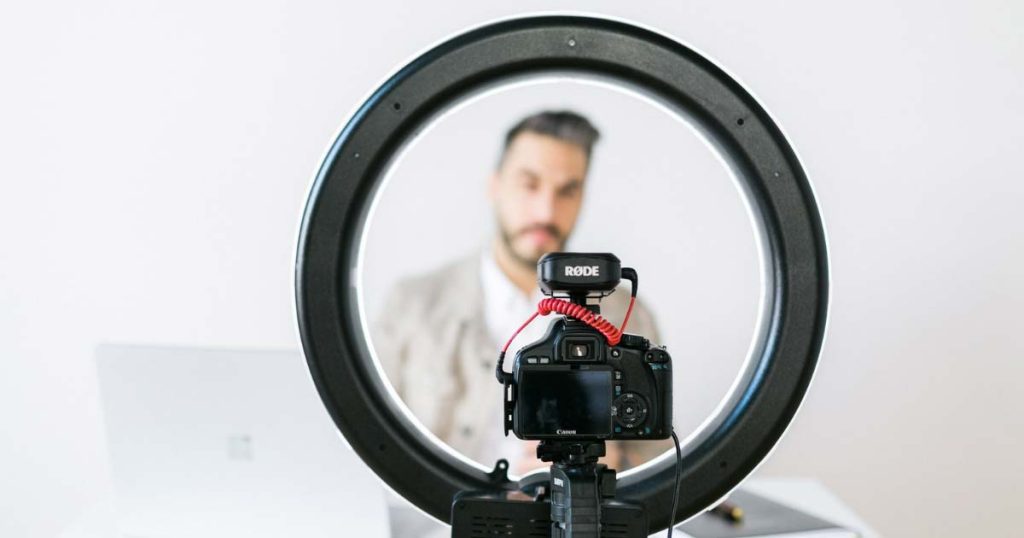
An excellent choice of core lighting is Ring lights. These lights reduce glare and allow for greater brightness without distorting the image. These lights can place quite close to the subject while yet producing a gentle and strong light.
Overhead Light
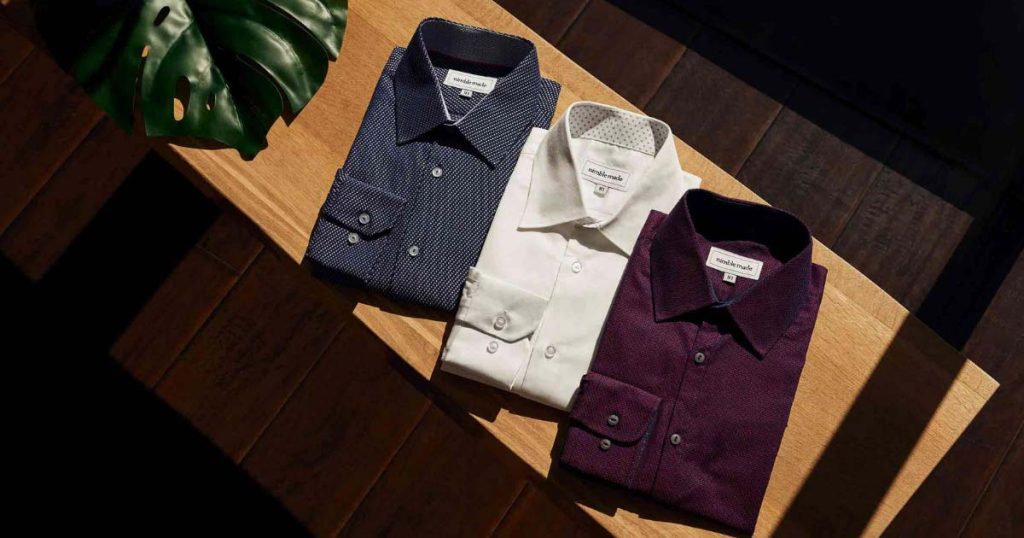
If you want to create a dramatic effect in your clothing photography, overhead lighting is the best option. This process includes adding reflection to lighten the shadows of your shooting subject.
As a result, use the bounce board to embroider the light upward from behind your subject. A white piece of material or a darker, or even more reflective substance should choose for desired effects. You should choose the softest light or a softbox to soften the light and create an even more dramatic mood.
Direct Front Light
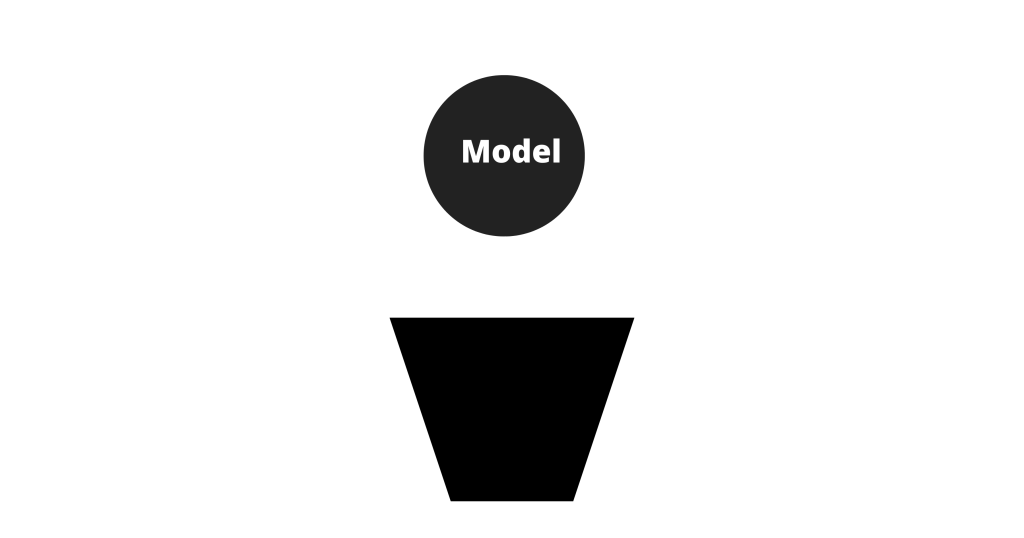
A direct front lighting setup is incredibly good for reducing shadows and giving your subject a clean and polished appearance.
It is very effective for photographing fashion models or mannequins since it makes them and the worn products more engaging and realistic.
Setting your light close to the camera will give your items a more attractive, antique vibe on the faces of your models or the subject on mannequins.
Two Lights
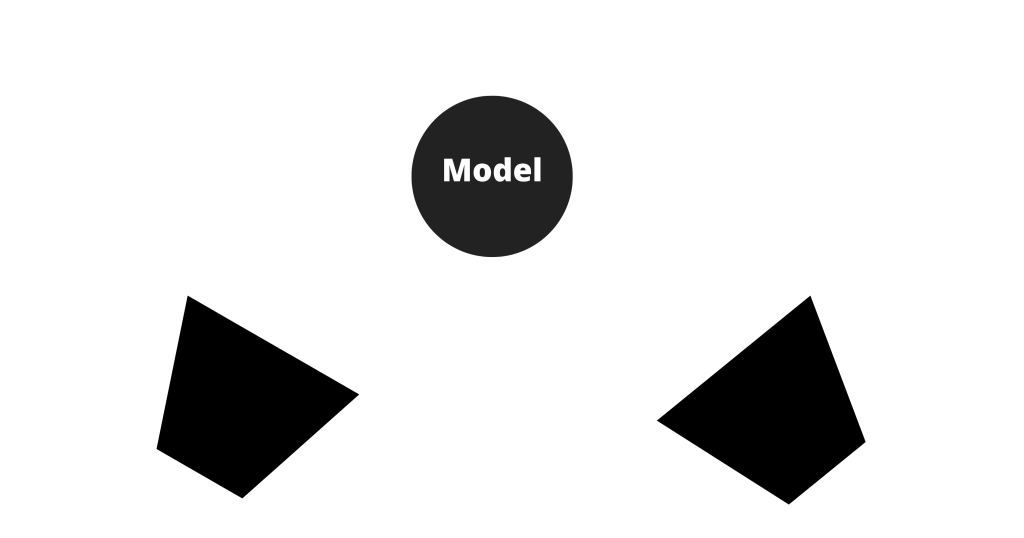
A fill light at a 45-degree angle from your products is preferable. Start by inserting your second light on the other side of your product, somewhat closer to it. Two lights should be manually or wirelessly attached so that they flare up at the same time.
If you don’t want to cover the product’s darker side, so you may use shadows to create a shape with this light.
Full Coverage (Three Lights)
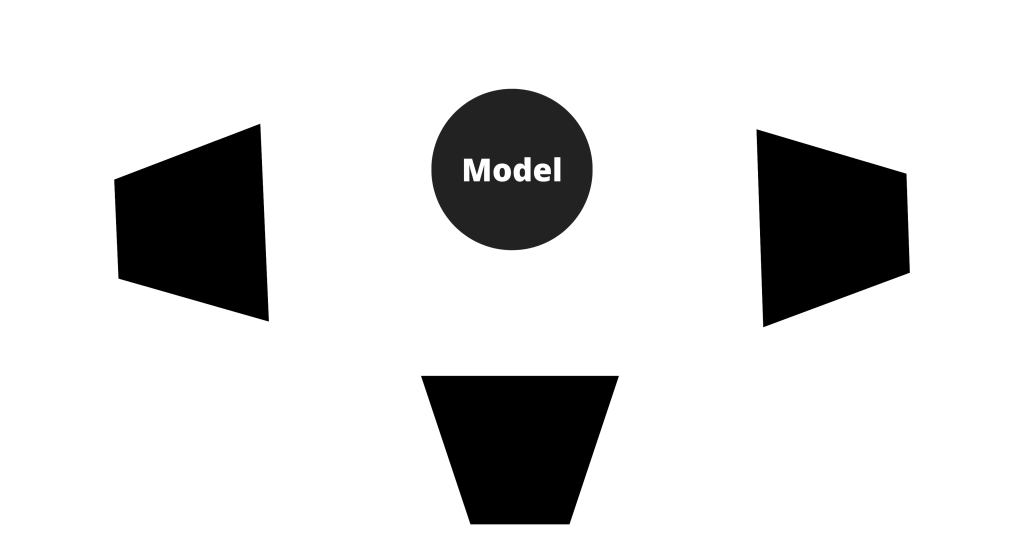
It’s not like every garment photography setup needs four or five lights. A three-point lighting setup can give the ideal amount of light for capturing the most attractive photographs of your clothes.
You will be able to cover the majority of the area by selecting three light sources. Combining the correct light source, reflector, and backup light is the key to achieving the perfect lighting for clothing photography. You will be capable of covering your subject from head to toe without casting shadows or any dark areas into the white background.
Triangle Setup with Three Lights
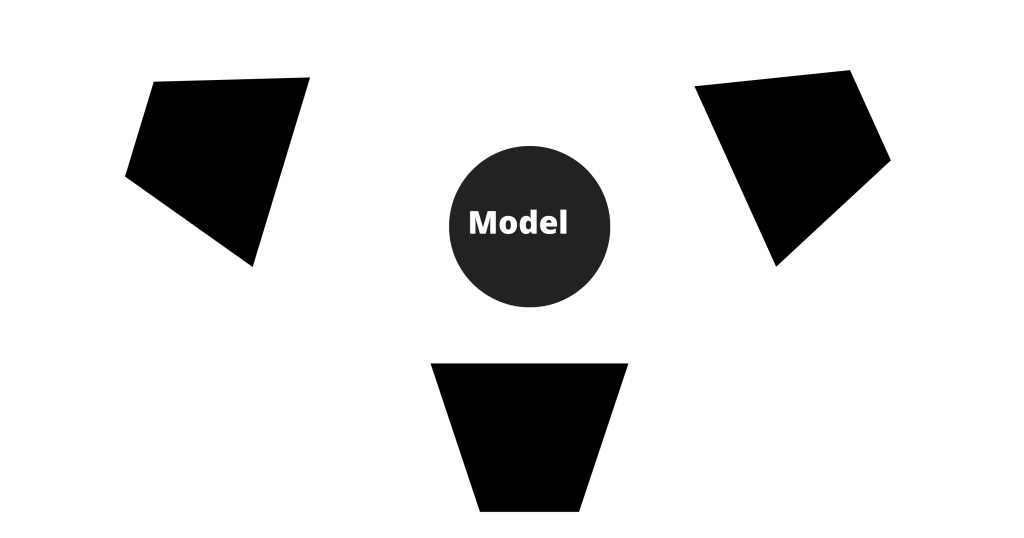
The placement of your lights in a triangular pattern is referred to as a triangular setup. It promotes the product’s pleasing appearance. Three lights focused on the product at triangle angles. But, the subject of photography should be closer to the triangle studio lighting setup.
Separation Setup with Three Lights
Three lights are required for the perfect lighting for clothing photography. One to highlight your subject from the front, one from the side, and one to brighten your background.
You should arrange these lights in a “V” formation, with the V facing your subject. This will separate your subject from the background while still letting enough light in to get the desired impact.
Use Natural Light for Soft, Even Lighting
Do you want to get the ideal combination of flattering light and harsh shadows in your clothing photography? Then, you should use natural light.
Natural light provides gentle, even sunlight that helps clarify the curves of your apparel and makes it appear more polished and elegant. It may also be used to supplement other forms of lighting, such as studio lights or flash photography, to get the desired results.
5 Lighting Equipment for Clothing Photography
1. Generic Godox E250 Pro
The E Series Flash is a comprehensive function flash that is lightweight, compact, and durable. Generic Godox E250 pro is designed for shooting portrait photography and as an e-commerce product.
This 250W flashgun is better than its previous version Godox E250. The flashgun can be activated with a sync cord from your camera. At the lowest point, it is hard to set the power levels, modeling lights, and also a siren without Godox trigger products. Instead of the battery pack, it uses an AC power outlet.
In big studios and workshops, it can also provide high light or background light. You can find the most desirous effect on your product pictures or portraits by using it.
Core Elements
- Simple to Operate
- 250W Studio Flashgun
- Installation Hardware is Switch
- Batteries Not Included
2. IVISII 19-inch Ring Light
When it comes to capturing the ideal shot or video there is no alternative to a ring light.
Its ring-shaped design, changeable color temperature (3000K-5800K), and low consumption make it extraordinary lighting equipment.
The IVISII 19-inch Ring Light also provides a superb shooting experience.
Its high brightness and 3000K-5800K adjustable color temperature will give you the results you need whether you’re using it as a fill-in light for portrait photography, network broadcast, or clothing photography. With this IVISII 19-inch Ring Light, You can shoot breathtaking photographs like a pro in minutes.
Core Elements
- The color temperature is from 3000K to 5800K with a knob.
- Power supply with 14-18V DC input adaptor.
3. Godox 80x80cm Softbox Bag Kit
The inside face of the Godox 80x80cm softbox bag kit is reflected in silver, which softens the light and erases shadows for flawless shooting.
Bowens-mount lights can be used to create unique lighting effects.
Its compact and portable design takes up less space. This clothing photography kit includes high-quality softbox lights for a professional shoot. There is no compromise or any harsh effect when it is used to get desired fashion or product photos.
Core Elements
- 80cm x 80cm diffuser for handheld lighting
- Front fastener-attached transparent cover
4. Neewer 24×24″/60x60CM 700W Professional Photography Softbox
Neewer Photography Softbox is very adaptable and can be used for a variety of photographic styles, making it an excellent buy if you want to take your photography to the next level.
It is a type of light modulator that helps you get the desired effect in your photos by diffusing and curving the light.
It is perfect for shooting clothing since it produces a pleasing and natural image while being gentle on the materials.
Core Elements
- 4.7 x 3.1 x 2-inch size, Portable design, and minimal space needed
- Easy to move,
- Light Bulb 85W 5500K CFL
- Light Stand 83″/210cm
5. EMART Photography 71inch/180cm Large Parabolic Umbrella
The EMART Parabolic Umbrella is ideal for a large photography studio lighting setup because it can cover a huge area. But, white light has no effect on the color of your subject, it is great for photographing fashion models or mannequins.
It has to be moved closer or further away from the flash head to shape the light, and it throws a massive volume of filtered soft light. You can use it to create a decorative effect on your product photos. It also can be used for photography, videography, stage acts, product photography, or just as flashy light.
Core Elements
- Fiberglass structure with 16 ribs and an 8mm thick metal shaft
- transport-friendly
- This umbrella’s central shaft measures 71″(180cm) in length and weighs 2.5lb/1.15kg.
FAQs
How Do You Avoid Reflection in Clothing Photography?
You should use very diffuse light to avoid reflection in clothing photography.
What Kind Of Lighting Is Best For Clothing Photography?
You should use natural or window light to create the most amazing vibes in your photography.
What is the Ideal Camera Setting for Clothing Photography?
Manual or aperture-priority camera mode is appropriate for clothing photography; the aperture should be f/1.8-f/5.6 in low light or for a smaller depth and f/18-f/16 for a broader depth. Then, for stills, examine the focus area single point, Af-C for moving objects, and sRGB color palette.
Conclusion
Lighting is an important aspect of every photographer’s work, whether it’s for product or lifestyle shots. We’ve discussed 8 effective lighting setups for clothing photography in this article, whether you have an e-commerce store or are interested in fashion.
With little effort, you can generate breathtaking photographs. These setups can help you obtain professional-quality images fast and easily, whether you’re a novice in photography or a seasoned pro!
