
Batch resizing images in Photoshop lets you resize hundreds of photos at once while preserving quality. Image Processor quickly adjusts dimensions, Actions automate repeated resize steps, and Export settings control format and file size. Used together, these tools speed up workflows, reduce errors, and deliver consistent results for web, print, or client project teams.
What you’ll learn in this article
How Batch Resize Images in Photoshop Using Image Processor?
Batch Resize Images in Photoshop Using Image Processor works through File > Scripts > Image Processor, letting you resize multiple images at once, set dimensions (1080×1080), convert formats, and save files to new folders while keeping quality consistent and workflows fast.
Here’s the exact step-by-step process that turns a slow, manual task into a quick, repeatable workflow.
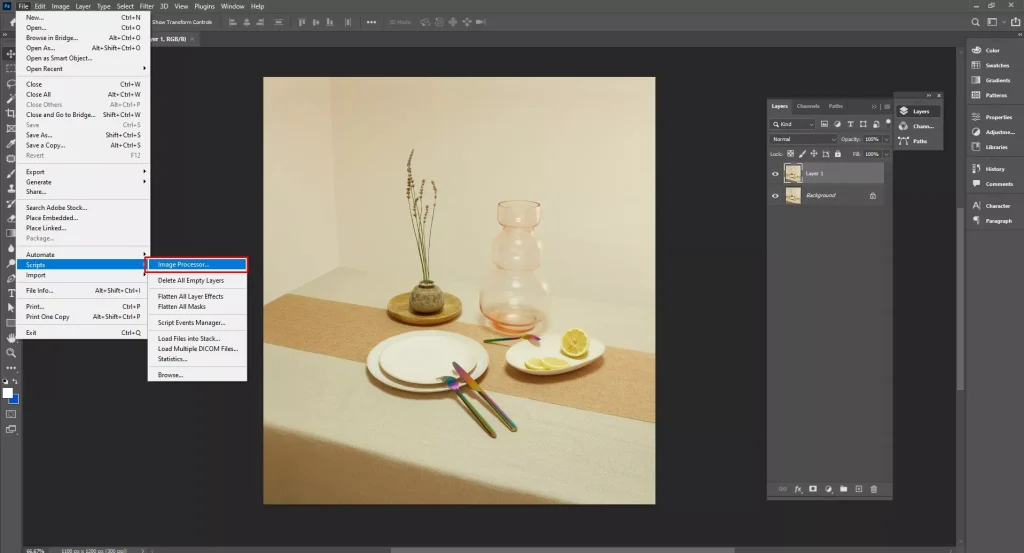
Step 1: Open Image Processor
This step opens the built-in Photoshop tool that handles bulk image resizing in one place.
- Open Photoshop
- Go to File > Scripts > Image Processor
- Wait for the Image Processor window to appear
- Keep it open to set your resize options in the next steps
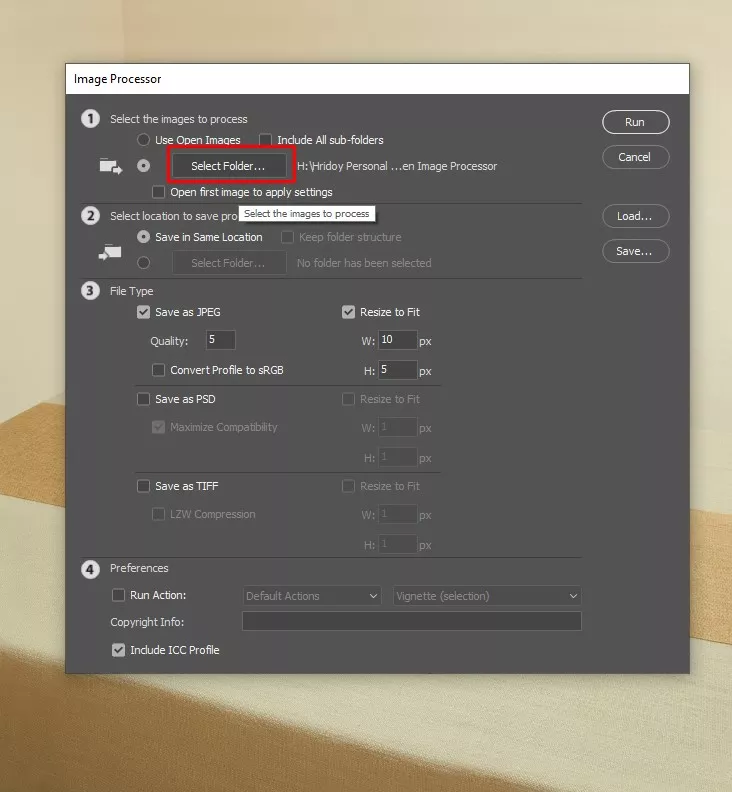
Step 2: Select Folder
This step tells Photoshop where your images are stored so it can resize them in bulk.
- In Image Processor, click Select Folder under Select the images to process
- Choose the folder that contains your images
- Confirm the folder selection
- Make sure all images you want resized are inside this folder
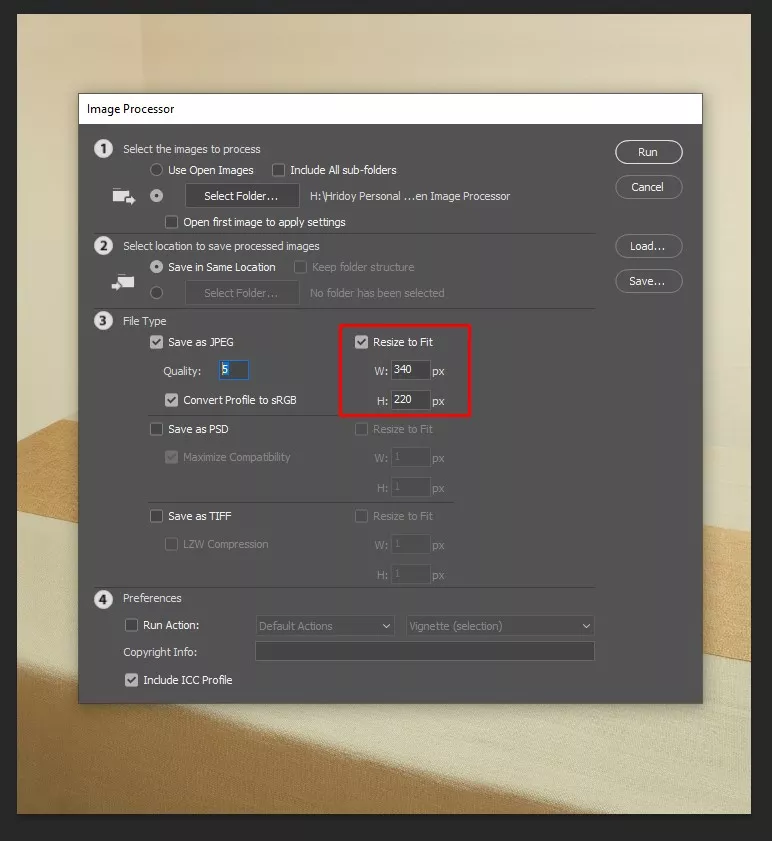
Step 3: File Type
This step decides the format and quality of your resized images.
In Image Processor, Check the File Type You Want: JPEG, PSD, or TIFF
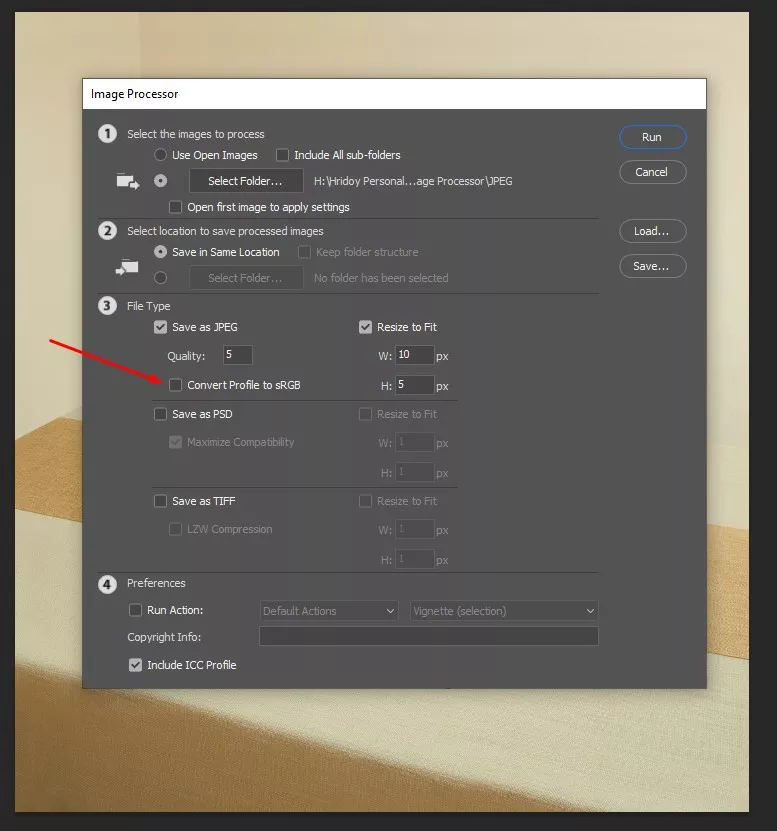
- For JPEG, set the quality level (1–12)
- Optionally, Check Convert Profile to sRGB for web-friendly colors
- You can select multiple file types if needed
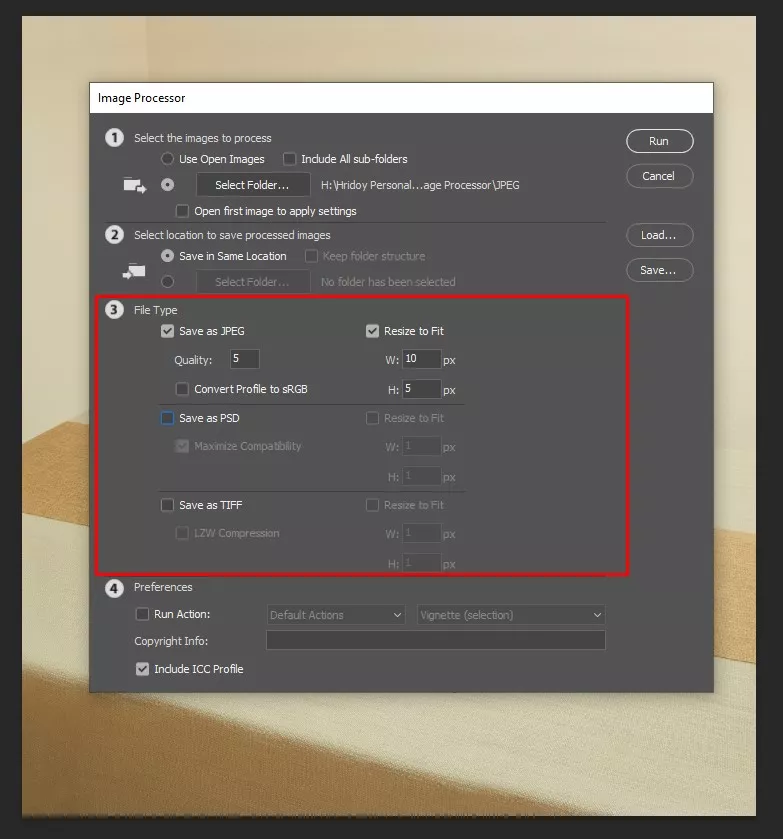
Step 4: Resize Your Image
This step sets the new dimensions for all your images at once.
- Check resize to fit in the image processor window
- Enter the width and height you want
- Photoshop will automatically resize all images to fit within these dimensions
- Leave unchecked if you don’t want to change the image size
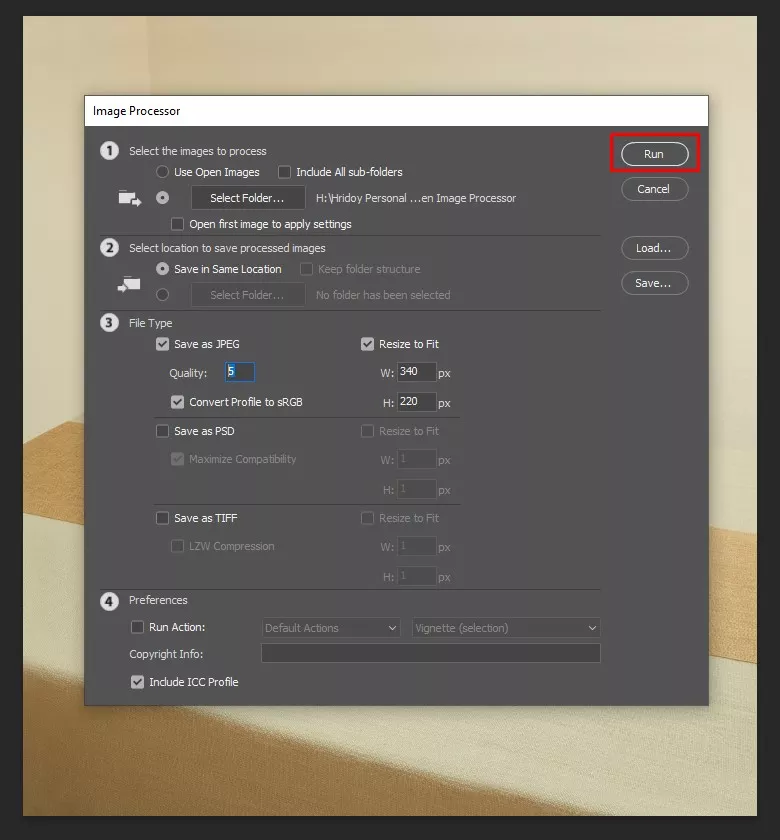
Step 5: Click on Run
This step starts the batch resizing in Photoshop process and applies all your settings to every image.
- Review all settings in the Image Processor window
- Click the run button at the top right
- Photoshop will process each image in the selected folder
- Wait until the progress bar completes to find your resized images in the chosen output folder
How Batch Resize Images in Photoshop?
Create a Photoshop action to batch resize images quickly and consistently. Record steps like setting image size, maintaining aspect ratio, and adjusting canvas. Once saved, use File → Automate → Batch to apply the action to an entire folder, speeding up workflows and keeping results consistent. With a simple Photoshop action, you can resize hundreds of images in just a few clicks. Here’s how to set it up step by step.
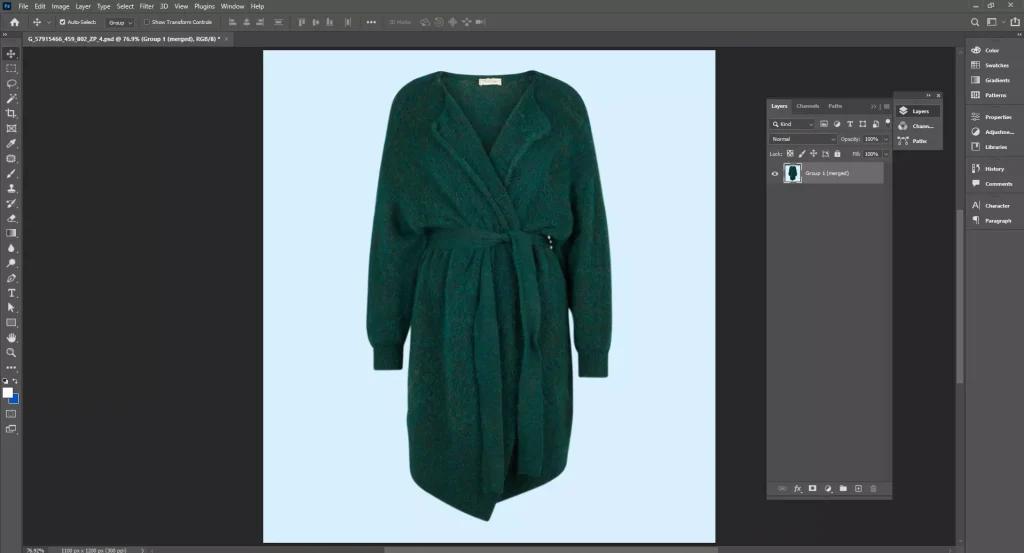
Step 1: Open Photoshop Workspace
Launch Photoshop and open any new or existing document. The content doesn’t matter; you just need access to the workspace.
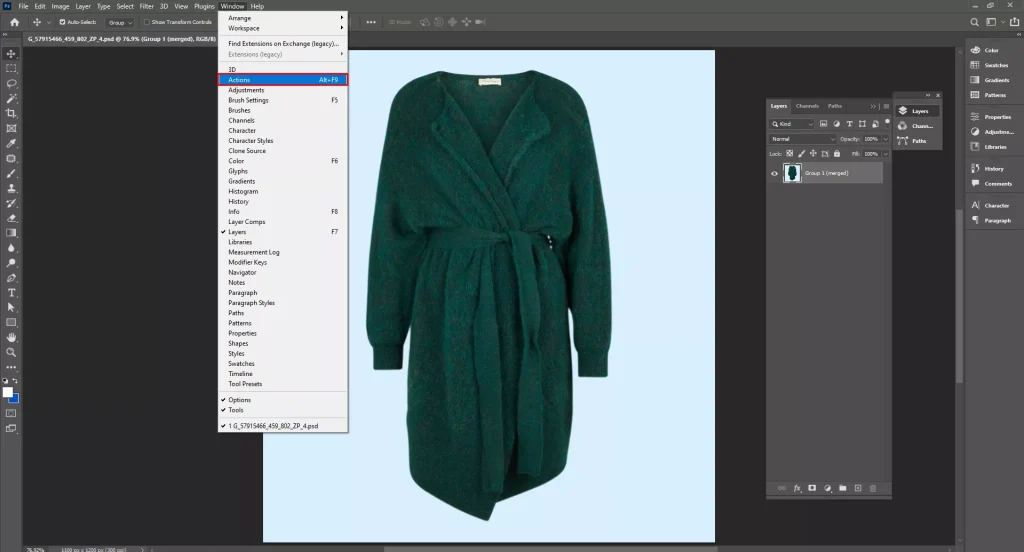
Step 2: Open Actions Panel
Go to Window → Actions or press Alt/Option + F9 to open the Actions panel.
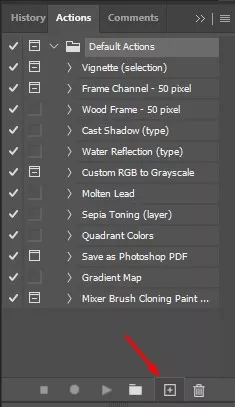
Step 3: Explore Default Actions
Try Photoshop’s built-in actions by selecting one and pressing the Play button. This helps you get familiar with how actions work. Some actions have adjustable parameters; others run automatically.
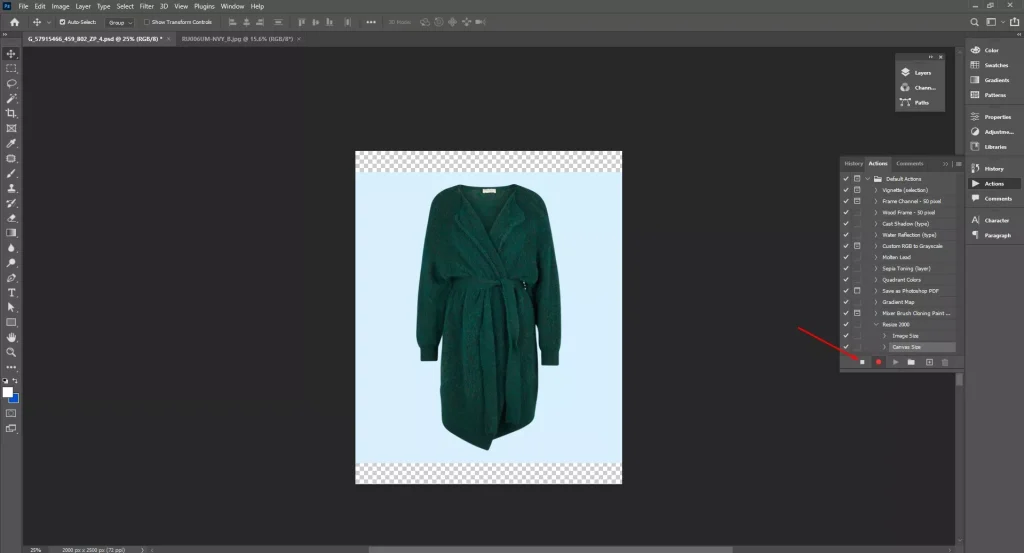
Step 4: Create a New Action
Click the + button at the bottom of the Actions panel. Name your action (e.g., Resize 2000×3000) and optionally assign a color label to organize your workflow (cool colors for early steps, warm for finishing steps).
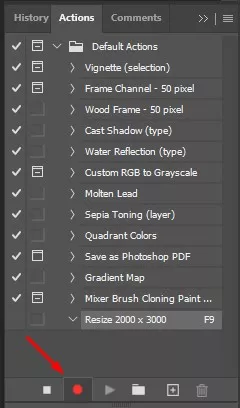
Step 5: Start Recording
Press the Record button. It will turn red, indicating Photoshop is tracking all steps you perform.
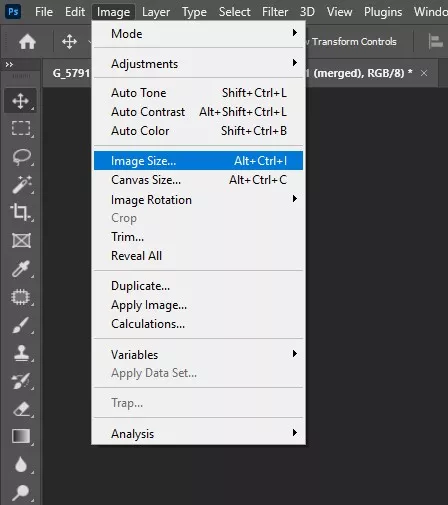
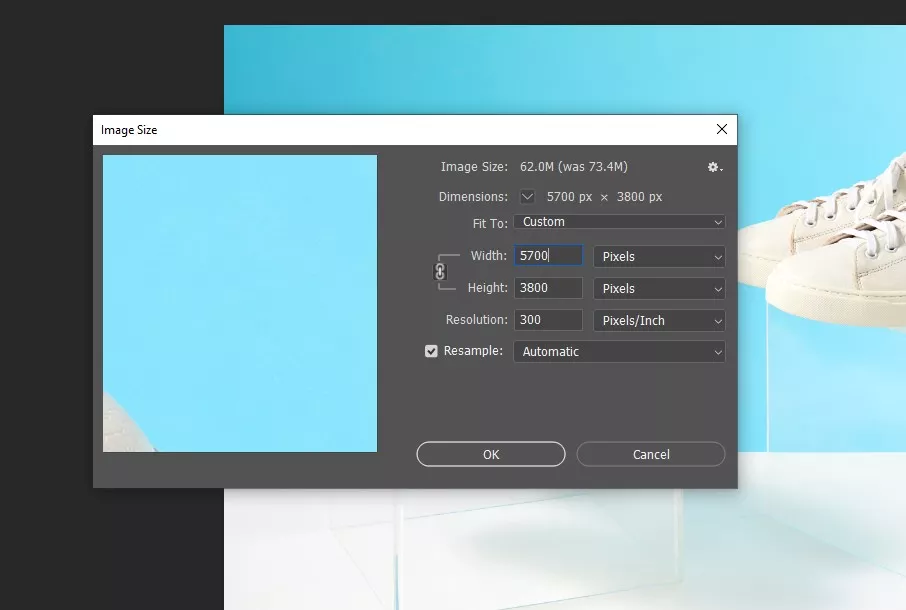
Step 6: Resize the Image
- Go to Image → Image Size or press Alt/Option + Control/Command + I.
- Ensure the link between Width and Height is active to maintain the aspect ratio.
- Choose your target width or height (e.g., 2000 pixels wide). Photoshop will adjust the other dimension automatically.
- Set Resampling to Automatic for best results.
- Press OK to apply.

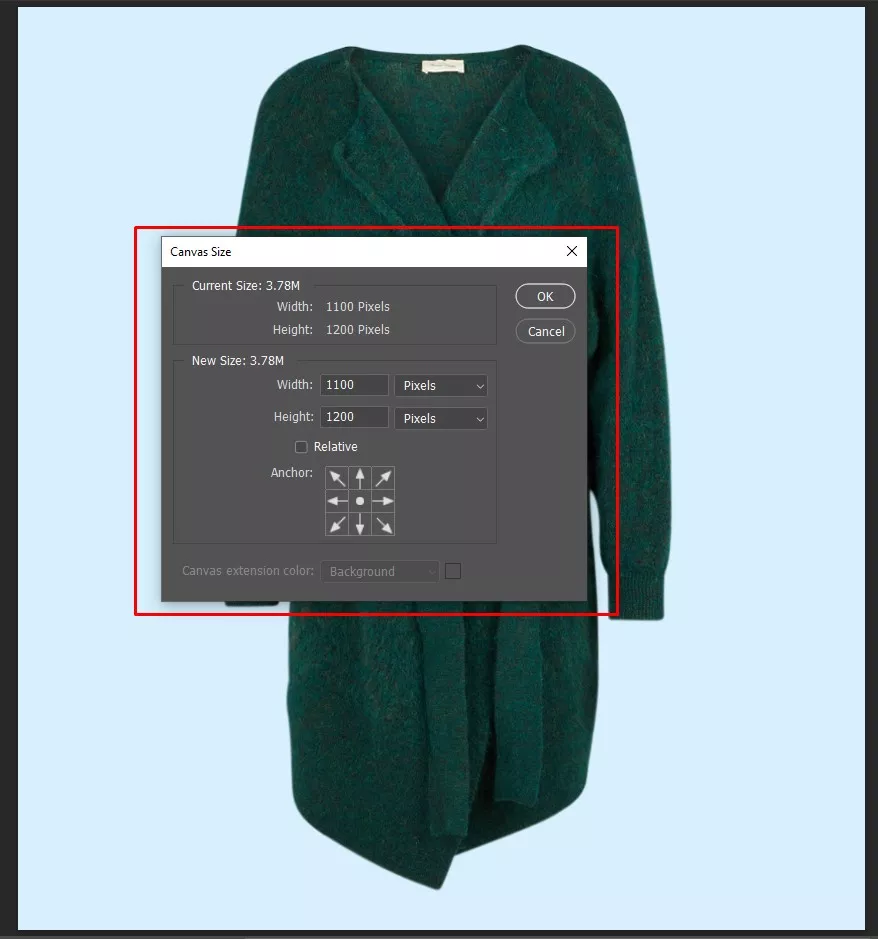
Step 7: Optional: Adjust Canvas Size
Go to Image → Canvas Size to add borders without resizing the photo itself. This is useful for prints or matting.
Step 8: Stop Recording
- Click the Stop button next to the red recording icon.
- Your new action has been saved and is ready for batch processing.
Step 9: Review the Action
Expand the action steps in the panel to confirm all commands were recorded correctly, especially the Image Size adjustment.
How Batch Resize Images in Photoshop Using Automatic Process?
Batch resizing images in Photoshop using an automatic process starts by recording a resize action, then applying it through File → Automate → Batch. Create an action that resizes one image and saves it to a new folder. Photoshop then opens, resizes, and saves every file automatically, keeping sizes consistent and saving hours of manual work. Here is the step-by-step process for batch resizing images in Photoshop using the automatic batch method:
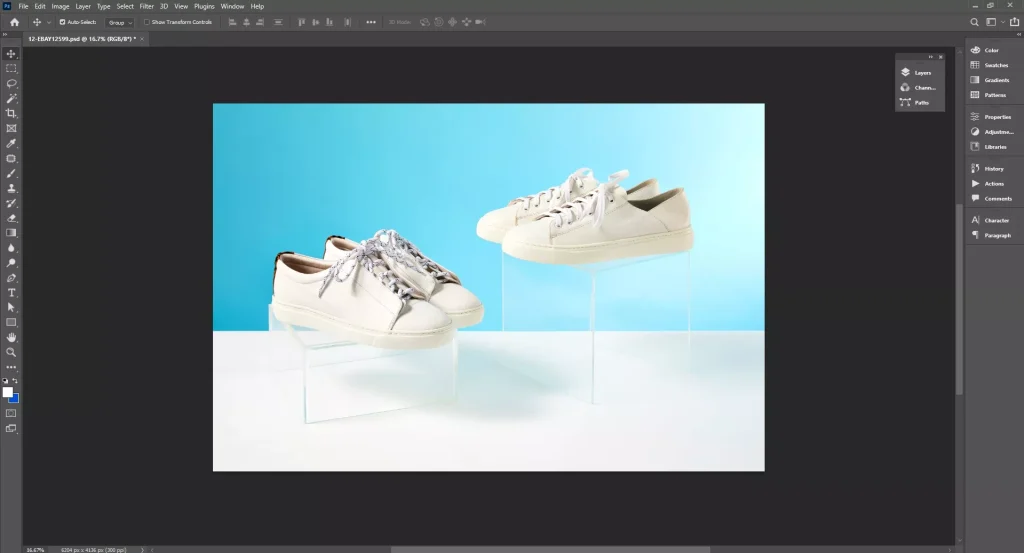
Step 1: Prepare Your Files & Open an Image
Place all images in one folder (for example, Originals). Create a second empty folder for the resized images (for example, Resized). Open any image from the Originals folder in Photoshop.
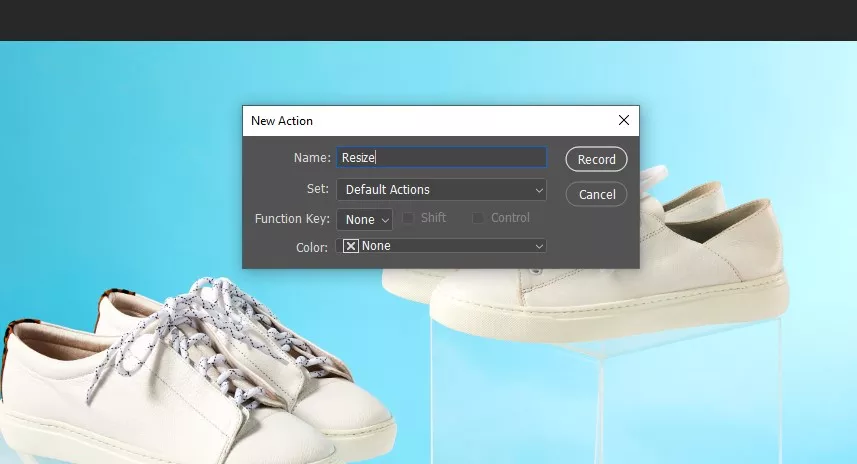
Step 2: Create and Record the Action
- Open Window → Actions, click +, name the action Resize, and press Record
- Go to Image → Image Size, set the target width or height, and keep proportions locked
- Use File → Save As to save the file in the Resized folder, then close the image
Step 3: Stop Recording
Click the Stop button in the Actions panel to save the action.
Step 4: Run the Batch Process
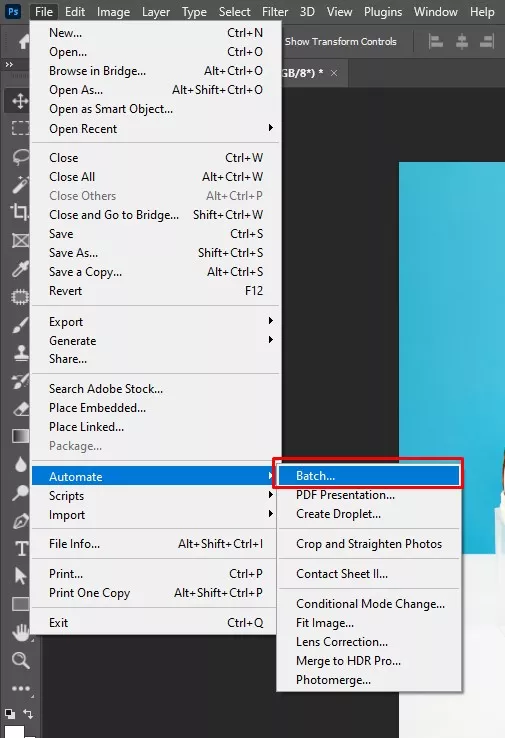
- Go to File → Automate → Batch
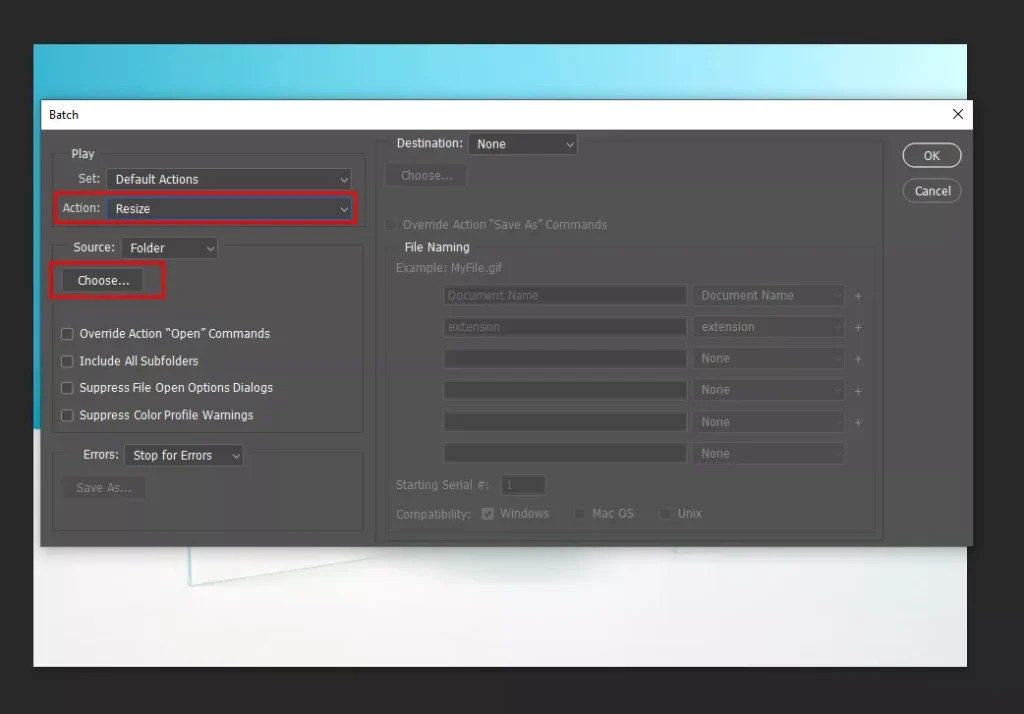
- Select your resize action
- Choose the Originals folder as the source, set the destination folder, and run the batch process
- Enable Override Action “Save As” Commands to save in a new folder
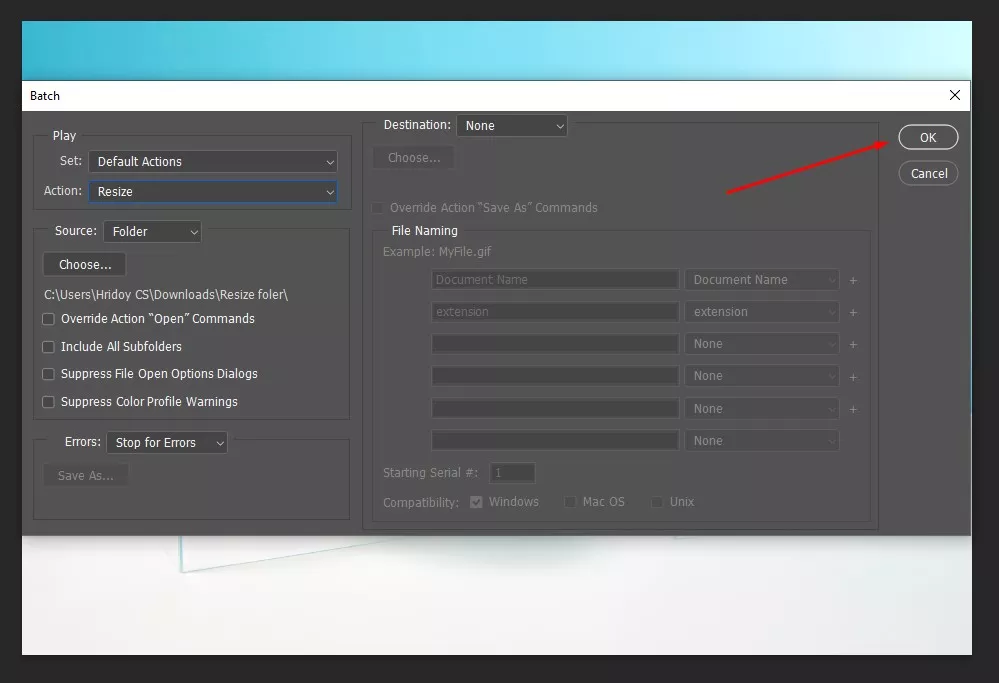
- Click “OK”
There is an alternative to batch processing in Photoshop using Image Processor. Go to File, then Scripts, and then Image Processor. This method is a straightforward, non-recorded way to resize multiple images at once. Follow these steps to use the image processor effectively.
1. Open Photoshop: Launch Photoshop. No image needs to be open.
2. Open Image Processor: Go to File → Scripts → Image Processor.
3. Select Source Folder: Choose the folder containing the images to resize.
4. Choose Destination Folder: Select the folder where resized images will be saved.
5. Set Resize Options: Enable Resize to Fit, enter width or height, and select the file type (JPEG, PSD, or TIFF).
6. Run the Process: Click Run to automatically resize all images in the folder.
What is Batch Resizing?
Batch resizing in Photoshop is a proactive way to adjust multiple images at once, instead of editing them individually. This process can include changing image dimensions, fixing resolution or DPI, converting file formats, adding borders or padding, and applying color or mode adjustments.
The main advantage is saving time while ensuring consistency across all images. Using Photoshop’s Batch tool or Image Processor, editors can standardize, resize, or convert large volumes of photos quickly, making them ready for web use, social media, e-commerce, or print, all while maintaining quality and brand consistency.
Why is Bulk Resize Images Important?
Bulk resizing images is important because it saves time, improves website loading performance, enhances SEO, reduces storage usage, and maintains visual consistency across platforms. Since the process is automated, you can adjust multiple images at once, eliminate repetitive manual editing, and ensure all images meet the same size, format, and quality standards efficiently. Here are the key reasons why bulk resizing images matters.
- Saves Time: Automates the resizing of hundreds of images, eliminating the need to edit each one manually and speeding up workflows.
- Improves Website Performance: Properly sized and optimized images reduce page load times, lower bandwidth usage, and enhance overall user experience on desktops and mobile devices.
- Boosts SEO: Fast-loading, consistent images help search engines index your site better, improving rankings and visibility.
- Reduces Storage Usage: Smaller, optimized files take up less server space, making it easier to manage large image libraries.
- Maintains Visual Consistency: Ensures all images have uniform dimensions, resolution, and appearance across websites, social media, and marketing materials.
- Eliminates Manual Errors: Automation prevents mistakes that often occur when resizing images individually, keeping results precise and consistent.
- Supports Multiple File Formats: Easily convert images to JPEG, PSD, TIFF, or PNG while resizing, matching different project or platform requirements.
- Streamlines Workflow: Batch image resizing processing allows designers, marketers, and photographers to handle large volumes of images efficiently, freeing up time for other tasks.
Can I Resize Multiple Images at Once in Photoshop?
Yes, you can resize multiple images at once in Photoshop, though using the Batch Command or Image Processor Script. Both tools let you apply the same adjustments, such as dimensions, file type, and quality, to an entire folder of images automatically, saving time and ensuring consistency. The most reliable method is to record an Action or use the Image Processor for full automation.
Should Businesses Outsource Batch Product Photo Resizing Services?
Yes, businesses like e-commerce, retailers, marketing agencies, and professional photo agencies should outsource batch product photo resizing service. Outsourcing is ideal for handling large volumes of images, repetitive tasks, tight deadlines, limited in-house expertise, or urgent projects. It is cost-effective, efficient, and ensures consistent, high-quality results. Here’s a list of reasons with descriptions for why businesses should outsource batch product photo resizing services.
- Saves Time: Outsourcing frees your team from repetitive resizing tasks, allowing them to focus on core business activities like marketing, sales, and content creation.
- Cost-Effective: Avoid hiring full-time staff or investing in expensive batch image resizing software and infrastructure; pay only for the volume of work you need.
- Handles Large Volumes: Professionals can quickly process hundreds or thousands of images, ideal for e-commerce catalogs, seasonal campaigns, or product launches.
- Ensures Consistency: Outsourced services maintain uniform dimensions, quality, and format across all images, creating a professional and cohesive look for your brand.
- Access to Skilled Resources: Leverage trained experts who know Photoshop, Lightroom, or other tools, eliminating the need for in-house specialized staff.
- Quick Turnaround for Urgent Projects: External services can meet tight deadlines, ensuring product images are ready for website updates, promotions, or social media campaigns on time.
- Reduces Errors: Professionals follow standardized workflows, minimizing mistakes that can occur when resizing images internally.
FAQ’s
What are the best tools for batch resizing images?
The best tools for batch resizing images are Photoshop, GIMP, IrfanView, XnConvert, FastStone Photo Resizer, and ImageMagick. They let you resize multiple images at once, convert formats, preserve quality, and automate tasks, saving time while handling large image collections efficiently.
What image formats support batch photo resizing?
Batch photo resizing formats support JPEG, PNG, TIFF, BMP, GIF, HEIF, and RAW formats like CR2, NEF, and ARW. These formats allow resizing multiple images at once while preserving quality, colors, and metadata, making large-scale editing fast and efficient.
What is the difference between batch photo resizing and image compression?
The difference between batch photo resizing and image compression is that batch photo resizing changes an image’s width and height without much quality loss. Image compression reduces file size by lowering the quality or removing data. Resizing affects display dimensions, while compression affects storage and loading speed, and both can be used together.
What are the common mistakes in batch photo resizing?
Common mistakes in batch photo resizing include losing quality, stretching images by ignoring aspect ratios, overwriting originals, using the wrong formats, resizing without checking resolution, and not testing settings on a few images first, which can cause errors across large batches.
