
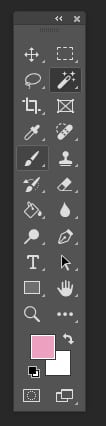
The Adobe Photoshop toolbar is a long, narrow palette with different editing tools located on the left side of the workspace. It is a powerful tool and ideal for photo editing, graphic design, creative projects, retouching, and making selections within Photoshop. Anyone can reposition and display the toolbar in either a single or double-column format. This complete guide will explore its benefits, features, tips, and tutorials for mastering it.
What is the Adobe Photoshop Toolbar?
The Adobe Photoshop Toolbar is a panel containing various tools (i.e., selection, cropping, painting, etc.) on the left side of Photoshop for drawing, painting, editing, and selecting elements within an image. Adobe Photoshop is an industry-leading design and photo editing software professionals and beginners use. It’s a customizable panel, meaning you can reconfigure it and move it around the screen.
The toolbar is a key part of its workflow, providing quick access to tools that simplify and speed up the editing process. Key features of Photoshop tools are:
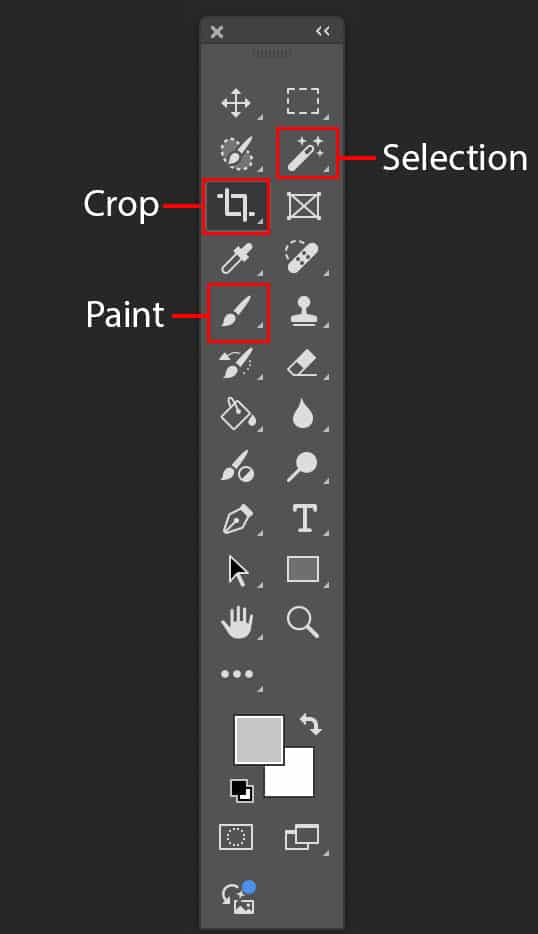
- Selection tools (Marque, Lasso, Quick Selection/Magic Wand tool) are useful to isolate specific areas of an image, allowing for precise edits and effects.
- Crop and Slice tools (crop tool and frame tool) are used to manipulate images in different ways.
- Retouching and Healing tools (Spot Healing/Healing Brush/Patch tool, Content-Aware Move, and Red Eye tool) are useful to remove blemishes, imperfections, and unwanted elements from photos, enhancing their visual appearance and quality.
- Painting and Drawing tools (Brush, Clone Stamp, and Pen tool) offer a blend of creative flexibility and editing.
- The text tool allows you to add text to your images.
- Navigation tools (Hand and Zoom tools) include the Navigator Panel, which is effective for zooming, scrolling, and monitoring your work within the workspace.
- Options Bar, located above the toolbar, provides settings for the selected tool, including brush size, opacity, blending modes, and more.
What are the Benefits of Using Adobe Photoshop?
The benefits of using Adobe Photoshop are simple photo retouching to advanced graphic design layouts, editing capabilities, creative tools for artistic expression, and integration with other Adobe Creative Cloud applications. Another benefit is to produce content for both digital and print media, adapting to diverse creative needs.
Advanced Tools for Professionals and Beginners
Photoshop caters to all skill levels. Beginners benefit from intuitive tools like Quick Selection and content-aware features, while professionals utilize advanced options such as layer masks, blending modes, and smart objects. This balance ensures users can achieve both basic edits and highly detailed, polished results.
Customizable Workspace
The ability to customize the workspace makes Photoshop highly efficient. Users can tailor toolbars, panels, and shortcuts to match their workflow, ensuring quick access to frequently used tools. This flexibility boosts productivity and provides a seamless editing experience for both new users and seasoned creatives.
Integration with Adobe Creative Cloud Applications
Photoshop integrates effortlessly with other Adobe Creative Cloud tools like Lightroom, Illustrator, and After Effects. This interconnected workflow allows users to refine designs, transfer files, and enhance projects across platforms, offering a cohesive and powerful creative environment for any project.

Time Efficiency with Shortcuts and Streamlined Tools
Efficiency is a core advantage of Photoshop. Time-saving features like keyboard shortcuts, tool presets, and automated actions simplify complex tasks. These tools enable users to work faster without sacrificing quality, helping them meet tight deadlines while maintaining precision in their creative projects.
How to Show the Toolbar in Photoshop
If the toolbar is hidden, restoring it is quick and easy. Follow these steps to bring it back and keep your workflow uninterrupted.
Step 1: Open the Window Menu
At the top of your Photoshop interface, click on the Window menu. This menu contains options to display or hide different panels and tools within Photoshop.
Step 2: Select Tools
In the dropdown list under the Window menu, locate and click on Tools. This will immediately enable the toolbar if it is currently hidden.
Step 3: Reattach the Toolbar (If Detached)
If the toolbar appears as a floating panel, click and drag it to the side of your workspace. A blue outline will appear, indicating where it can be docked. Release the mouse to reattach it.
How to Use Photoshop Toolbar and Tools
Understanding the Photoshop toolbar and its tools is key to mastering the software. This breakdown will guide you through the toolbar layout, tool options, and hidden features, helping you navigate and use each tool efficiently for precise edits and creative projects.
The Adobe Photoshop Toolbar
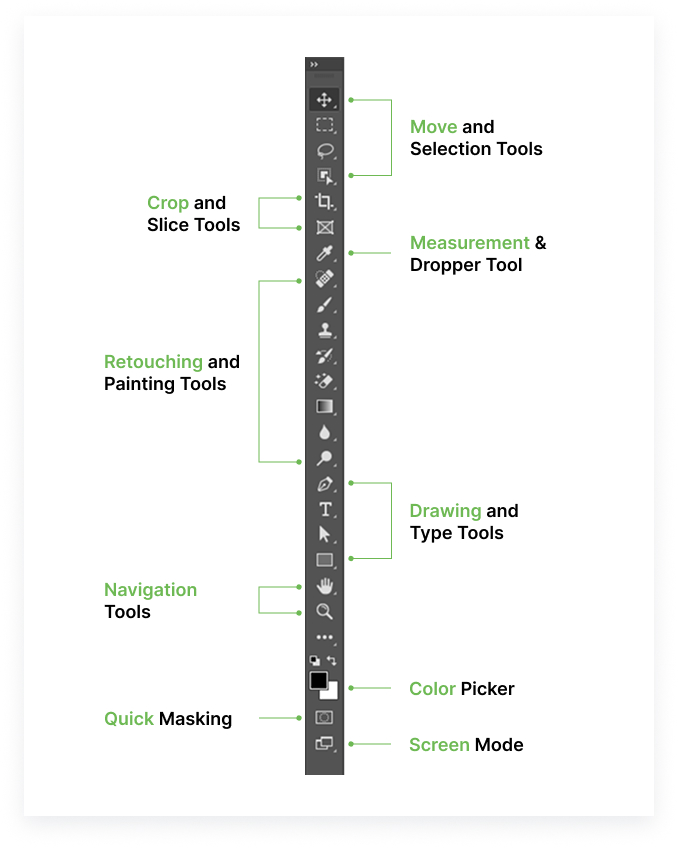
By default, the toolbar is located on the left side of the workspace. It provides access to essential selection, editing, painting, and navigation tools. Each tool is represented by an icon, ensuring quick and organized access for both basic edits and advanced design work.
Choosing a Single or Double Column Toolbar
Photoshop allows users to switch between Single and Double-column toolbar layouts for convenience. Click the small double-arrow icon at the top of the toolbar to toggle between the two views, depending on your screen space or preferred workflow setup.


The Photoshop Tools Layout
As you noticed, Photoshop’s toolbar is organized; tools are listed randomly but in a logical order. At the top, there are Photoshop’s Move & Selection tools, Crop & Slice tools, Measurement tools, Retouching & Painting tools, Drawing & Type tools, and Navigation tools.
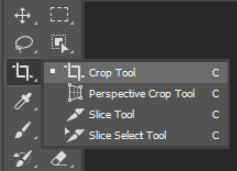
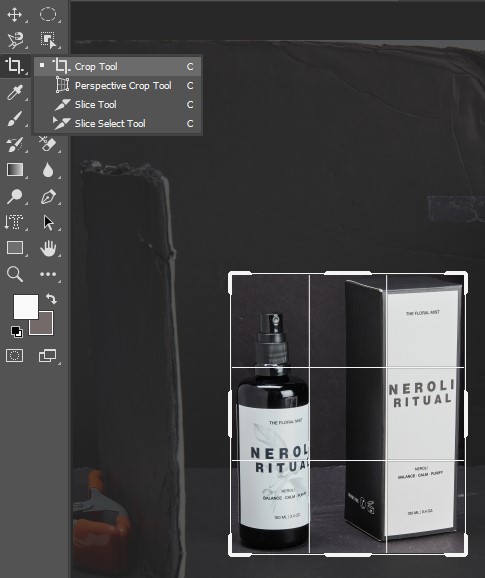
The Photoshop Toolbar’s Hidden Tool
An icon represents each tool in the toolbar, and many tools are available underneath the same tool. You can identify those within a small arrow in the bottom right corner of a tool icon, meaning more tools are hiding behind it. To view hidden tools, click and hold on the icon or right-click (windows)/Control-Click (Mac) on the icon. For example, if you click the “Crop Tool”, I’ll get access to three other tools: Perspective Crop Tool, Slice Tool, and Slice Select Tool.
The Default Tool
The default tool in Photoshop is those tools that are initially displayed in the toolbar when you first open Photoshop. For example, the Rectangular Marquee Tool. However, Photoshop will not always display the default tool; instead, you might see the last tool you selected whenever you open Photoshop.

What are the Most Commonly Used Photoshop Toolbar and Tools?
The most commonly used Photoshop tools are Pen tool, Object Selection tool, Crop tool, Spot Healing Brush/Healing Brush tool, Eraser tool, Text tool, Marquee tool, and many more as follows:
Move and Selection Tools Overview
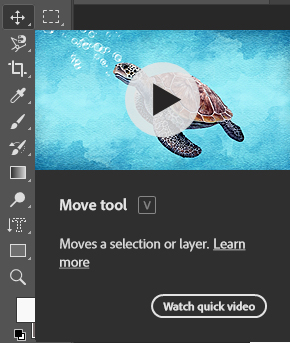
1. Move Tool (V)
The Move Tool is one of Photoshop’s most fundamental tools that allows you to move layers, objects, and selections across the canvas. The basic functions are alignment and distribution, copying selections, 3D object interaction (rotate and reposition), etc.
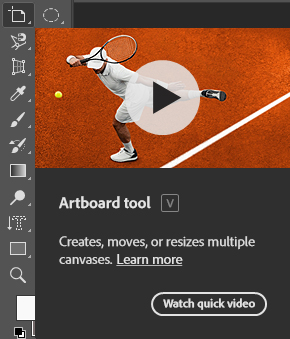
2. Artboard Tool (V)
The artboard tool in Photoshop creates and manages multiple virtual canvases within a single document. It is useful for designing different layout versions, preparing designs for different screen sizes, or organizing complex artwork (e.g., social media posts, UI designs, multi-page layouts, etc.).
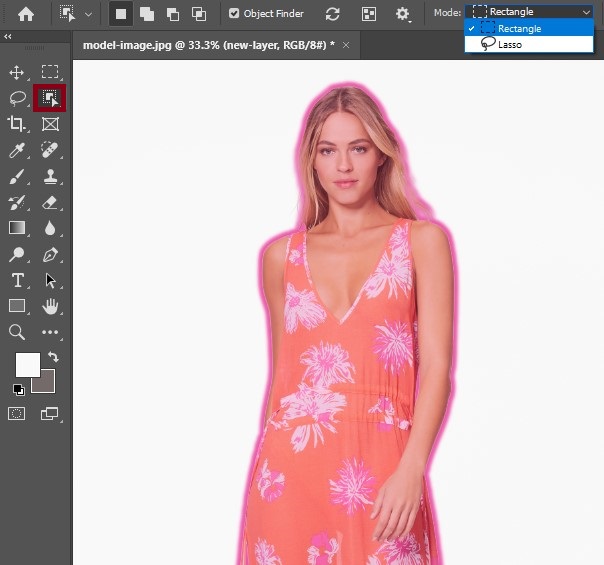
3. Rectangular Marquee Tool (M)
The Rectangular Marquee Tool in Photoshop creates a rectangular selection area. It allows you make rectangular or square-shaped selections in an image, which can be edited, copied, moved, or deleted.
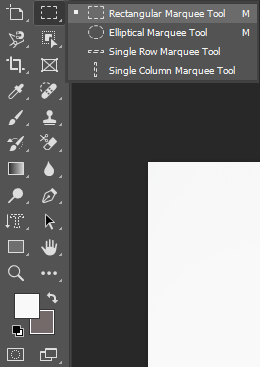
4. Elliptical Marquee Tool
The Elliptical Marquee Tool in Photoshop creates elliptical or circular selections within an image. This tool is used to select areas for editing, copying, pasting, or applying effects.

5. Single Row Marquee Tool
Single Row Marquee Tool is a selection tool in Photoshop, creates a one pixel high horizontal selection (left to right) across the entire width of your canvas. It’s useful for precise line-based selections, like adding or removing thin horizontal lines, cleaning up scan lines, creating borders, divider, or patterns, and so on.
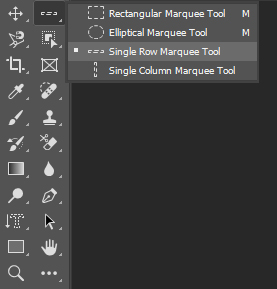
6. Single Column Marquee Tool
The Single Column Marquee Tool is another selection tool that creates a one-pixel wide vertical (top to bottom) selection across the entire height of your canvas. This tool is useful for pixel-perfect edits, creating dividers and lines, removing scan lines, and web or UI design.

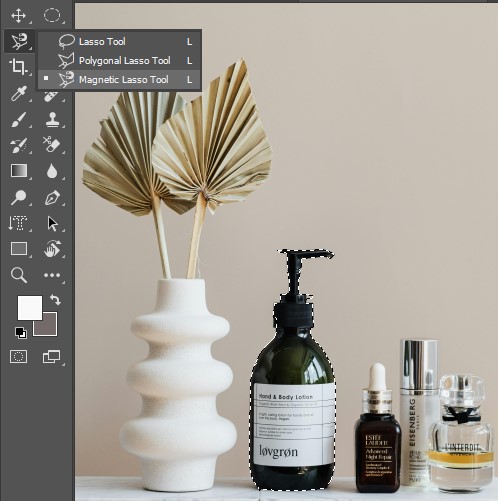
7. Lasso Tool (L)
The Lasso Tool in Photoshop is a freehand selection tool that allows you to manually draw a selection border around objects or areas in your image. You can use it to isolate elements for editing, retouching, or removal. For example, irregular shapes (hair, trees, etc.), objects with defined edges (logos, text, etc.), and manual touch-ups.
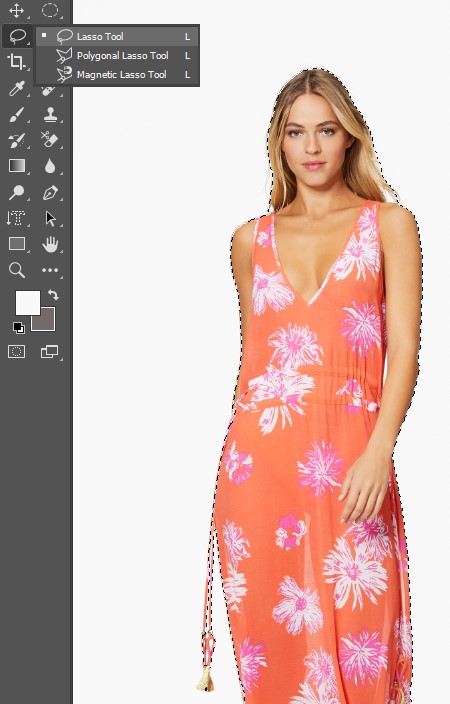
8. Polygonal Lasso Tool (L)
The Polygonal Lasso Tool is another selection tool creating polygonal, straight-edged lines. This tool is ideal for selecting objects with sharp corners or edges, electronics (phones, laptops, TVs, etc.), furniture, packaging, and boxes.
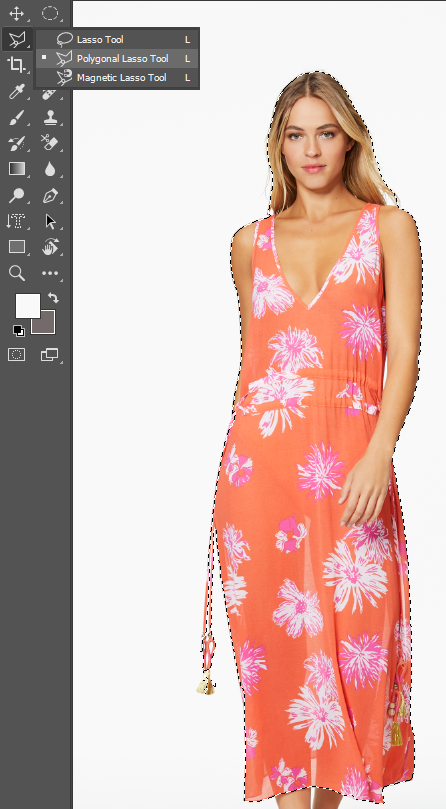
9. Magnetic Lasso Tool (L)
Photoshop’s Magnetic Lasso Tool is a selection tool that automatically detects and snaps to the edges of objects as you move the cursor along them. It uses contrasts and color differences to identify edges, which is useful for selecting objects with well-defined boundaries. For example, e-commerce products, portraits, and nature photography.
10. Object Selection Tool (W)
The Object Selection Tool detects and selects individual objects (like people, animals, products, etc.) in an image by using AI (automatic). It simplifies the process of isolating subjects for editing.
11. Quick Selection Tool (W)
The Quick Selection tool is a semi-automatic selection tool allows you to “paint” over an area to select objects based on similar color and texture. It automatically detects edges, making it ideal for isolating objects, backgrounds, or specific areas within an image.
12. Magic Wand Tool (W)
This tool is effective to select areas based on color similarity. It works by sampling a single color and selecting similar pixels within a defined tolerance. You can adjust the tolerance and other settings to refine the selection.
Crop and Slice Tools Overview
1. Crop Tool (C)
You can use this tool removing or hiding unwanted areas, change dimensions, or straighten photos for a cleaner and more balanced layout. It’s a non-destructive process, revert to the original image if needed. This tool is ideal for portraits, social media graphics, e-commerce product images, marketing materials, etc.
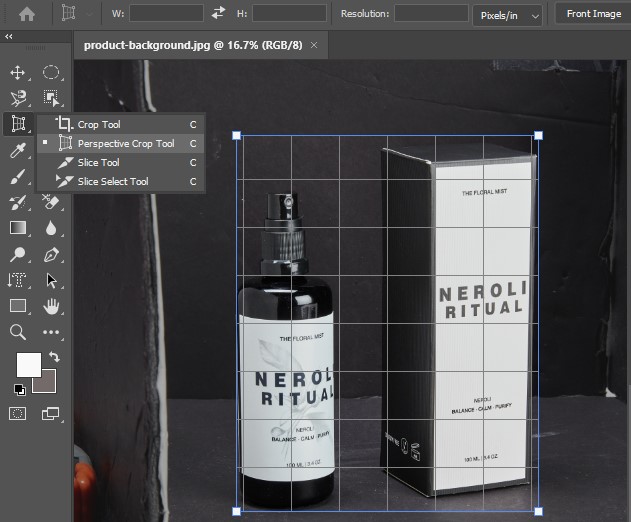
2. Perspective Crop Tool (C)
The Perspective Crop tool corrects perspective distortions and crops an image. It allows photo editing experts to transform the perspective of an image, making it appear as if it were viewed from a different angle, while cropping the edges. The shortcut key of Perspective Crop tool is “C”.
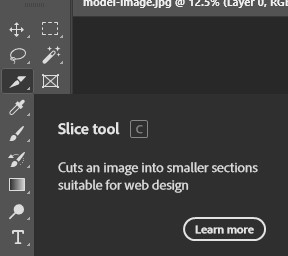
3. Slice Tool (C)
The Photoshop Slice tool is used to divide an image into rectangular areas, which are optimized and saved individually for web use. It is a digital cutting tool allowing you to break down a large image into smaller, manageable files for online display.
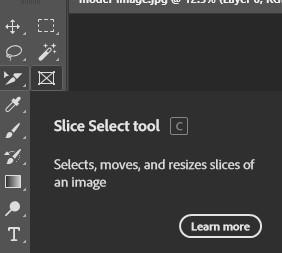
4. Slice Select Tool (C)
The Slice Select tool helps you to edit and manipulate pre-existing slices/sections within an image. It’s effective to conjunction, adjust the boundaries of individual slices, or delete them altogether.
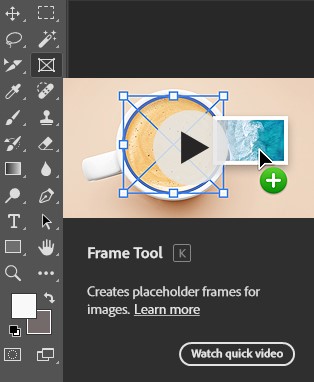
5. Frame Tool (K)
Photoshop’s Frame tool allows you to create placeholder frames that can be filled with images, offering a way to quickly compose a layout and replace images without affecting the overall structure. You can easily draw a frame (rectangle, ellipse, triangle, or custom shape) on the canvas.
Measurement Tools Overview
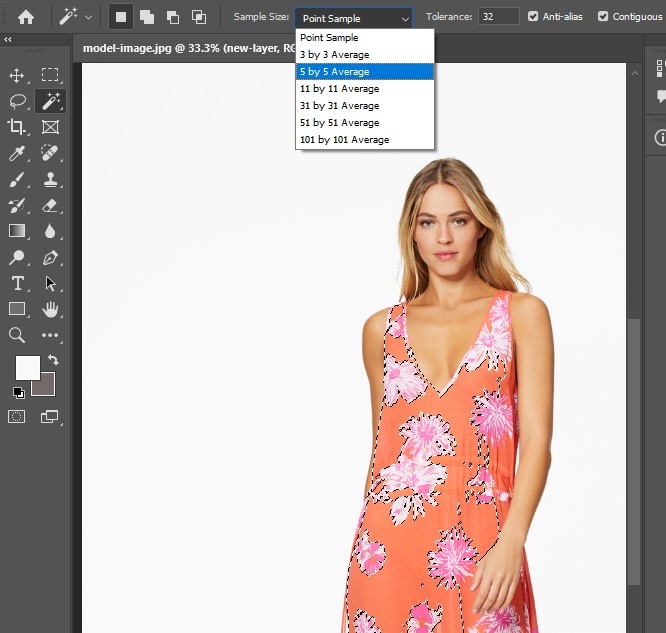
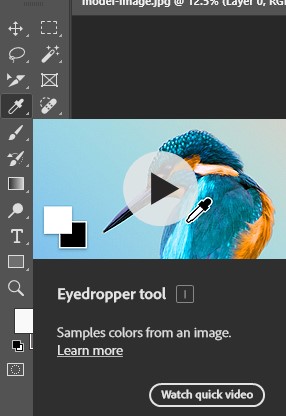
1. Eyedropper Tool (I)
The Eyedropper Tool samples colors from anywhere on the image, allowing you to match hues consistently. It’s a must-have for color correction, designing with palettes, or ensuring uniformity in branding projects.
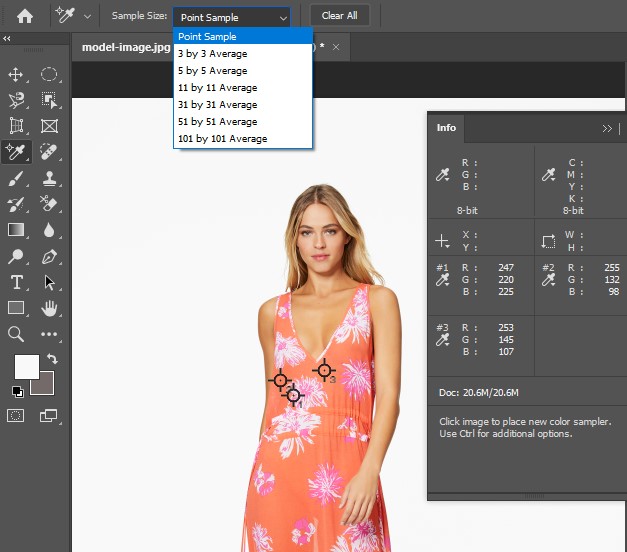
2. Color Sampler Tool (I)
The Color Sampler Tool allows Photoshop users to collect color sample and monitor specific color values (RGB, CMYK, HEX, etc.) from different areas of an image. Unlike the standard Eyedropper Tool, the Color Sampler Tool can track multiple color points, making it useful for precise color correction and analysis.
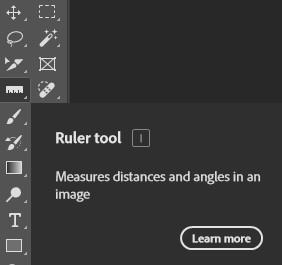
3. Ruler Tool (I)
This tool is used for precisely measuring distances and angles for positioning images and elements. It provides information about the starting point, distance traveled, and angle, displayed in the options bar and Infor panel. The shortcut key of Ruler tool is “I”.
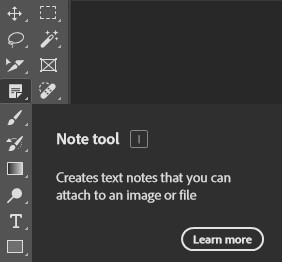
4. Note Tool (I)
The shortcut key of Note tool is “I” that allows you to add text notes to your documents, useful for annotations or reminders. These notes appear as small icons on the image, and type your message in the Notes panel.
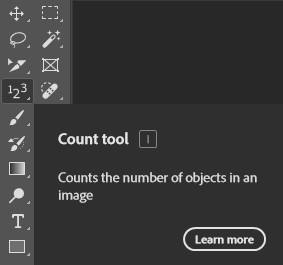
5. Count Tool (I)
The tool is effective to manually count objects within an image by clicking on them. It tracks the number of clicks and uses this information for various purposes, such as scientific or medical imaging.
Retouching and Painting Tools Overview
1. Spot Healing Brush Tool (J)
The Spot Healing Brush tool is an automatic tool that repairs image imperfections like blemishes, dust spots, and minor blemishes by replacing those areas with pixels from the surrounding area. Remove unwanted spots or marks from an image quickly and easily.

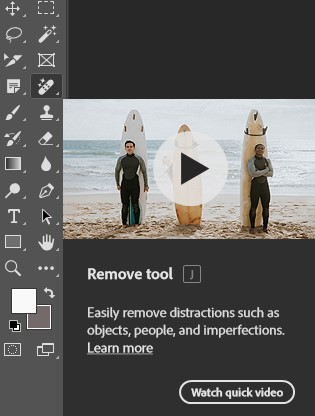
2. Remove Tool (J)
This tool removes unwanted elements automatically, like objects, people, or distractions from an image. It analyzes the image’s context and replaces the removed area with a new patch of pixels that blends in with the surrounding area.
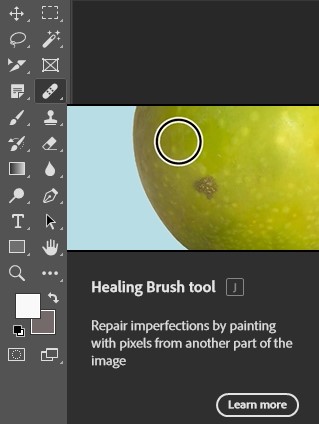
3. Healing Brush Tool (J)
The tool is used to repair imperfections and blemishes in an image by copying and blending textures from one area to another. It essentially “heals” areas by replacing pixels with samples from other parts of the image, making the repaired area blend seamlessly.
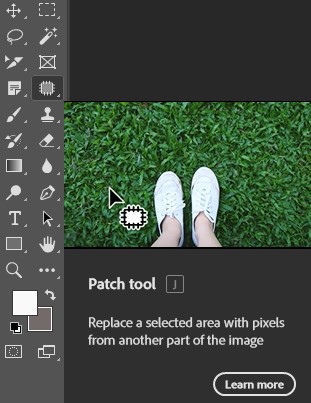
4. Patch Tool (J)
It is a versatile retouching tool to replace a selected area with pixels from another part of the image, or even clone elements from one part of the image to another. The tool is useful for removing unwanted objects, blemishes, and distractions.
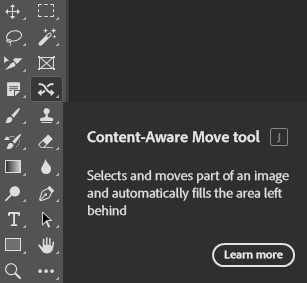
5. Content-Aware Move Tool (J)
The tool allows you to move a portion of an image to a different location and automatically fills in the area left behind with content from the surrounding areas.
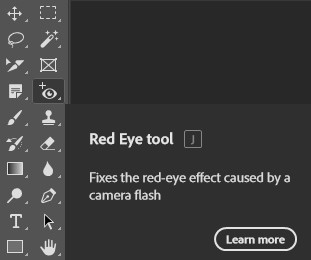
6. Red Eye Tool (J)
The tool eliminates the appearance of red eye that can happen in photos when a flash is used. It basically adjusts the color and brightness of the pupil area to make a natural eye.
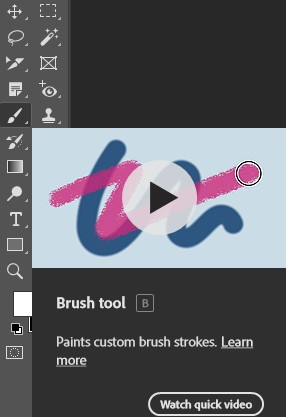
7. Brush Tool (B)
The Brush Tool is ideal for painting and retouching. Whether adding color, creating effects, or enhancing details, pressing B activates the tool. It’s a versatile option for creative edits with customizable size, opacity, and hardness.
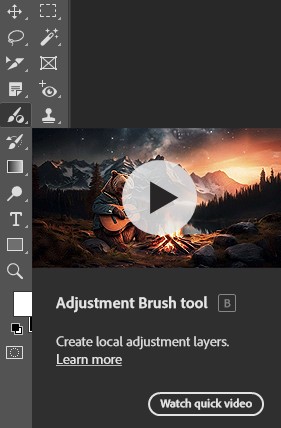
8. Adjustment Brush Tool (B)
It is a new feature to paint precise and efficient adjustments directly onto an image. The adjustments are brightness, contrast, and exposure with the control of a brush tool.
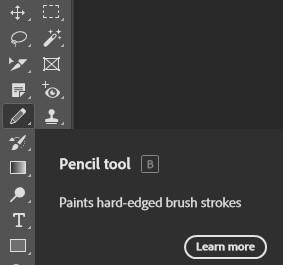
9. Pencil Tool (B)
The pencil tool in Photoshop is used to draw hard-edged lines and shapes with precision. Like the brush Tool, it produces sharper, more defined strokes, making it ideal for pixel-perfect edits and detailed line work.
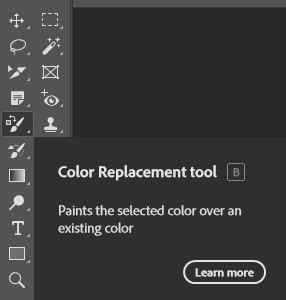
10. Color Replacement Tool (B)
The Color Replacement tool in Photoshop is a brush-like tool that allows you to change pixels color in your image. It works by sampling the color under your cursor so that you can apply changes to similar colors within a defined radius.
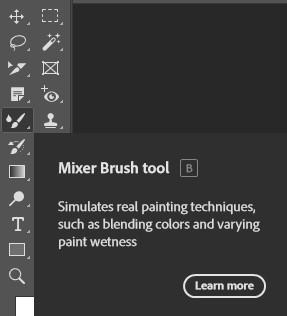
11. Mixer Brush Tool (B)
Photoshop’s mixer brush tool help you to mix colors together when you paint by picking up color samples from the image you’re painting on and set the rate at which the brush picks up paint from the canvas and the rate at which the paint dries out.
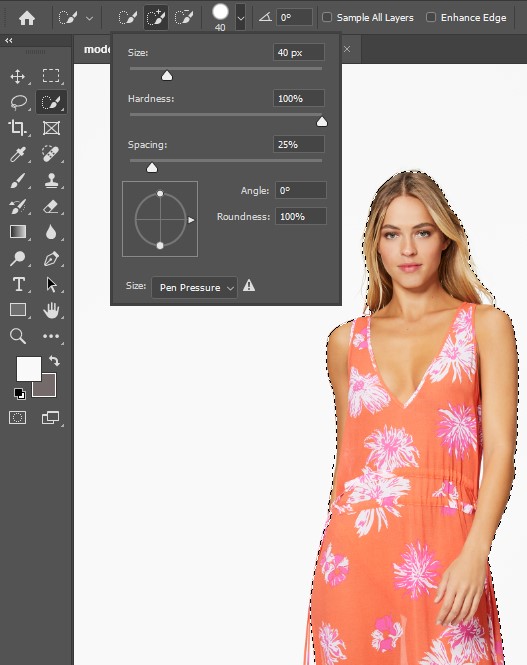
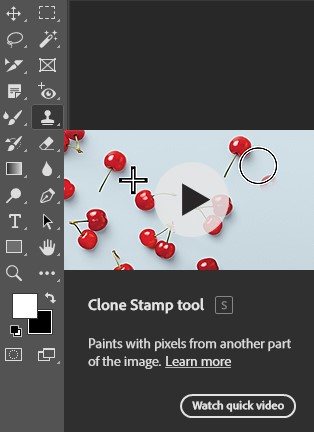
12. Clone Stamp Tool (S)
The Clone Stamp Tool is perfect for duplicating parts of an image. Press S to sample an area and paint over imperfections, making it useful for seamlessly retouching, removing objects, or blending details.
13. Pattern Stamp Tool (S)
The Pattern Stamp tool is ideal to paint with a pattern defined from your image, another image, or a preset pattern. Similar to filling with a brush, it’s a easy way to apply a decorative or textured element to your image.

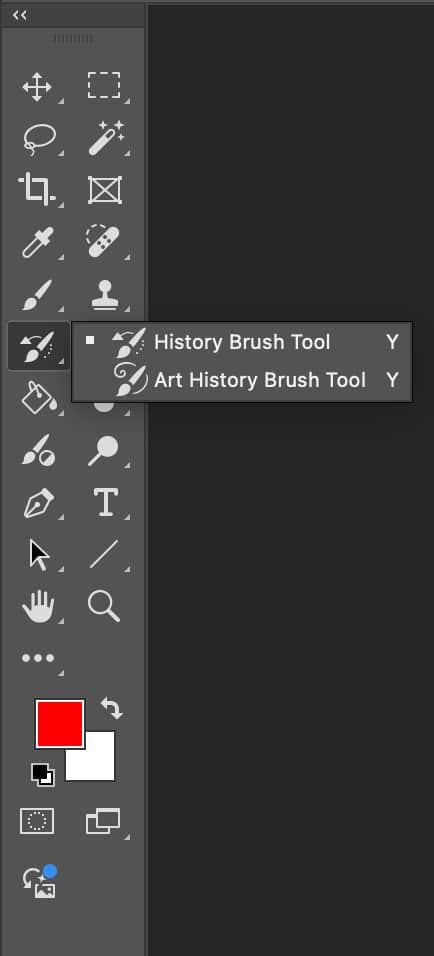
14. History Brush Tool (Y)
Photoshop’s History Brush tool provides you flexibility to selectively restore specific parts of an image to an earlier history state by “painting” over them. You can revert changes made to particular areas of an image to a previous state.

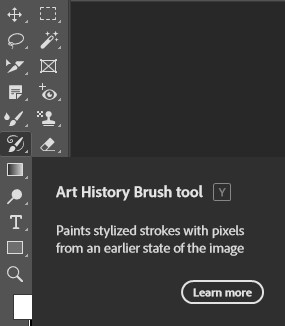
15. Art History Brush Tool (Y)
Photoshop’s Art History tool is a creative tool to paint with artistic styles and effects through traditional painting techniques. It uses a specified history state as a source and paints using the colors and textures from the state, creating paintery strokes and effects.
16. Eraser Tool (E)
The Eraser Tool removes parts of an image, layer, or background. Activated by pressing E, it works like a brush but in reverse, providing precise control to clean up edges, fix errors, or refine areas in your design.

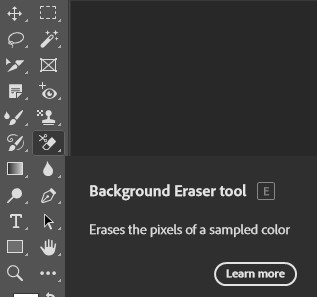
17. Background Eraser Tool (E)
The Photoshop’s Background Eraser tool is used to remove unwanted areas of an image and backgrounds by sampling a color and then erasing similar pixels from the image. It’s a quick and relatively easy way to isolate objects from busy/unwanted backgrounds.
18. Magic Eraser Tool (E)
The Magic Eraser tool is a quick and simple way to erase areas of an image by converting the, into transparent pixels. It works by selecting a color or a range of colors and erase all similar pixels.

19. Gradient Tool (G)
The Photoshop Gradient tool is effective to create smooth color transitions or blends between two or more colors within an image or selection. It allows you to change from one color to another across an entire image, creating amazing visual effects.

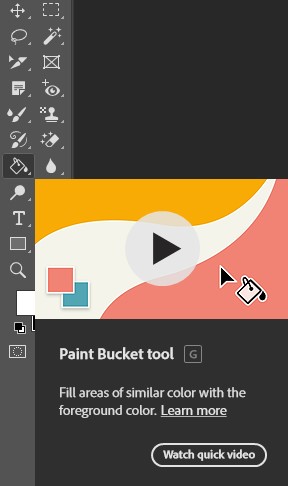
20. Paint Bucket Tool (G)
The Point Bucket tool fills areas of similar color with the foreground color. It is a quick and easy way to fill enclosed areas, shapes, or objects with a solid color or pattern.
21. Blur Tool
The blur tool is used to soften areas of an image, creating a less focused or more stylized appearance. It is used to blur entire layers or specific regions, useful for photo retouching, artistic effects, and emphasizing focus.

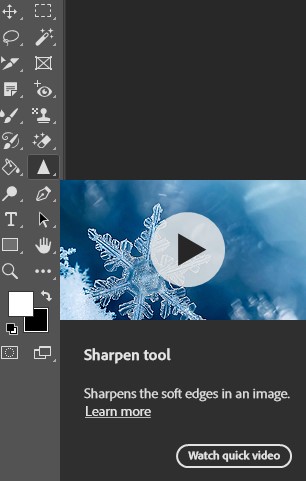
22. Sharpen Tool
A sharpening tool enhances image sharpness by increasing the contrast between edges, ideal for reducing the appearance of blur. It is used to make objects stand out, sharpen eyes in portraits, or to create a more defined focus.
23. Smudge Tool
The smudge tool is effective in simulating the effect of smearing wet paint. It picks up colors from the area where you start your stroke and pushes them in the direction you drag, blending and softening edges.

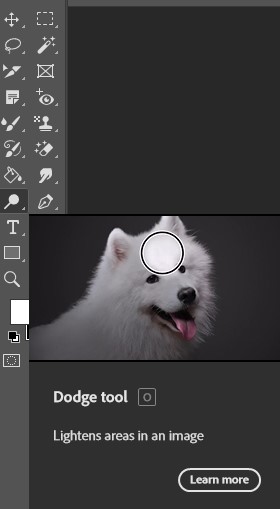
24. Dodge Tool (O)
The Dodge tool in Photoshop is used to select lighten specific areas of an image without affecting the overall hue or saturation. It reduces the exposure in a chosen area, like brightening eyes, highlighting details, or enhancing skin tone.
25. Burn Tool (O)
The burn tool in Photoshop is used to darken specific areas of an image, making those areas appear darker than the surrounding pixels. Means, this tool improve contrast (tonal reproduction) in film print-making.

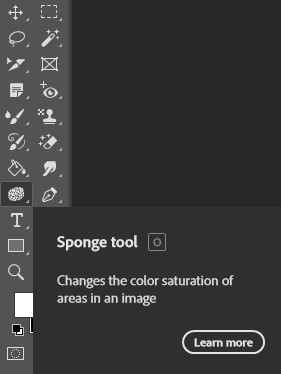
26. Sponge Tool (O)
The Sponge tool works like a brush and you can choose to desaturate to remove color and create a grayscale effect or saturate to make colors more vibrant.
Drawing and Type Tools Overview
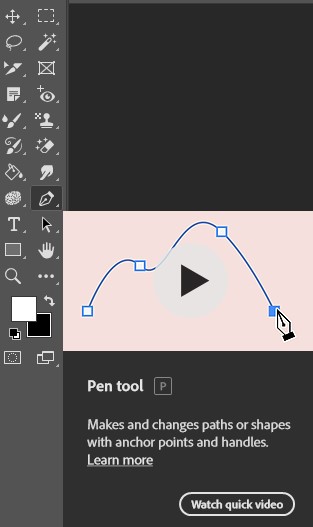
1. Pen Tool
The Pen Tool in Photoshop is indispensable for creating precise paths, shapes, and vector designs. It’s widely used for tasks like making accurate selections, designing logos, or tracing complex shapes, offering unparalleled control and versatility in editing.
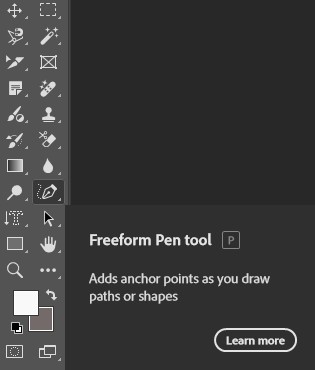
2. Freeform Pen Tool (P)
It is a drawing tool to create freehand vector paths and shapes by automatically adding anchor points. User-friendly tool is useful to make selections, create paths for shapes, or even trace outlines of objects within an image.
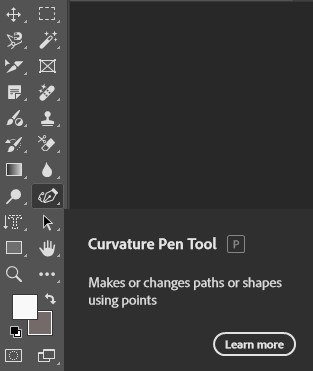
3. Curvature Pen Tool (P)
The photo editing tool is used to draw and edit curves and straight lines by clicking on control points instead of dragging to set handles. It is useful for creating smooth, organic shapes and paths for selections, shapes, or masks.
4. Add Anchor Point Tool
Photoshop’s Add Anchor Point Tool help you to add new control points to existing paths. This add anchor point tool is useful for creating complex shapes and fine-tuning vector paths.

5. Delete Anchor Point Tool
The tool is located within the Pen Tool options, allowing you to remove anchor points from paths and shapes. With this tool, you can delete anchor point by changing the shape of the path or shape.

6. Convert Point Tool
The tool in Photoshop help to change the type of an anchor point on a path, converting it from a smooth point to a corner point and vice versa. It is useful for fine-tuning paths after drawing.

7. Horizontal Type Tool (T)
The Horizontal Type Tool is used to add and edit horizontal text layers (left to right) in an image. It allows you to type, format, and stylize text for designs, posters, social media graphics, and more.
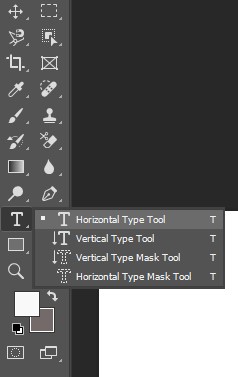
8. Vertical Type Tool (T)
The Vertical Type Tool in Photoshop creates text that runs vertically (top to bottom). This text is ideal for layouts, branding, or creative photography.

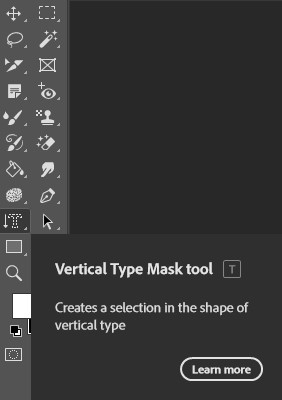
9. Vertical Type Mask Tool (T)
The Vertical Type Mask Tool in Photoshop creates a vertical text-shaped selection. Unlike the standard tool, this tool generates live text layers, produces a selection in the shape of vertical text, allowing you to fill, cut, or modify.
10. Horizontal Type Mask Tool (T)
The Horizontal Type Mask Tool helps you to create a selection in the shape of text for editing or applying effects. It is used to apply effects, adjust layers, or perform other edits.

11. Path Selection Tool (A)
A Path Selection Tool in Photoshop is used to select and move an entire path at once. It’s different from the Direct Selection Tool, allows you to select and edit individual anchor points and segments of a path.
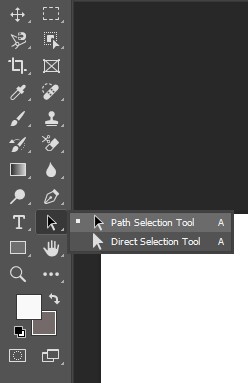
12. Direct Selection Tool (A)
The Direct Selection Tool (A) in Photoshop is used to select and manipulate individual anchor points or paths within a vector shape, pen tool path, or smart object.

13. Rectangle Tool (U)
The Rectangle Tool is a shape tool in Photoshop used to draw vector-based rectangles and squares. Unlike raster layers, these shapes are scalable without losing quality, ideal for design layouts, masks, and graphic overlays in photo editing.
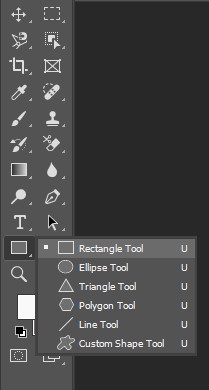
14. Ellipse Tool (U)
The Ellipse Tool is used to draw perfect circles and ovals in Photoshop. It creates vector-based shapes, meaning they can be scaled infinity without losing quality.

15. Triangle Tool (U)
When you want to draw triangles, use the Triangle Tool, nested under the Rectangle Tool (U). You can create perfectly symmetrical triangles for designs, graphics, and photo compositions.
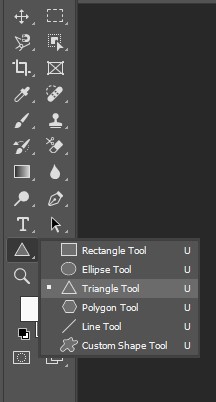
16. Polygon Tool (U)
Another shape tool is the Polygon Tool, that is used to create vector-based polygons (multi-sided shapes like triangles, pentagons, hexagons, stars, and more). Unlike raster layers, these shapes are scalable without losing quality, ideal for graphic design, logos, and precise photo editing.
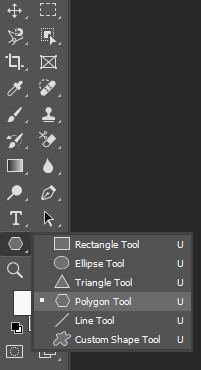
17. Line Tool (U)
You can draw straight lines as vector shapes or paths/pixels and arrows using the Line Tool in Photoshop. The tool is effective for non-destructive vector lines, customizable strokes and styles, guides and alignment, and speeds up workflow.
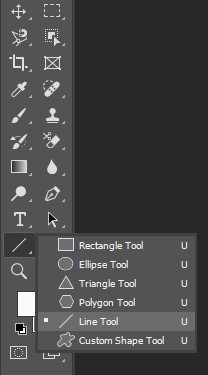
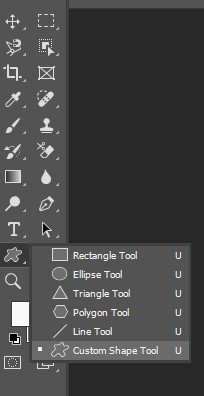
18. Custom Shape Tool (U)
You can add different shapes, including leaf trees, wild animals, flowers, and boats, using the Custom Shape Tool in Photoshop. Custom shapes are vector-based, meaning you can resize without losing quality, use them for a variety of purposes, customizable, easy to create paths and shape layers, and so on.
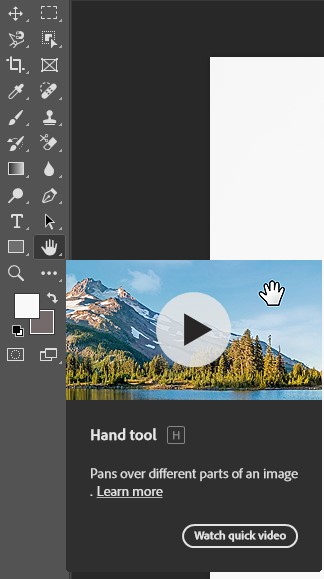
1. Hand Tool (H)
The Photoshop Hand Tool is a navigation tool to move around an image when it’s zoomed in or larger than the canvas view. You can use this tool to inspect different areas of a photo without altering the actual pixels.
2. Rotate View Tool (R)
The Rotate View Tool in Photoshop is useful to change the canvas view of your document at different angles, without altering the image. You can correct crooked images, retouch, or align elements at more comfortable angles.

3. Zoom Tool (Z)
The Zoom tool in Photoshop helps to zoom in and out of an image view without altering the actual file. It allows you to inspect details, correct imperfections, and ensure pixel-perfect accuracy. The shortcut key is Z, and the icon is a magnifying glass 🔍.

What is the Latest Version of Adobe Photoshop, and What are the Key Changes from the Previous Release?
The latest version of Adobe Photoshop is 26.5, released March 27, 2025, with new features and enhancements for Desktop Users, Web, and iPad, including an updated adjustment preset layout, removal of unwanted elements from images with remove distractions, similar variations with Generative AI, improved Object Selection, and new interactions in the Remove tool.
- Presets Layout Adjustments: The adjustments panel in Photoshop has now been updated with tab-based navigation. That means you can now drag and drop presets to organize them.
- Remove Distractions: The updated Remove Distractions in the Remove tool allows you to remove people who are not the main subject.
- Generative AI Variations: Using the Generative Fill, Generative Expand, Generate Image, and Generate Background functions, you can generate multiple variations of an existing image.
- Improved Object Selection: The improved Object Selection tool allows you to easily select, edit, or remove specific objects in your images.
How to Customize Photoshop Toolbar?
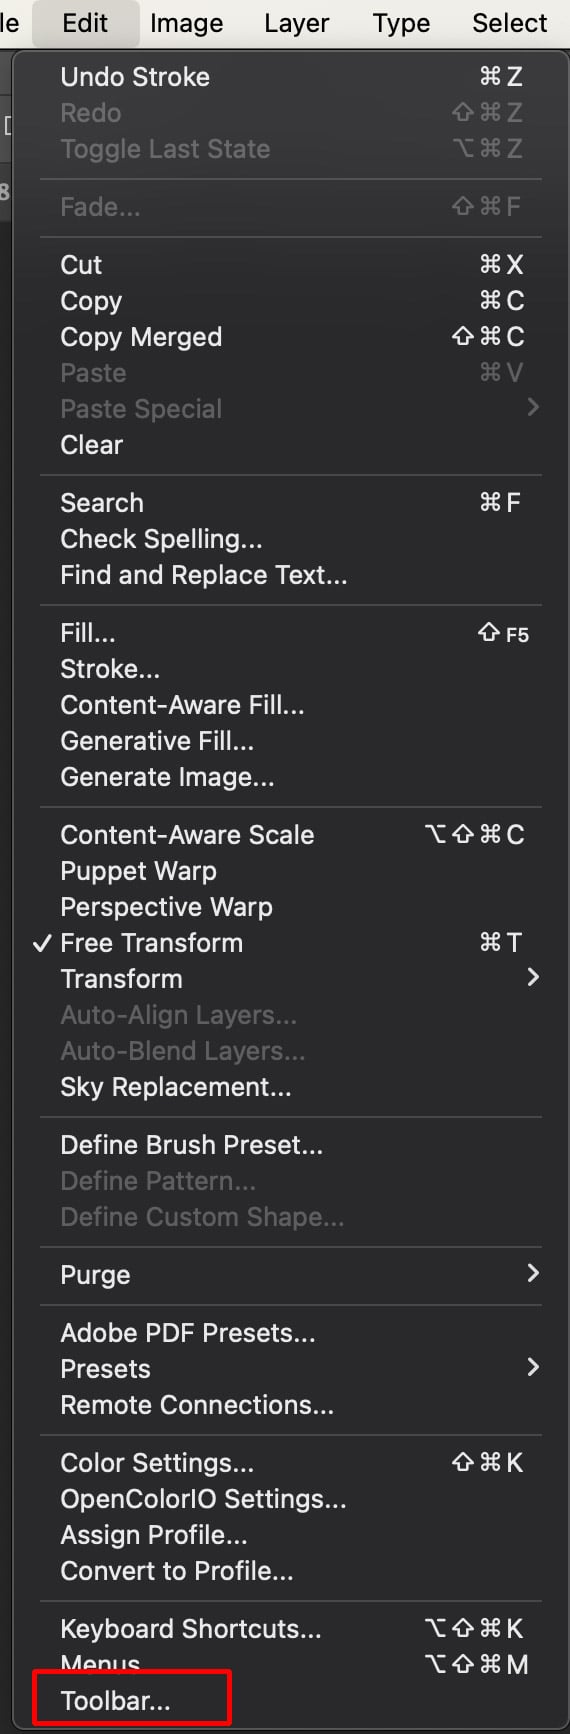
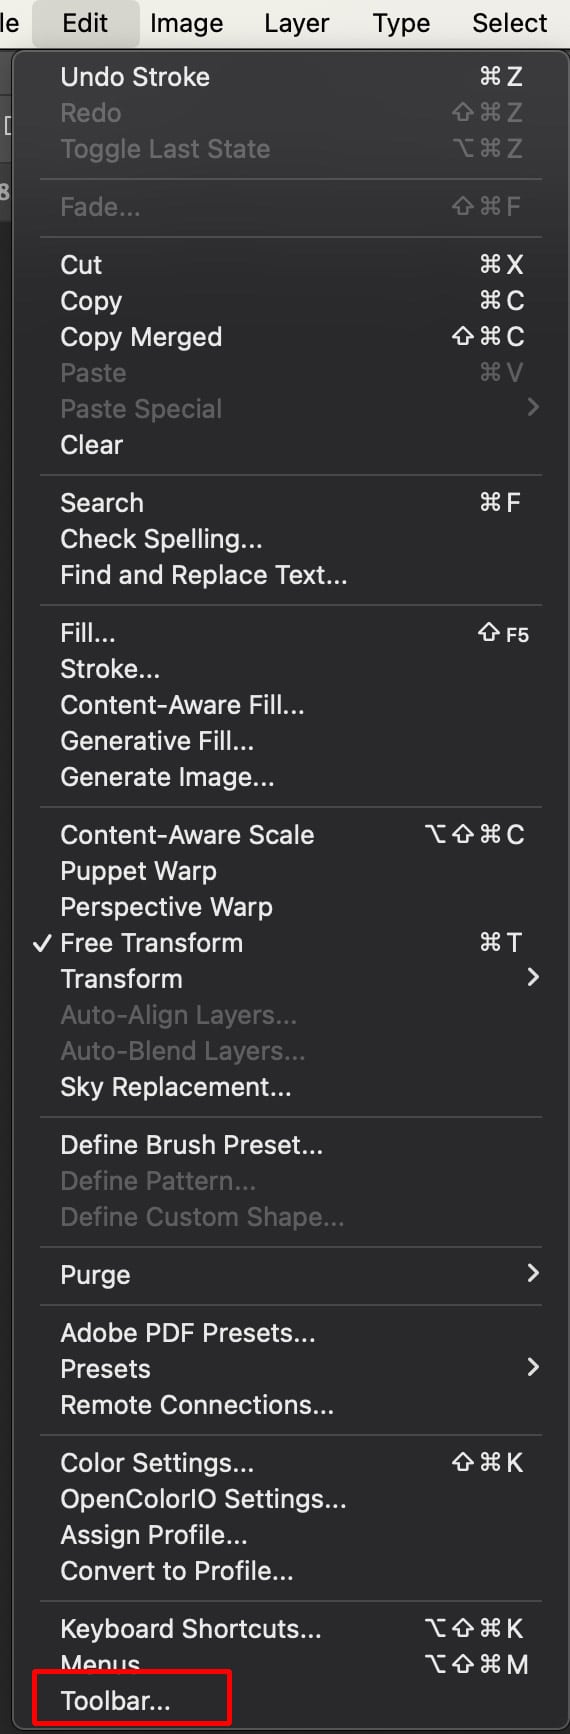
Step 1: Open the Toolbar Customization Panel
In the top menu, go to Edit > Toolbar (Windows) or Photoshop > Toolbar (Mac). This will open the Customize Toolbar window, where you can modify your tool settings.
Step 2: Reorganize Tools
Drag and Drop Tools to reorganize their order. You can move frequently used tools to the top for quick access and rearrange groups to suit your workflow preferences.
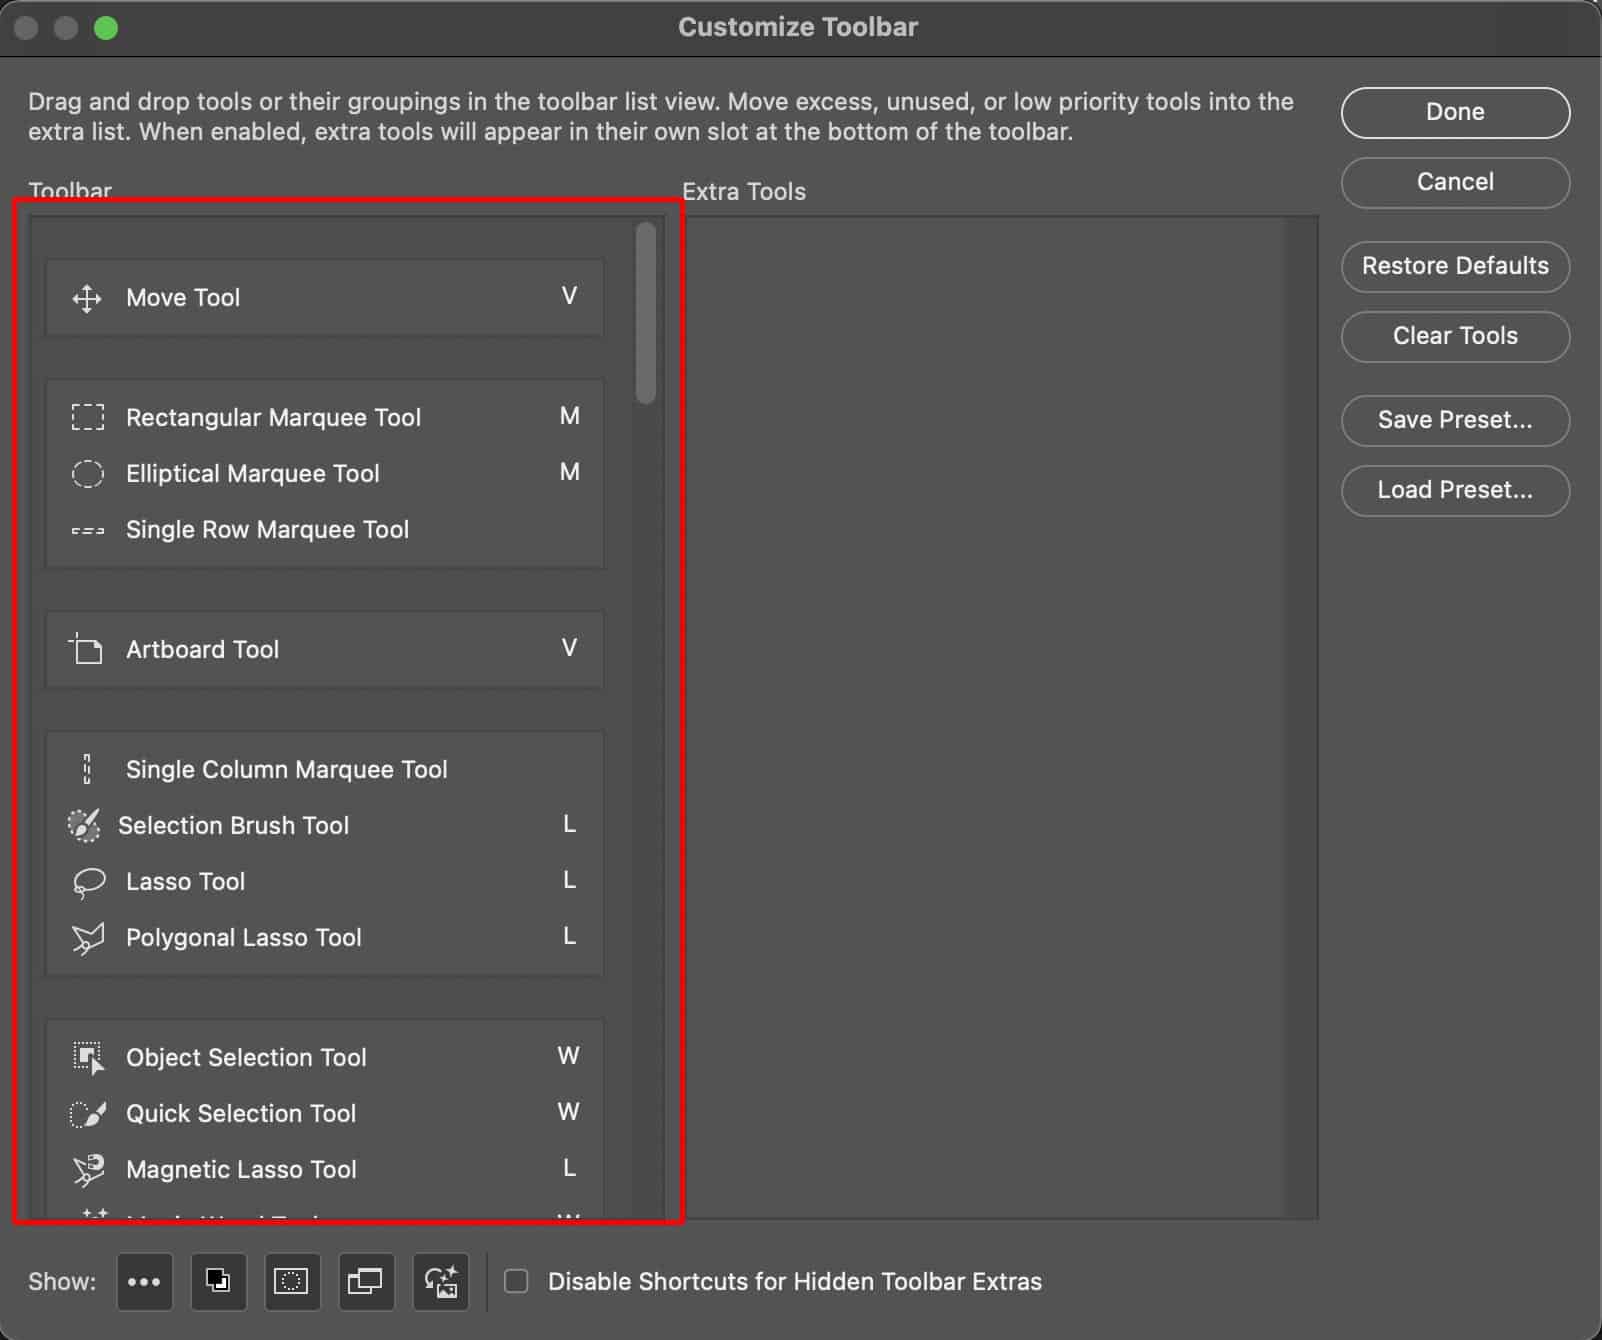
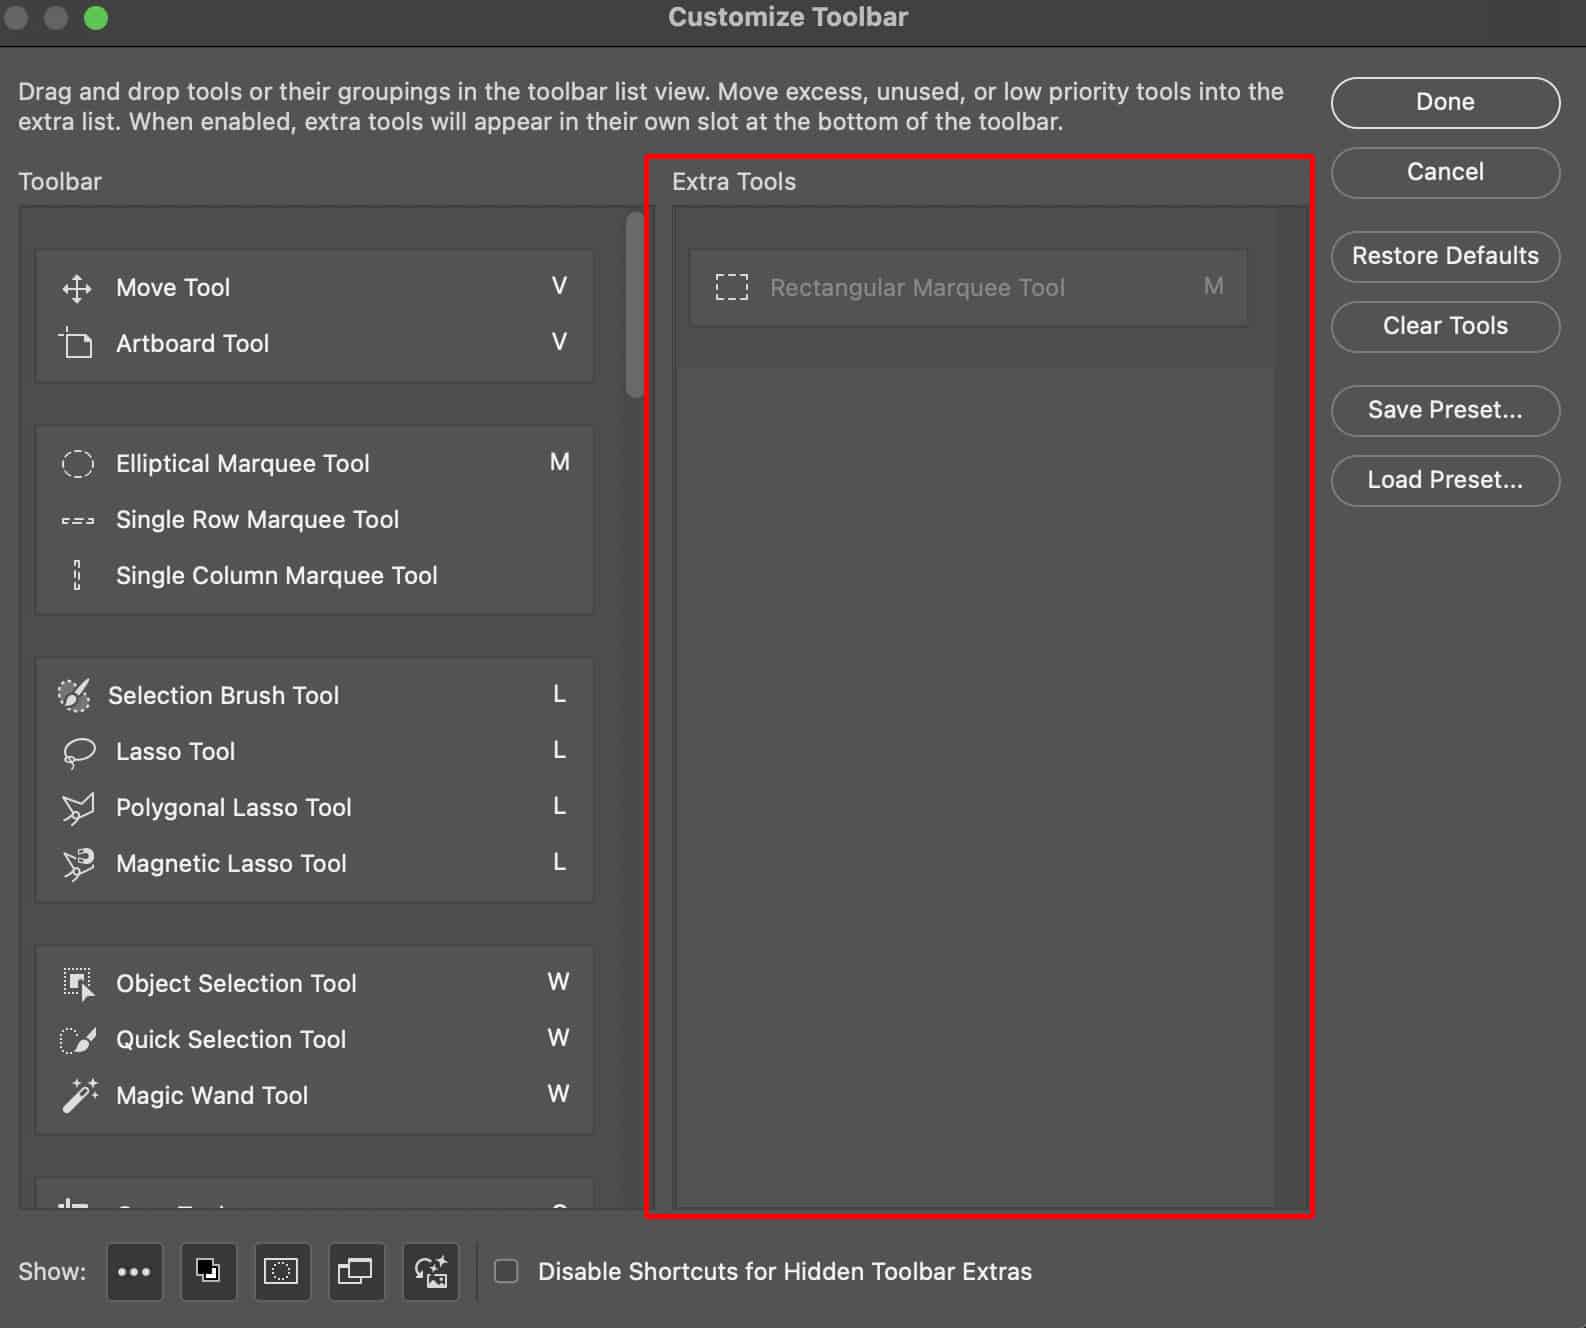
Step 3: Hide Unused Tools
To declutter your toolbar, Drag Tools you don’t use into the Extra Tools section on the right side of the Customize Toolbar window. This keeps your workspace clean and focused.
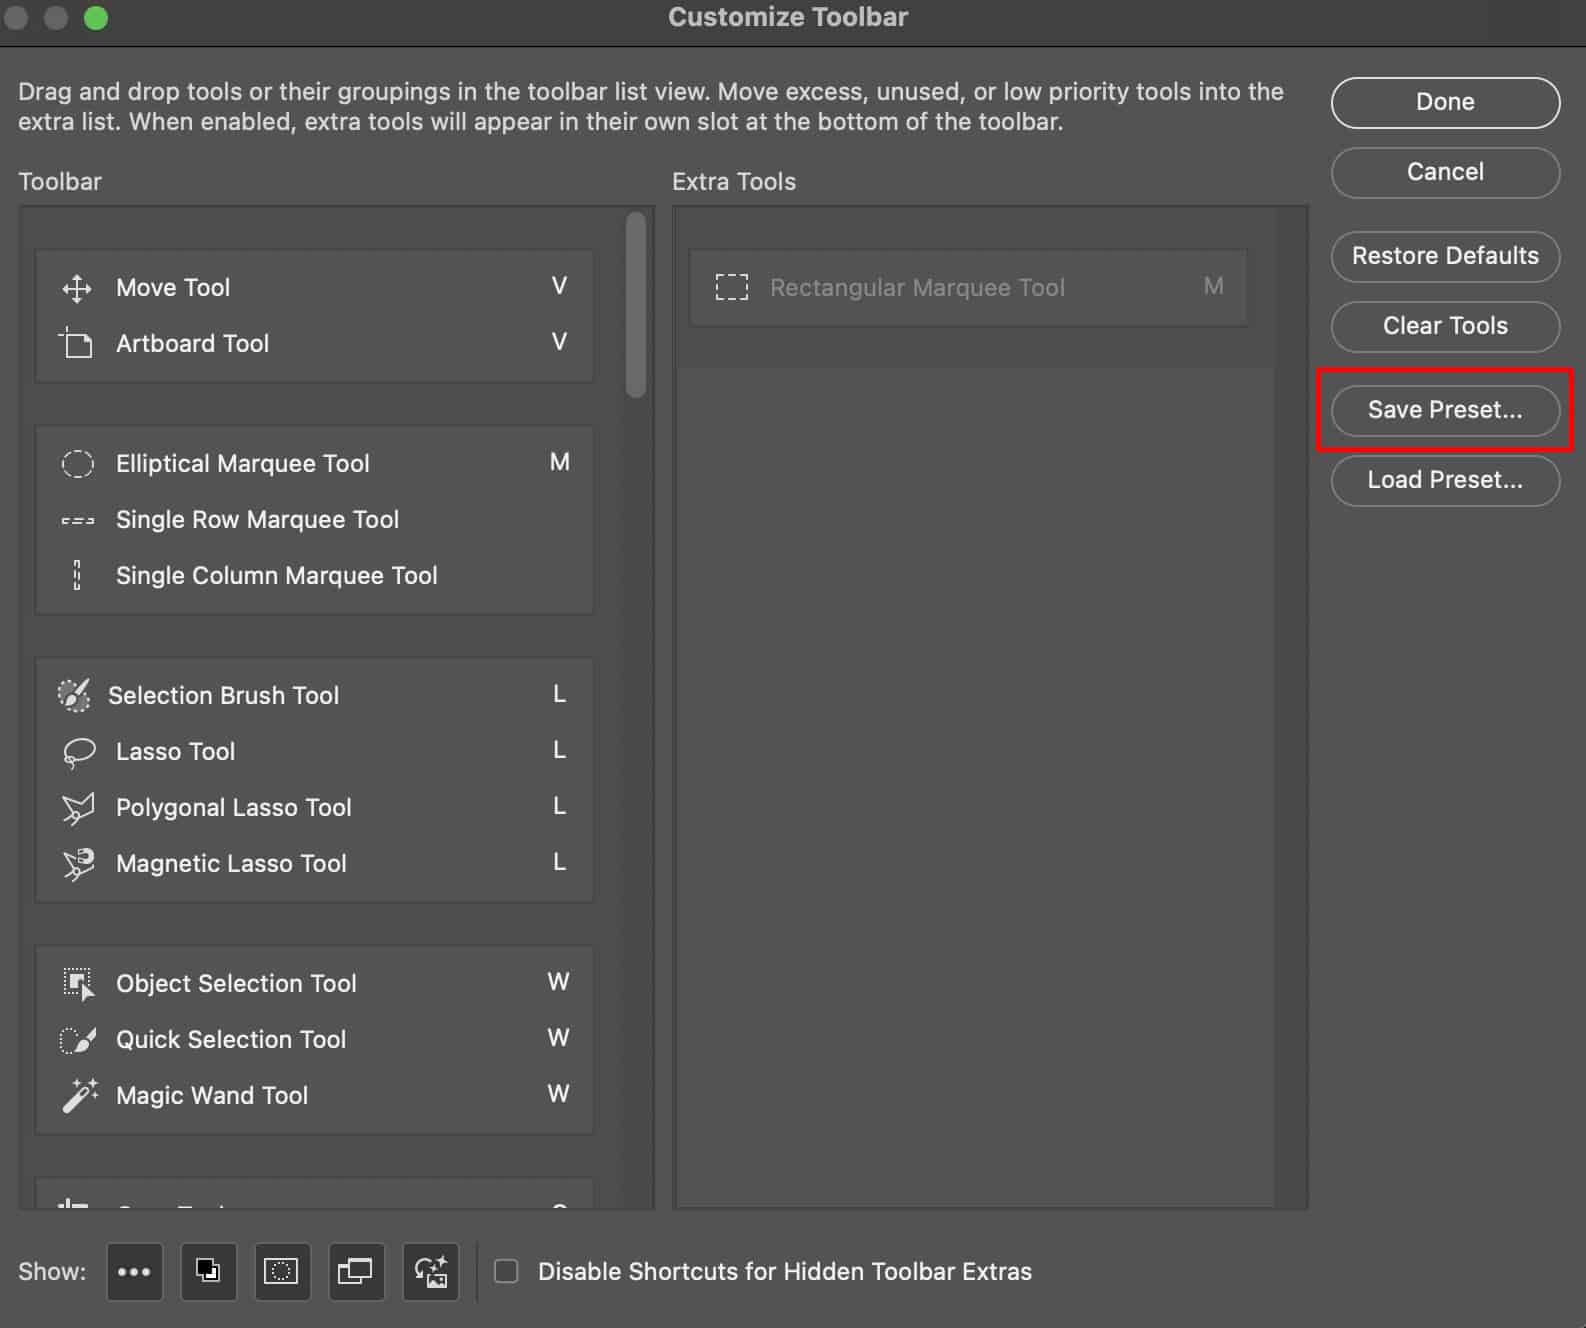
Step 4: Create Custom Tool Layouts
Save your changes as a Custom Layout by clicking Save Preset. This allows you to create multiple tool configurations tailored for specific projects or workflows.
What is the Shortcut Key for the Toolbar in Photoshop?
The shortcut key to toggle the visibility of the toolbar and panels in Photoshop is Tab. Pressing the Tab hides both the toolbar and any open panels, giving you a clean, distraction-free workspace. Press Tab again to bring them back, allowing seamless switching between focused editing and tool access.
How Do You Reset All Toolbars in Photoshop?
If you’ve customized the toolbar and want to return to the original layout, resetting is simple:
Step 1: Open Toolbar Settings
Go to the top menu and select Edit > Toolbar (Windows) or Photoshop > Toolbar (Mac).
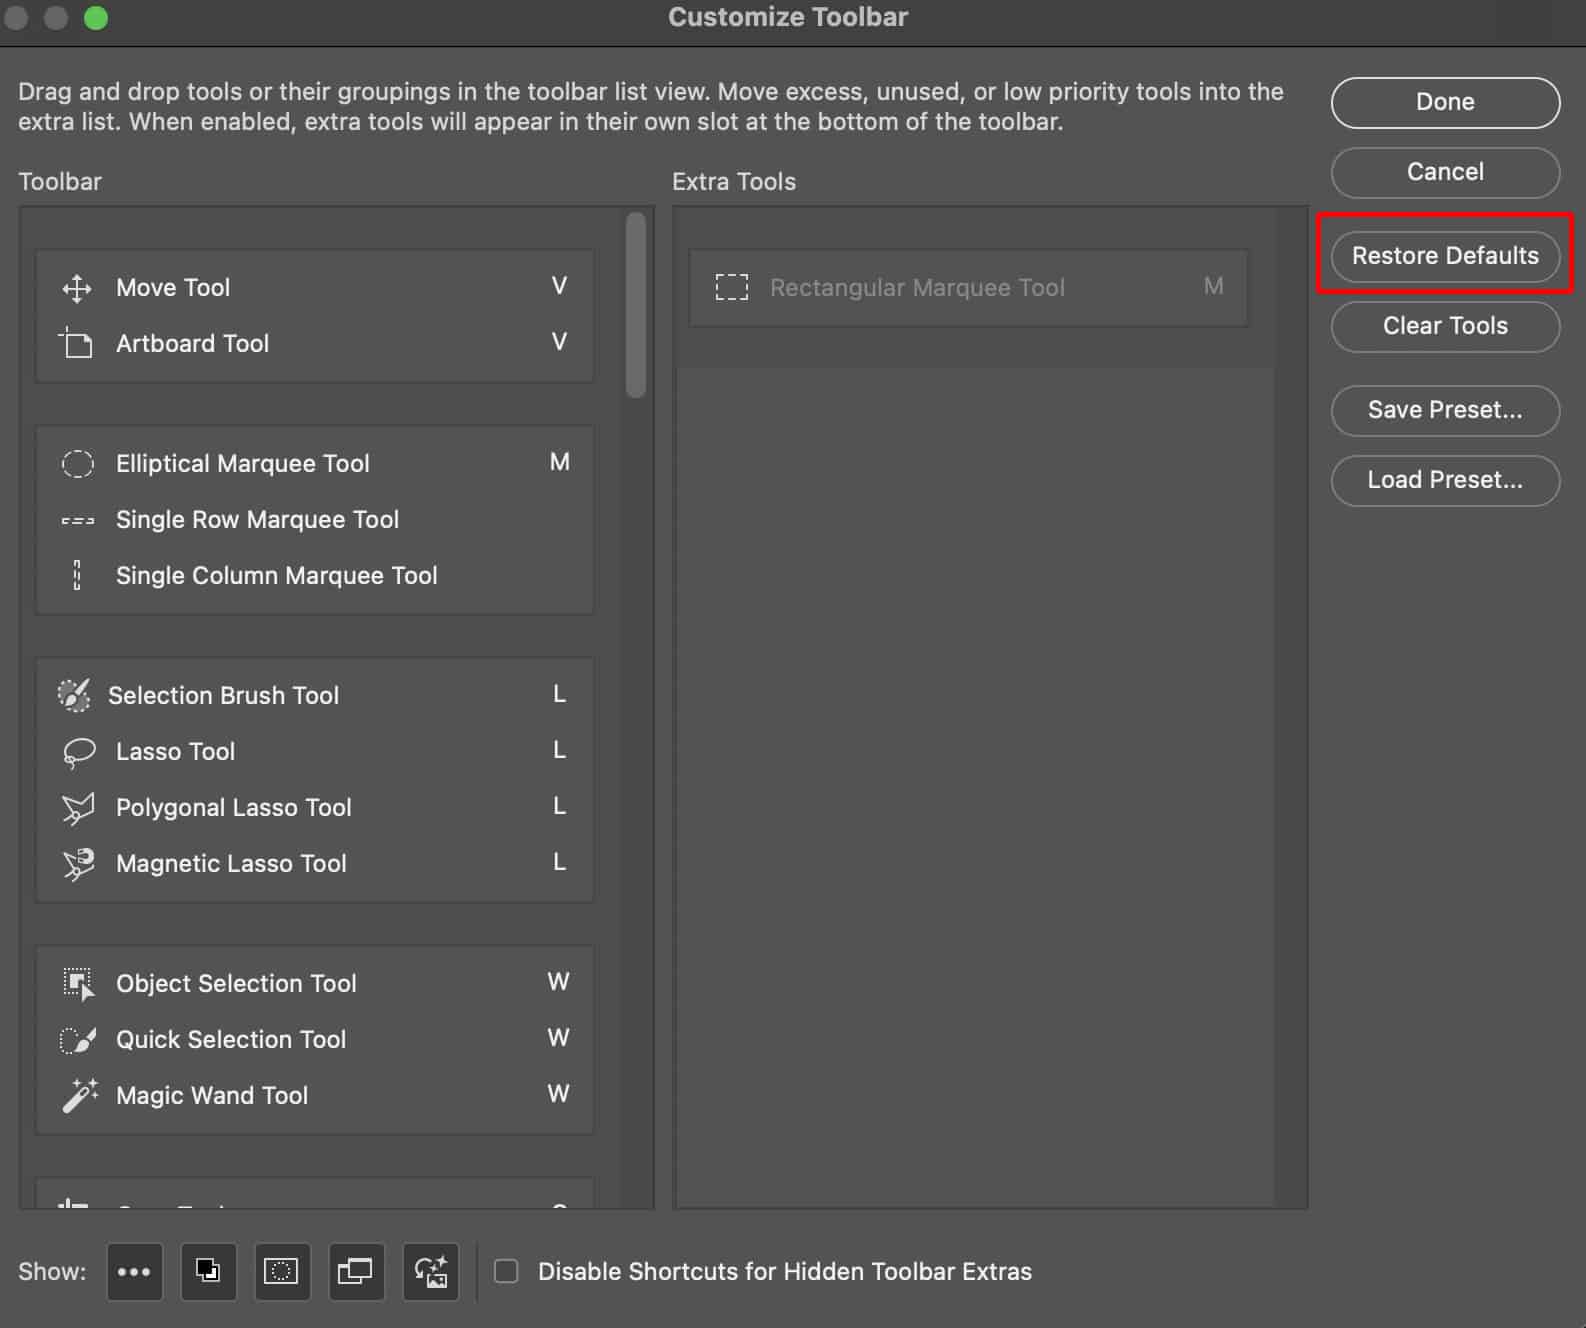
Step 2: Restore Defaults
In the Customize Toolbar window, click the Restore Defaults button at the bottom.
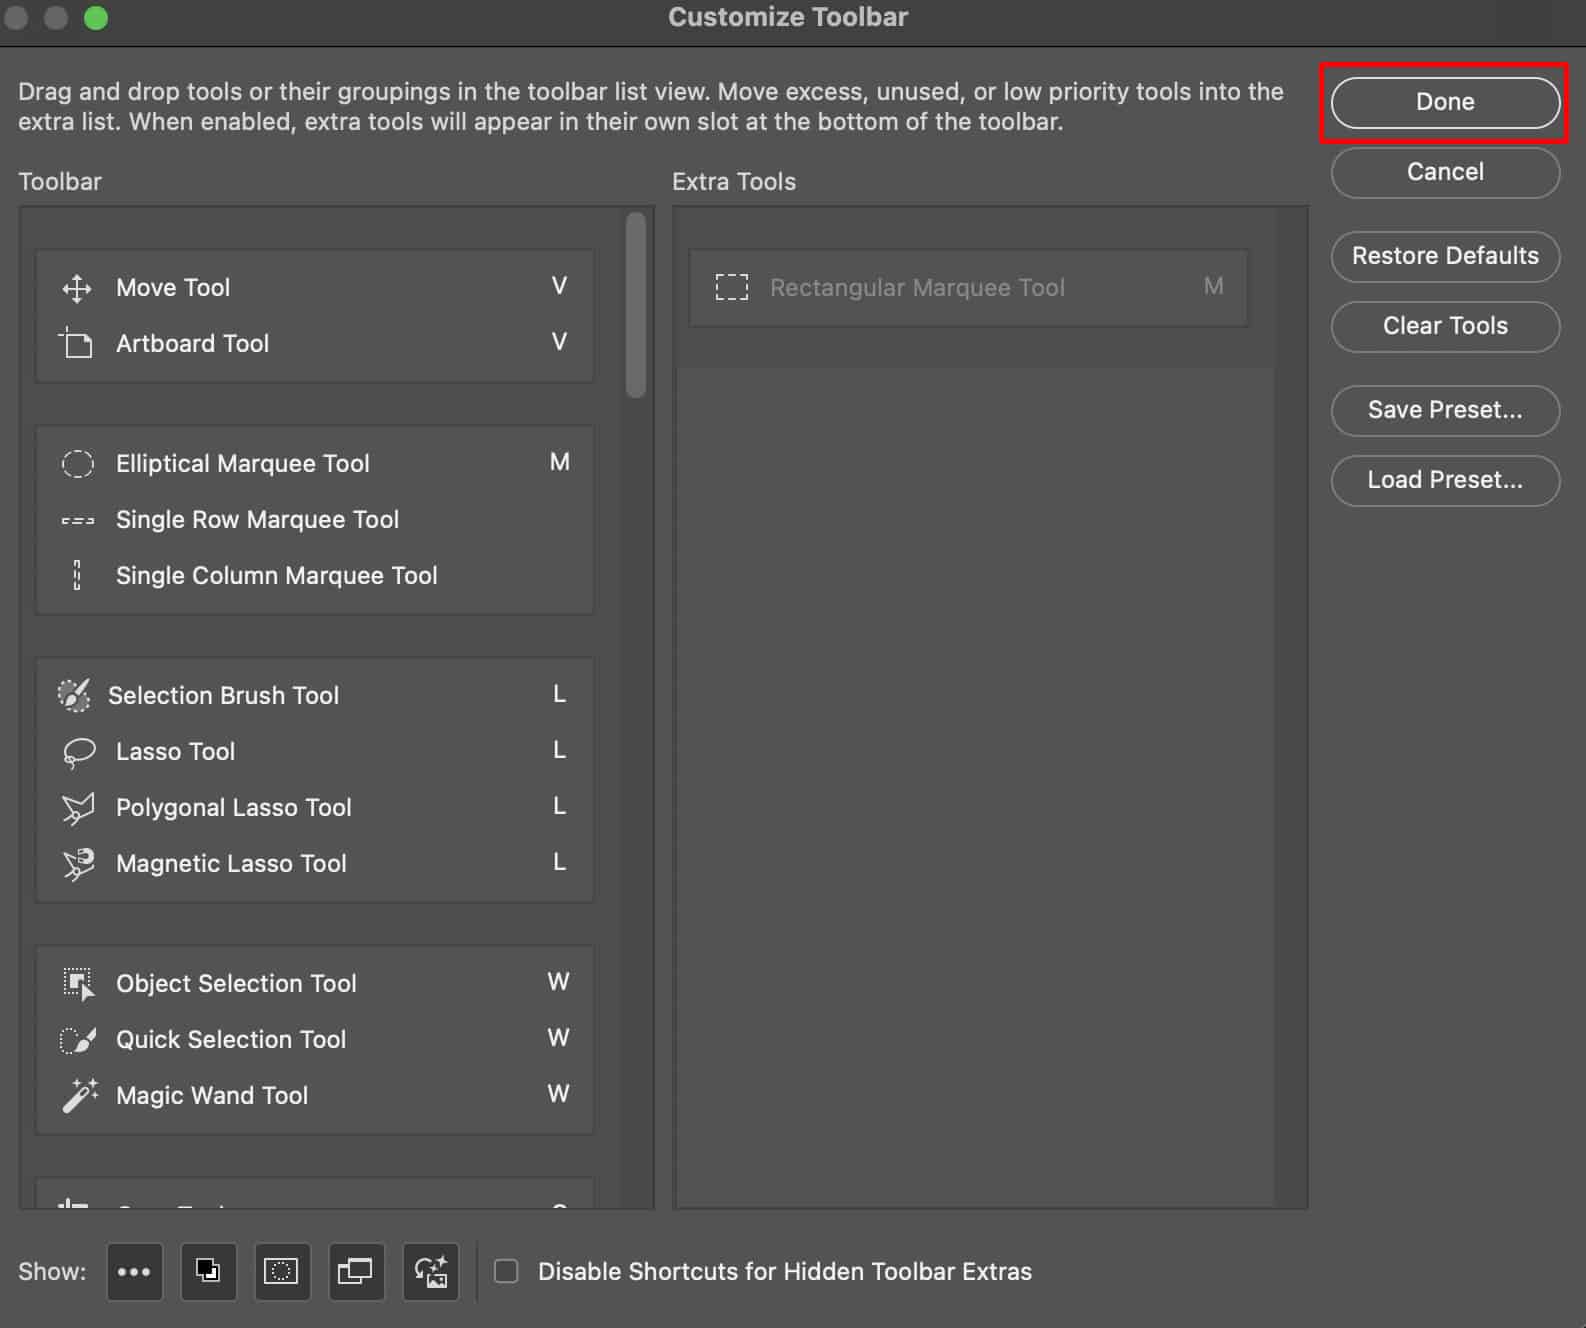
Step 3: Confirm Reset
Click Done to save the changes. This will reset the toolbar to Photoshop’s default settings, ensuring all tools return to their original order and visibility.
How to Get the Toolbar Back in Photoshop?
If your toolbar disappears in Photoshop, don’t worry—it’s easy to restore. Follow these troubleshooting steps to get it back:
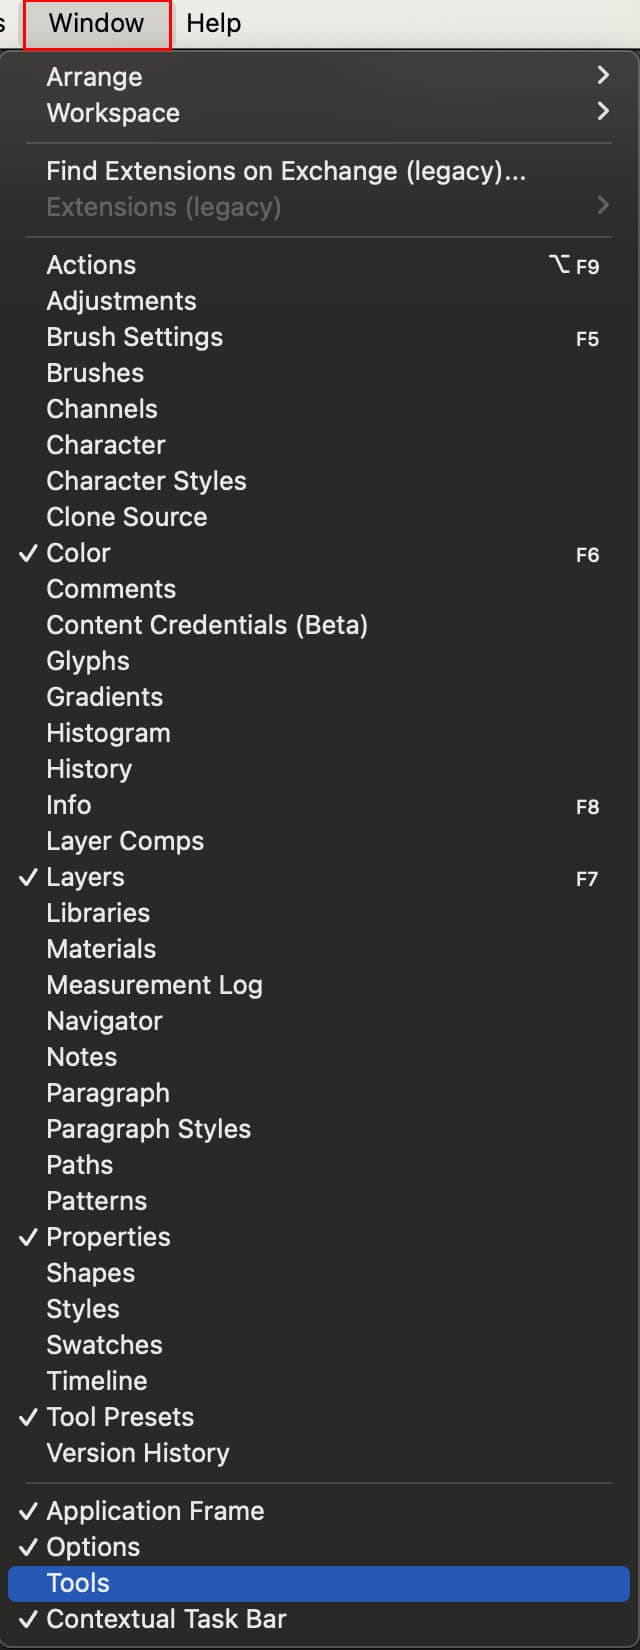
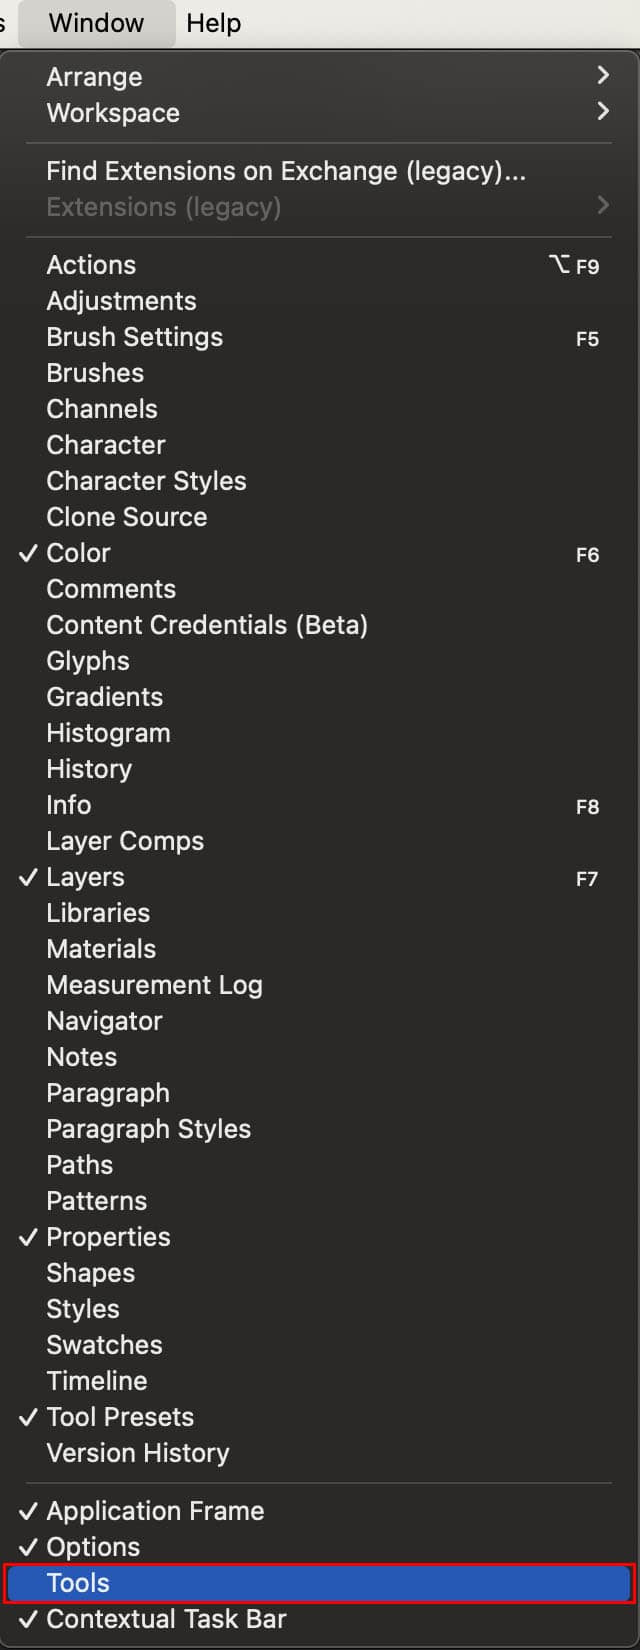
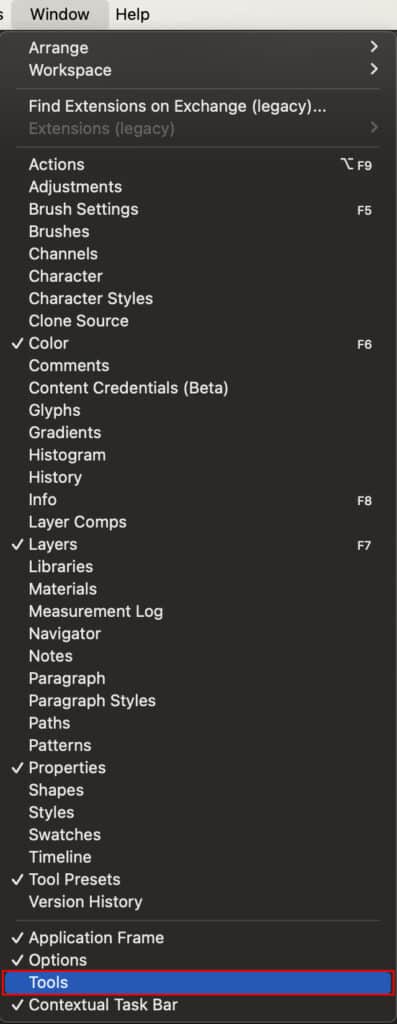
Step 1: Open the Window Menu
At the top of your workspace, click on Window in the menu bar.
Step 2: Select Tools
From the dropdown list, click on Tools. This will immediately make the toolbar reappear in its default location.
What is the Difference Between the Toolbar and the Tools Palette?
The Toolbar
The toolbar is your starting point, providing quick access to all the essential tools for editing and design. It’s where you choose what you need, like the Brush or Move Tool.

The Tools Palette
The tools palette, on the other hand, expands on those tools. Once you select a tool, the palette displays its settings—like size, opacity, or mode—so you can fine-tune it for your specific task.
While the toolbar gets you to the right tool, the tools palette helps you make it work exactly how you need.
Maximize Your Visual Impact with the Photoshop Toolbar and Tools
Whether you’re working for your e-commerce business, photography portfolio, or client projects, there might come a point in time when you can’t keep up with the workload. That’s where professional Photoshop services comes. Assigning photo retouching and editing tasks to others gives you flexibility and time to focus on boosting your business, such as taking on new photography projects, researching trendy products to upload on an e-commerce site, and so on.
Here are some detailed breakdowns of why you invest in Professional Photoshop Services rather than handling the editing process yourself:
- Stress-free workflow: Managing both photography and photo editing can be challenging and affect image quality. So, he streamlined his workflow by offloading post-processing work to a reputable photo editing agency.
- Meet a tight deadline: Whether it’s delivering photos to clients or a last-minute product launch, Photoshop professional services help you to keep your production schedule on track. A win-win!
- Expand business to more commerce channels: Today’s retailers, photographers, and other professionals invest in commerce channels to get potential traffic. It is possible after providing high-resolution and recommended image sizes for various commerce channels.
- Time efficiency: Planning the process on how to streamline your current workflow? Professional photo editors ensure your edits are handled quickly and efficiently.
- Creative expertise and insights: Photoshop services from expert retouchers or editors enhance your creative concepts, suggesting edits, or styles that elevate the overall impact of your visuals.
- Keeps you competitive: Professionals stay updated on industry trends and editing techniques that fulfill diverse needs.
FAQs about Photoshop Toolbar and Tools
How to recover the toolbar in Photoshop?
To recover the toolbar in Photoshop, check Window > Tools to ensure it’s enabled. If it’s still missing, try resetting your workspace to the Essentials (Default) or saving one under Window > Workspace > New workspace (workspace name).
How to get panels back in Photoshop?
You can get panels back in Photoshop by accessing Window > Workspace > Reset Essentials. Or you can go to the “Window” menu at the top of the Photoshop window and notice that the panels and toolbars have a checkmark next to them, such as “Tools”, “Layers”, “Channels”, “Paths”, and others.
Where is the tools panel in Photoshop?
In Photoshop, the tools panel is located on the left side of the Photoshop window. If it’s not visible, you can access it through the “Window” menu and select “Tools” to reveal or hide the toolbar.
Where did all my tools go in Photoshop?
If your Photoshop tools are missing, access Window > Tools to ensure the toolbar is turned on.
How do I show the Toolbar?
To show a toolbar in Adobe Photoshop, go to Window > Tools option is checked.
How do I reset in Photoshop?
To reset Photoshop to its default settings, you can either reset preferences or workspaces.
Final Overview
- Adobe Photoshop toolbar is a collection of different photo editing and retouching tools, such as the Pen tool, Healing Brush tool, Crop tool, blur tool, background eraser tool, eyedropper tool, gradient tool, text tool, and many more.
- You can access the Photoshop toolbar from the left side of the Photoshop window when you open the application. If the toolbar is missing, go to the “Window” menu at the top of Photoshop and select the “Tools” option.
- The benefits of Photoshop tools include precise retouching to create complex artwork, artistic expression, layered editing, selection tool, text and shapes, blending modes, AI integration, etc.
- Each tool comes with a shortcut key, such as the Object Selection tool’s shortcut key is “W“, the Magic Lasso tool’s shortcut key is “L“, the Frame tool’s shortcut key is “K“, and many others.
- Some tools are hidden in one tool, so to access those, click and hold on the icon or right-click (Windows)/control-click (Mac) on the icon.
