
Achieving seamless and natural-looking skin tone adjustments in Photoshop can be a game-changer for photographers and digital artists alike.
Whether you aim to correct uneven skin tones or match the skin tones of subjects from different photos, Photoshop provides a versatile toolkit to accomplish these tasks precisely.
Why Would You Want to Learn How to Change Skin Color Photoshop?
The ability to change skin tone in Photoshop serves both practical and creative purposes, enhancing image quality and offering professionals and artists a versatile tool for achieving their desired results.
Practical Applications:
- Corrects uneven skin tones in portraits, ensuring subjects look their best.
- Vital for professional photography, where flawless skin is a priority.
- Helps eliminate blemishes and imperfections for a polished appearance.
Seamless Composites:
- Ensures harmonious and consistent skin tones when working with multiple subjects from different photos.
- Essential for creating composite images that appear seamless and realistic.
Creative Possibilities:
- Opens up creative avenues for artists and designers.
- Allows for experimentation with artistic and surreal effects.
- Enables the transformation of characters and subjects for digital art and design projects.
- Provides flexibility in expressing unique artistic visions.
Enhanced Image Quality:
- Elevates overall image quality by refining skin tones.
- Helps photographers and artists achieve their desired visual outcomes.
- Contributes to the creation of professional-grade visuals.
How to Change Skin Tone in Photoshop – Step by Step
Step 1: Import Your Photos
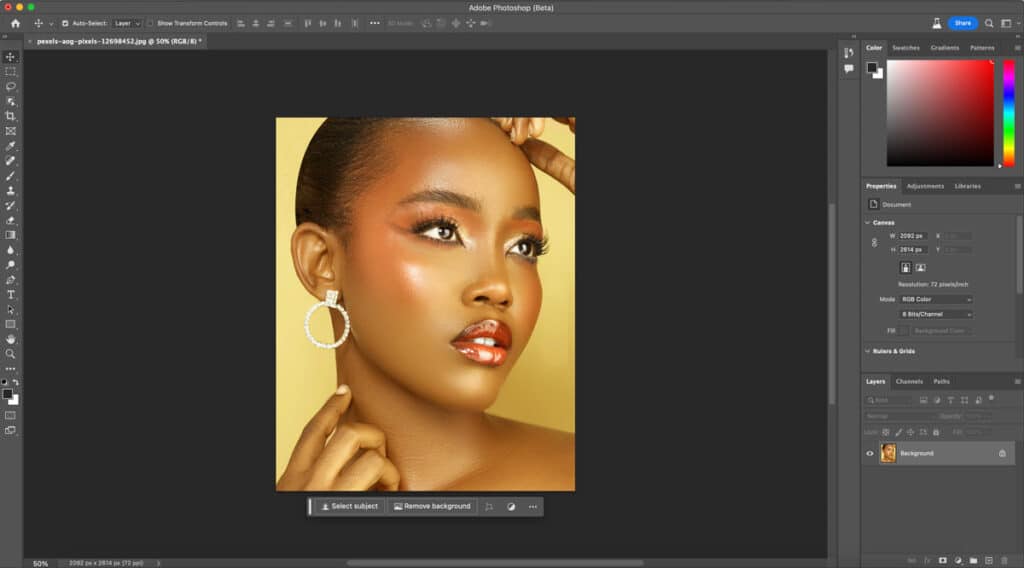
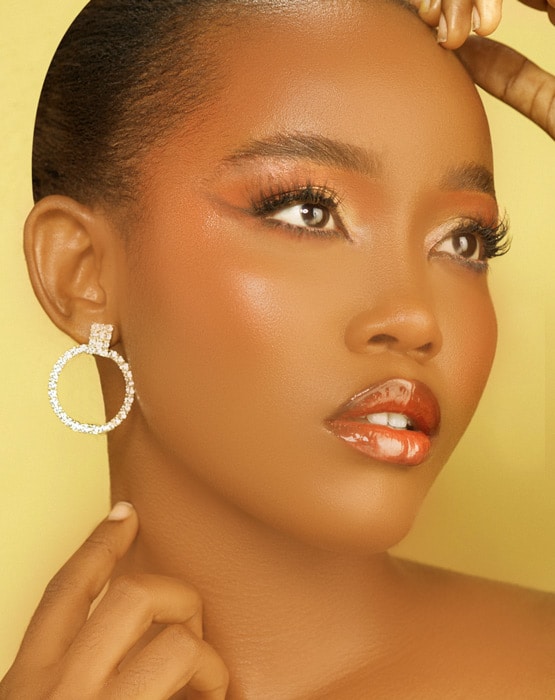
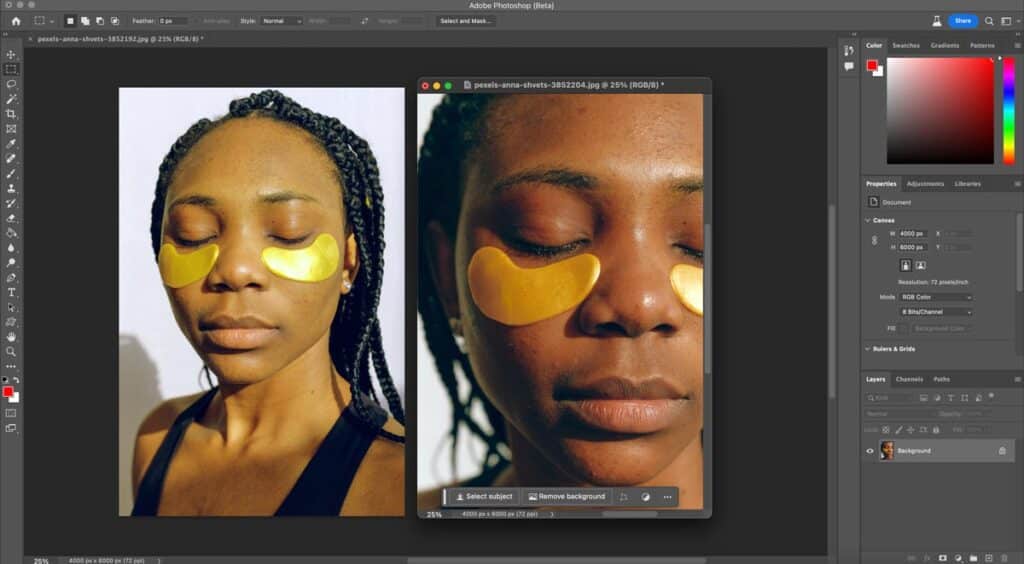
Begin by opening Adobe Photoshop and importing the two photos you want to work with. One photo should be the reference for the desired skin tone, while the other is the image you want to adjust.
Begin by opening Adobe Photoshop and importing the two photos you want to work with. One photo should be the reference for the desired skin tone, while the other is the image you want to adjust.
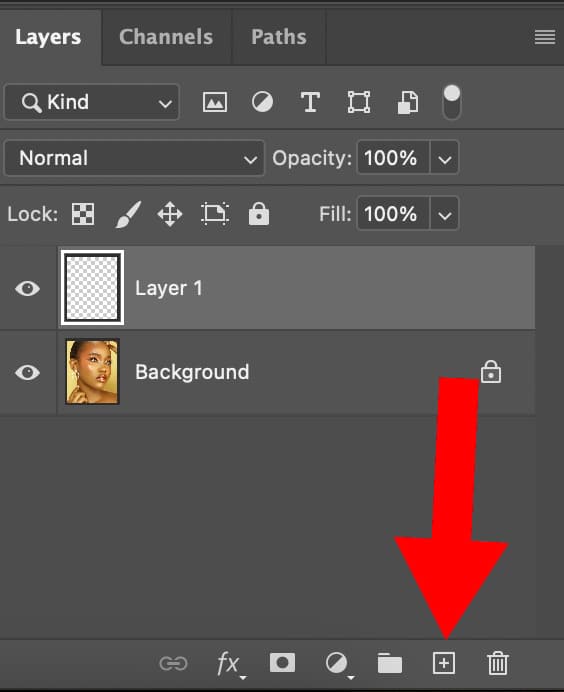
Step 2: Create a New Layer
In the Layers panel, create a new layer by clicking on the “New Layer” icon at the bottom. This layer will be where you adjust your skin tone, keeping the original photo intact.
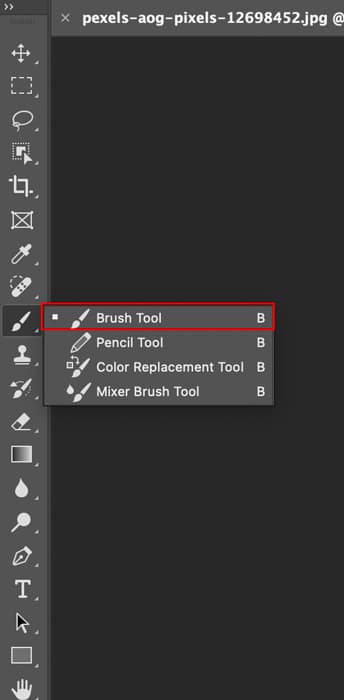
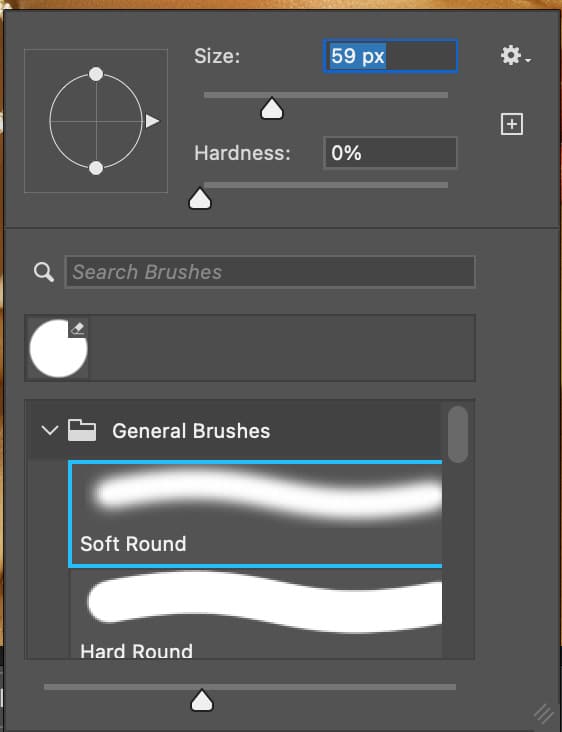
Step 3: Select the Brush Tool
Select the Brush Tool from the toolbar on the left side of the screen. Make sure the brush is set to a soft edge for smoother blending.
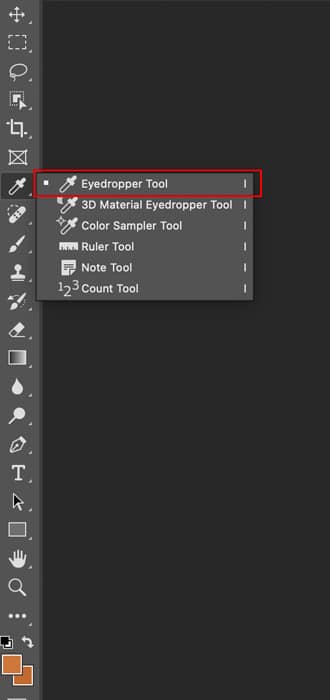
Step 4: Sample the Reference Skin Tone
Click on the Eyedropper Tool in the toolbar. Sample a color from the reference photo that represents the desired skin tone by clicking on it. This color will become your target skin tone.
Step 5: Paint Over the Skin
Switch back to the Brush Tool. With the sampled skin tone as your foreground color, carefully paint over the skin areas in the photo you want to adjust. Start with broad strokes, covering the entire area.
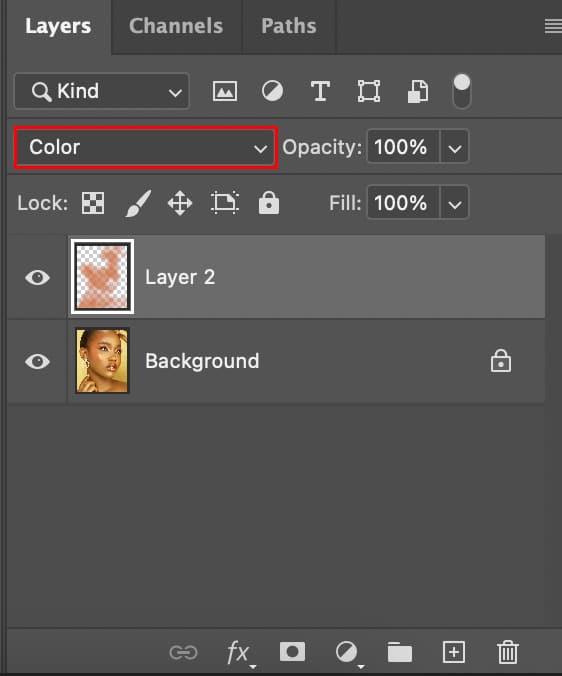
Step 6: Adjust Opacity and Blending Mode
Reduce the opacity of the new layer in the Layers panel to make the adjustment more subtle. Experiment with different blending modes (e.g., Soft Light, Color, or Overlay) to see which one blends the skin tone most naturally with the rest of the image.
Step 7: Merge or Export
Once you’re satisfied with the skin tone match, you can either merge the layers together or export the image as a new file. To merge, select all layers and right-click to choose “Merge Layers.” To export, go to File > Export > Save for Web (Legacy) or File > Save As and choose your preferred format.
How to Match Skin Tones from Another Photo in Photoshop – Step by Step
Step 1: Import Your Images
Launch Adobe Photoshop and import the photo you want to adjust (the target image) and the reference photo with the desired skin tone.
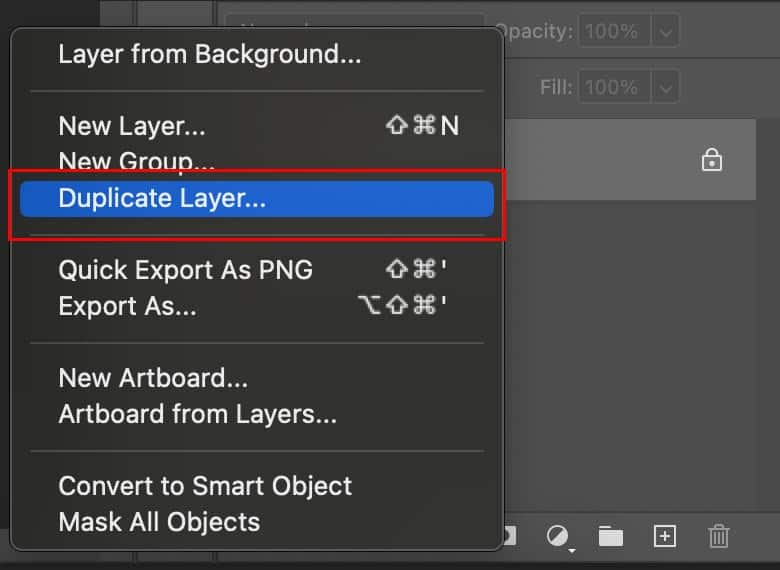
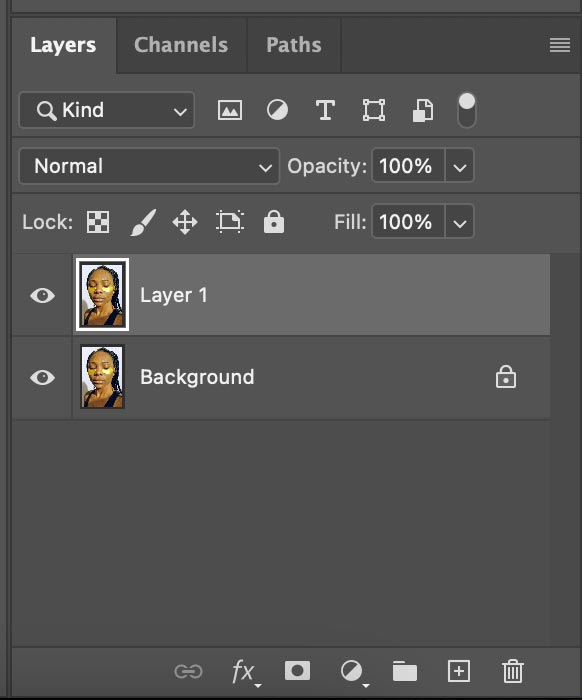
Step 2: Duplicate the Target Layer
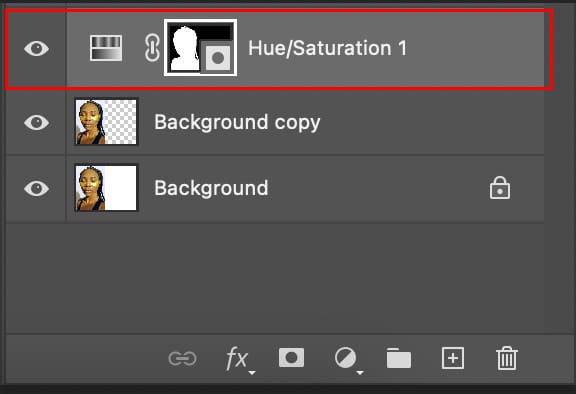
Right-click on the target image layer in the Layers panel and select “Duplicate Layer.” This ensures you have a backup of the original image.
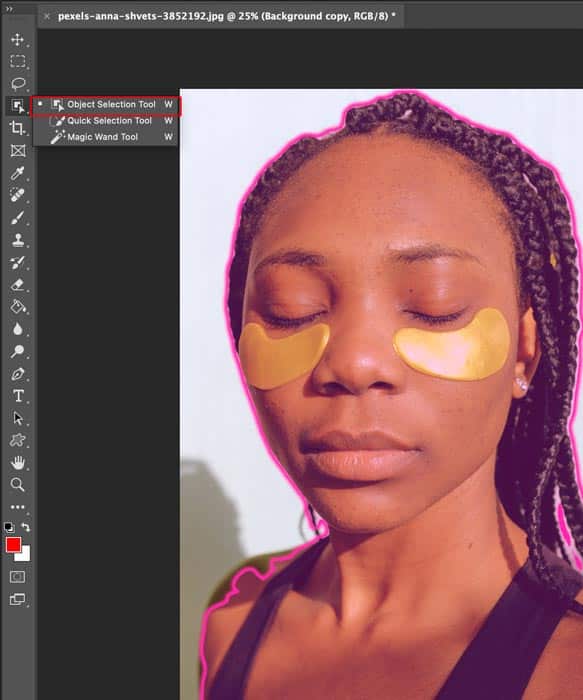
Step 3: Isolate the Skin
Use the Object Select tool to carefully select the skin areas you want to adjust in the target image. Make a precise selection to isolate the skin.
Step 4: Apply the Color Adjustment
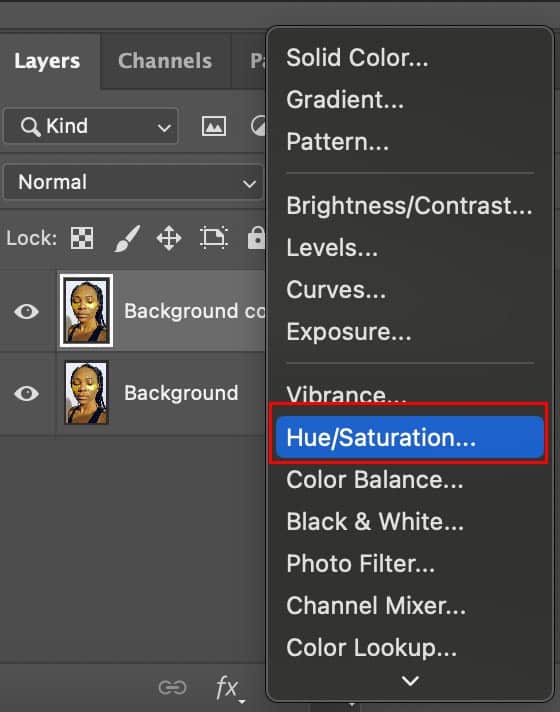
Return to the target image and create a new Adjustment Layer by clicking the “Create Adjustment Layer” icon in the Layers panel. Choose “Hue/Saturation.”
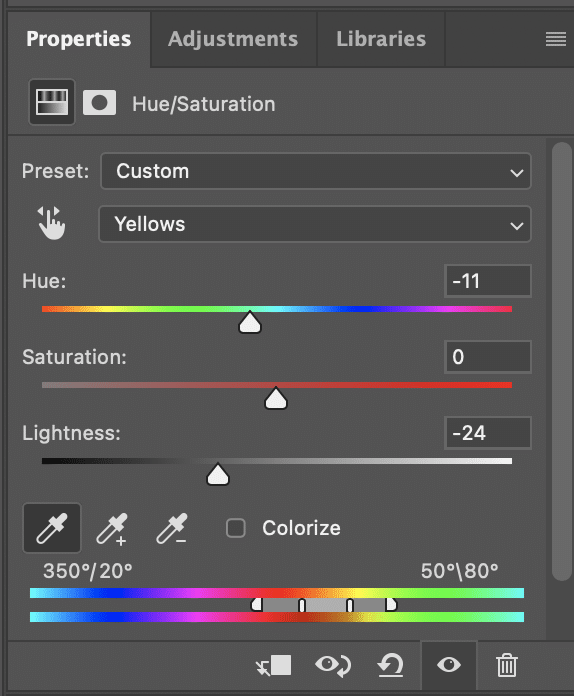
Step 5: Adjust Hue and Saturation
In the Hue/Saturation Adjustment Layer, check the box that says “Colorize.” Adjust the Hue and Saturation sliders until the color matches the reference skin tone.
Step 6: Finalize and Save
Once you are satisfied with the result, you can merge the layers or save the edited image as a new file. To merge, select all layers, right-click, and choose “Merge Layers.” Go to File > Save As or Export to save as a new file.
Maximizing Visual Impact by Changing Skin Tone in Photoshop
Mastering skin tone adjustments in Photoshop can elevate your product images, offering versatility for catalog consistency, merchandise focus, and mood creation.
Photoshop Skin Retouching at Clipping Path Studio ensures precise results, enhancing your brand’s identity in product photography. Explore the potential of skin tone adjustments for a lasting impression on your audience.
Final Thoughts
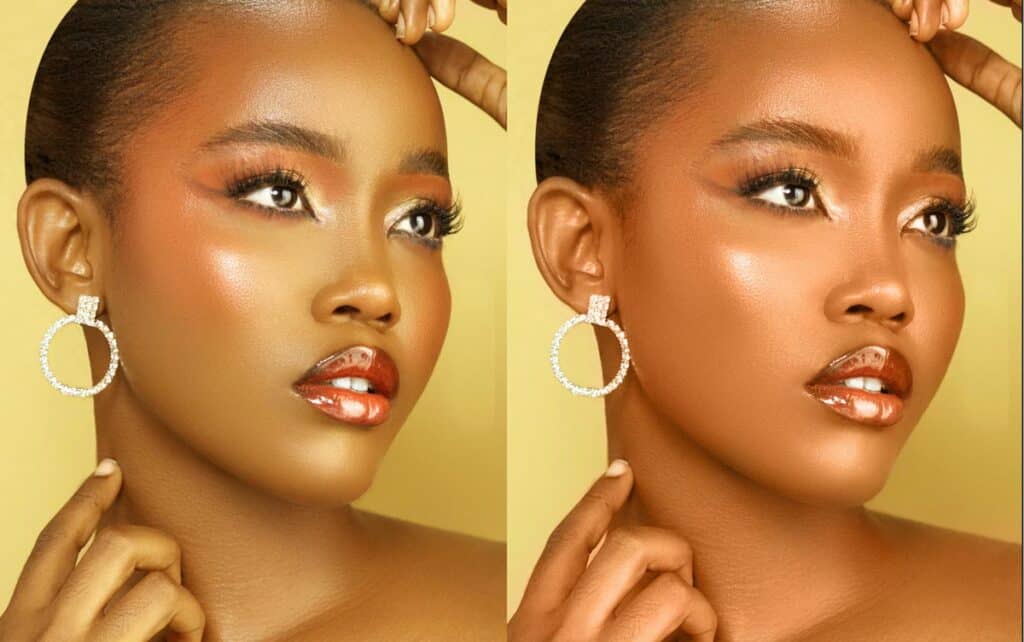
The ability to change skin tone in Photoshop is a versatile tool with numerous practical and creative applications. It allows for correcting imperfections, ensures consistency in photography, and supports creative expression by altering skin colors for unique effects.
We hope you found this article helpful in learning how to more effectively change skin tone in Photoshop!
