
Changing the color of clothes is an essential move for e-commerce brands, the fashion industry, and online apparel sellers to maintain consistency, product variation, and retain buyers’ attention. Correct implementation of colors makes products believable and boosts traffic and sales.
Colors of apparel need to be altered when the background and the product have the same color, clothing doesn’t match the original product, and colors don’t appear right online. Professional photo editors mostly use different methods to change the colors of clothing in Photoshop, such as changing the color with texture retention and changing clothing color using a Hue/Saturation adjustment layer.
What you’ll learn in this article
- 1 How to Change the Color of Clothes in Photoshop Using the Quick Selection Tool?
- 2 How to Change the Color With Texture Retention?
- 3 How to Change Clothing Color Using the Hue/Saturation Adjustment Layer in Photoshop?
- 4 How to Change the Color of Clothes to Black or White in Photoshop?
- 5 When to Change Clothing Color in a Picture?
- 6 Who Offers Dress Color Changing Services Near Me or in New York?
- 7 FAQs about Changing the Dress Color in Photoshop CC
- 8 Final Overview
How to Change the Color of Clothes in Photoshop Using the Quick Selection Tool?
To change the color of clothes in Photoshop, you just need to follow some simple steps. First, you need to make the selection of the cloth and then add color to that. As the last step you need to add texture to the color so that it doesn’t look flat. Here’s the details –
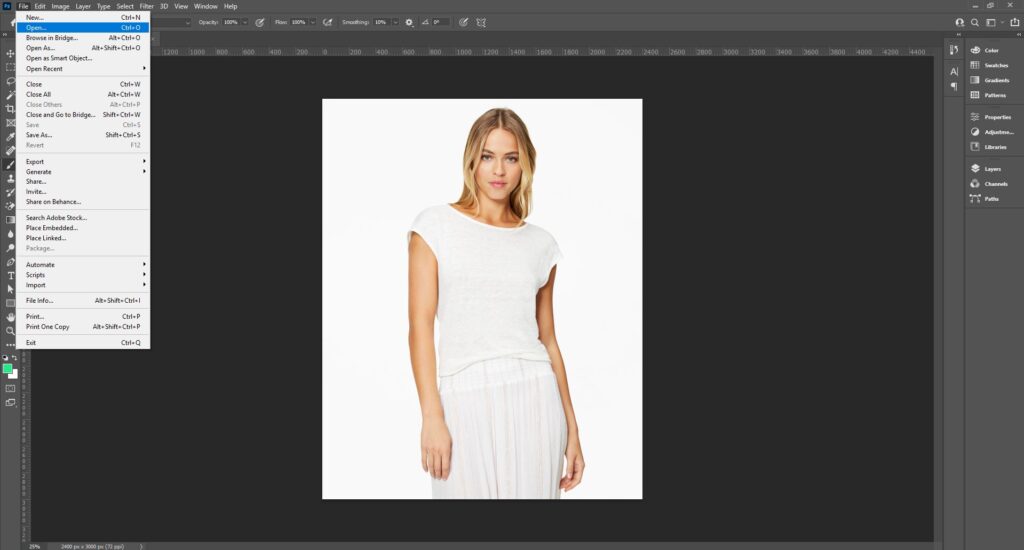
Step 1: Open the Image
Launch Photoshop, go to File, and then click on Open to open the file you want to work on.
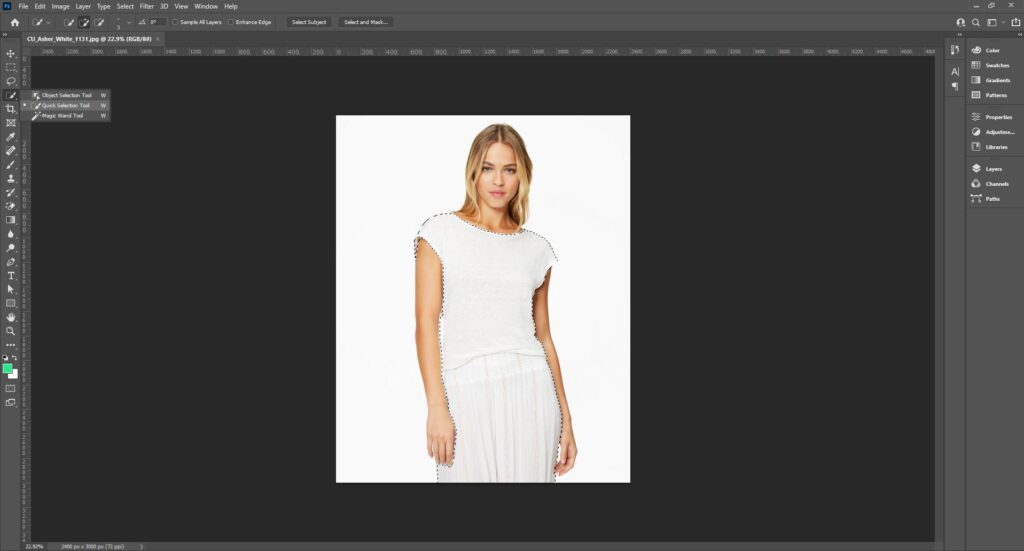
Step 2: Make Selection
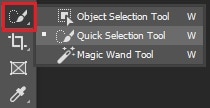
From the toolbar, take the Quick Selection Tool. You’ll find it right above the Crop Tool.
Now, from the top bar, click on Select Subject. This is an AI-based subject selection feature of Photoshop. This can automatically identify the subject in an image and then create the selection.

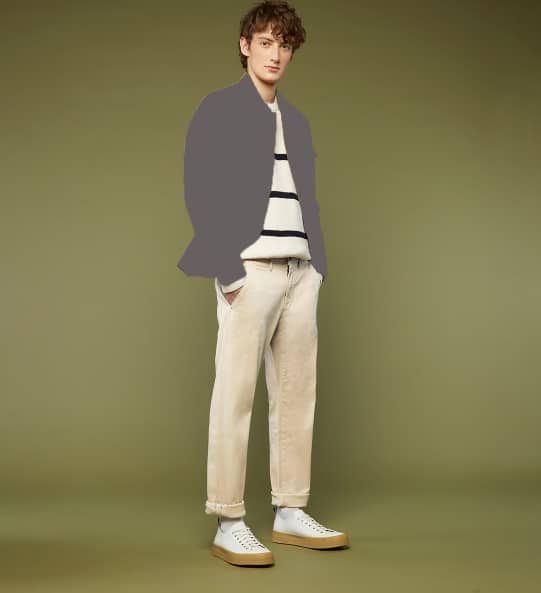
After this, your subject will be selected. But we’ll work on the clothing area only. So, here, you’ll have to mark the clothing area only.
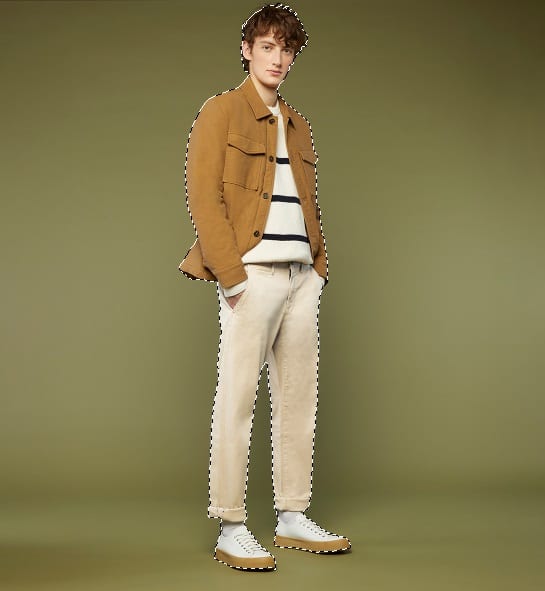
Click anywhere on the image to select an area and press Alt+click to deselect an area. Try to make the selection as accurate as possible.

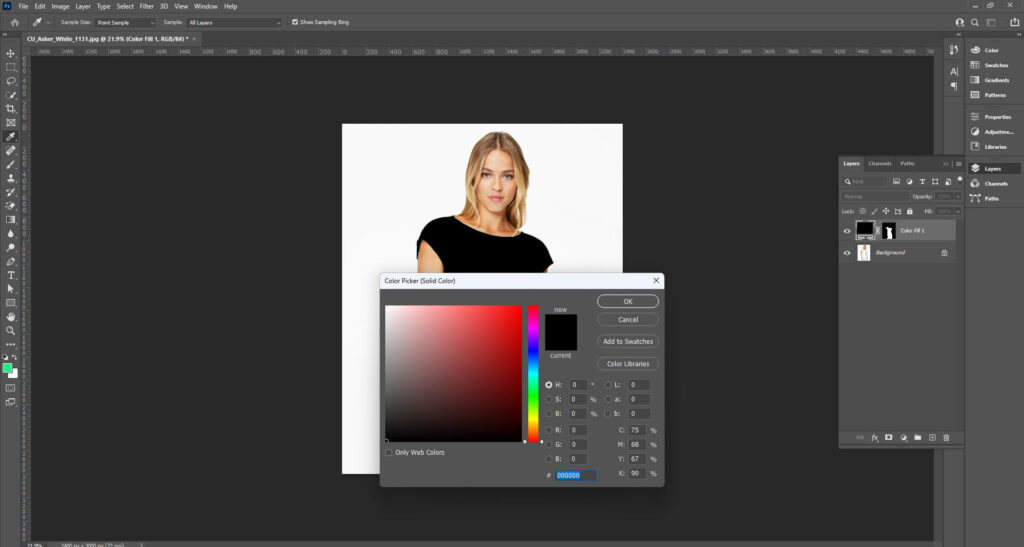
Step 3: Solid Color Layer
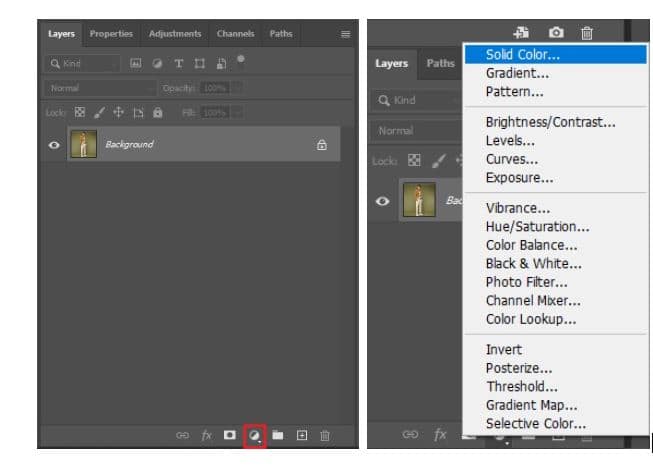
Now, from the layer panel, click on the New Adjustment Layer icon and select Solid Color.
Step 4: Input Color
A color palette will pop up. Now, you can choose the color you want. You can also put the code number directly to get a certain color.
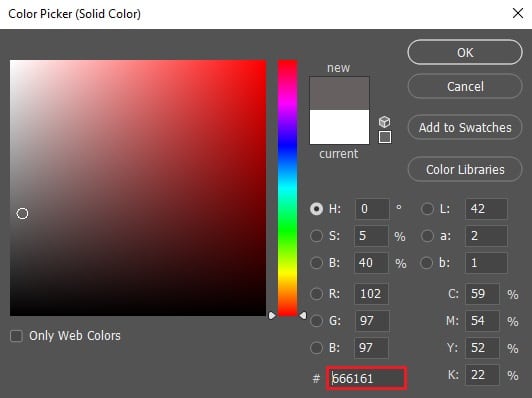
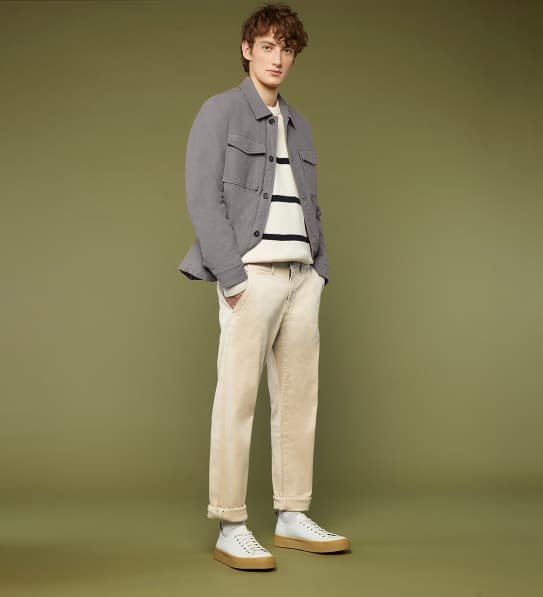
This will change the color of the selected part.
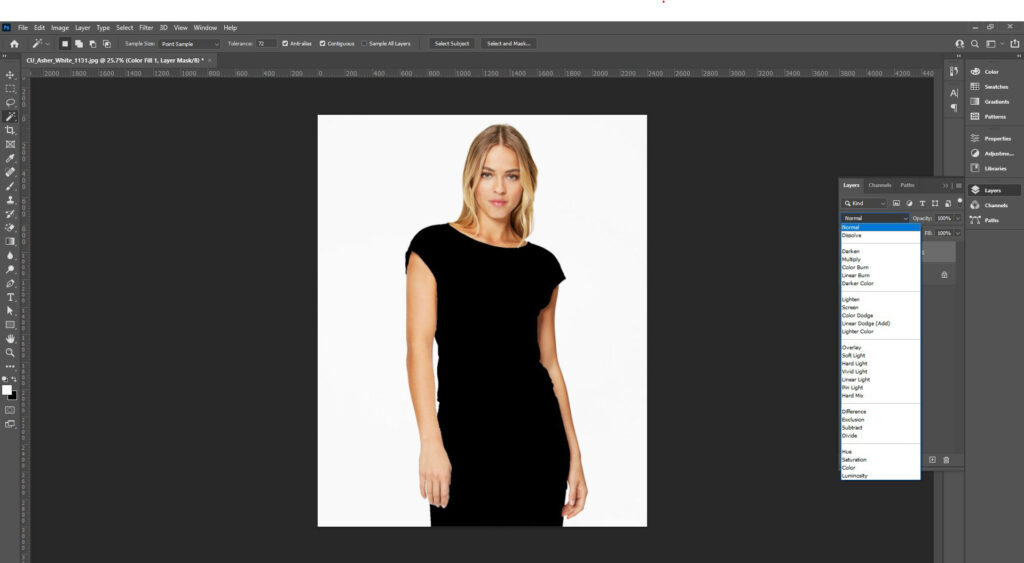
Step 5: Blend the Color
Now, to bring texture, from the blending mood, select Color.
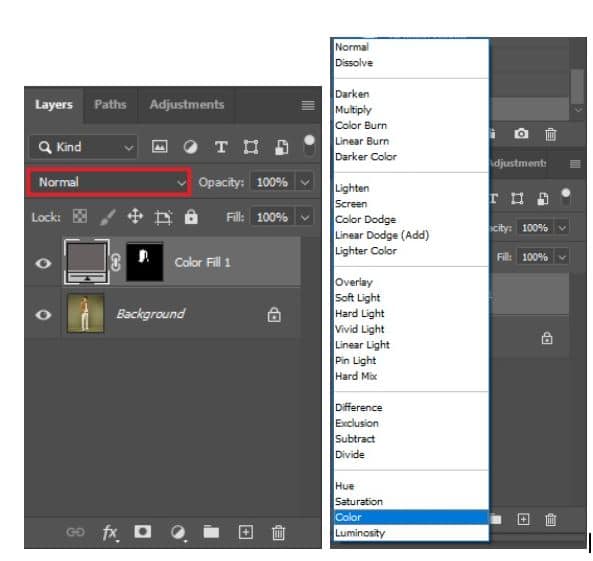
Now, you will get the original texture of the image.
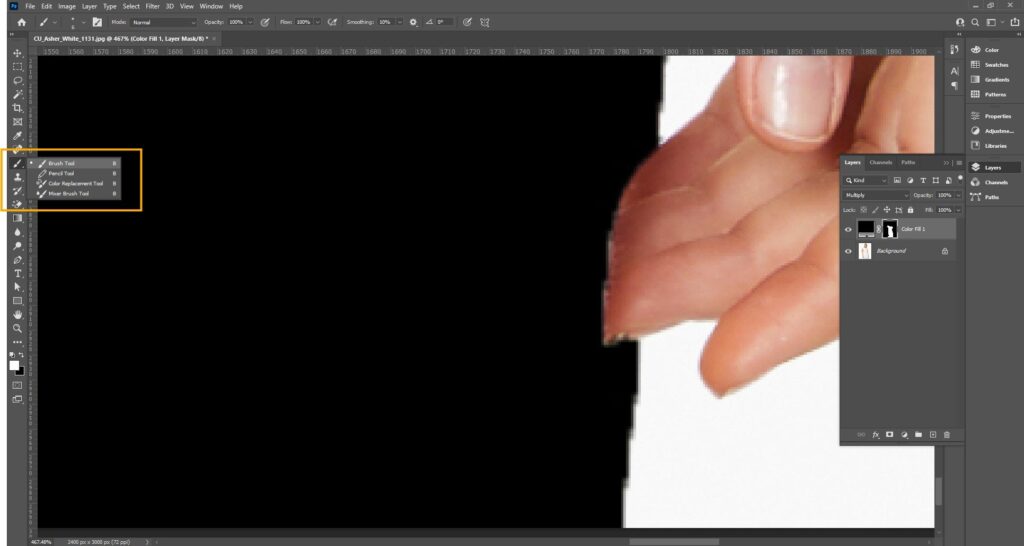
Step 6: Brush Tool
As you can see, there is an edge showing the previous color of the dress. You can easily brush that part by using the Brush Tool. Take the brush tool from the toolbar.
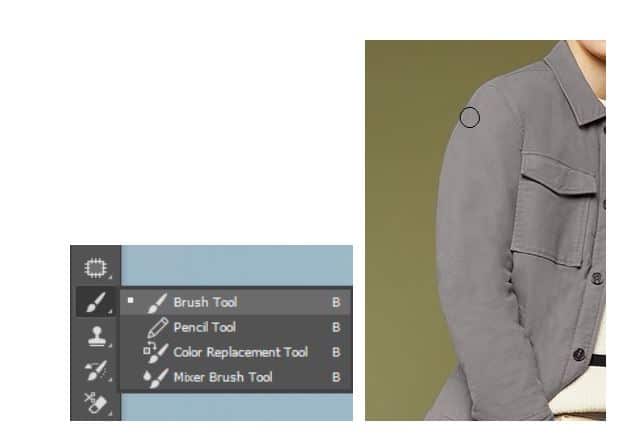
And brush on the edges to merge it with the image.
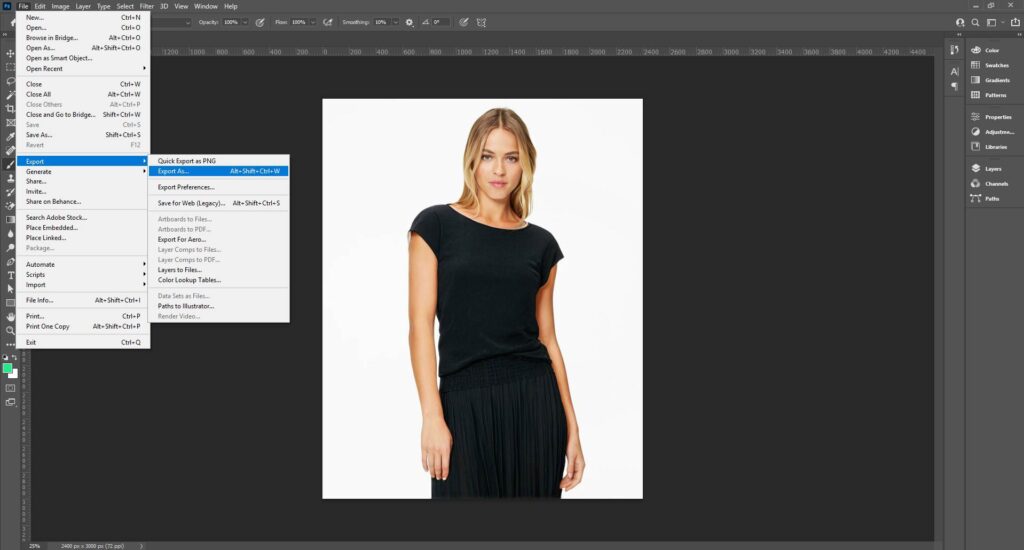
Step 7: Save
Go to File and click on Save As to save the file in your preferred format.
How to Change the Color With Texture Retention?
To change the color of clothes in Photoshop, you just need to follow some simple steps. First, you need to select the cloth, and then add color to it. As the last step, you need to add texture to the color so that it doesn’t look flat. Here’s the details –
Step 1: Open the Image
Launch Photoshop, go to File, and then click on Open to open the file you want to work on.
Step 2: Make Selection
From the toolbar, take the Quick Selection tool. You’ll find it right above the Crop tool. From the top bar, click on Select Subject. This is an AI-based subject selection feature of Photoshop. This can automatically identify the subject in an image and then create the selection. Your subject will be selected. To mark the clothing area, click anywhere on the image to select an area and press Alt+click to deselect an area. Try to make the selection as accurate as possible.
Step 3: Create a Solid Color Layer
From the layer panel, click on the New Adjustment Layer icon and select Solid Color.

Step 4: Input Color
A color palette will pop up. Choose the color you want to work with. You can also put the code number directly to get a certain color. This will change the color of the selected part.
Step 5: Blend the Color
Now, to bring texture, from the blending mood, select Color. Now, you will get the original texture of the image.
Step 6: Use the Brush Tool
As you can see, there is an edge showing the previous color of the dress. You can easily brush that part by using the Brush tool. Take the Brush tool from the toolbar and brush on the edges to merge it with the image.
Step 7: Save the Image
Go to File and click on Save As to save the file in your preferred format.
How to Change Clothing Color Using the Hue/Saturation Adjustment Layer in Photoshop?
The step-by-step guide to changing clothing color using the Hue/Saturation adjustment layer in Photoshop is as follows.
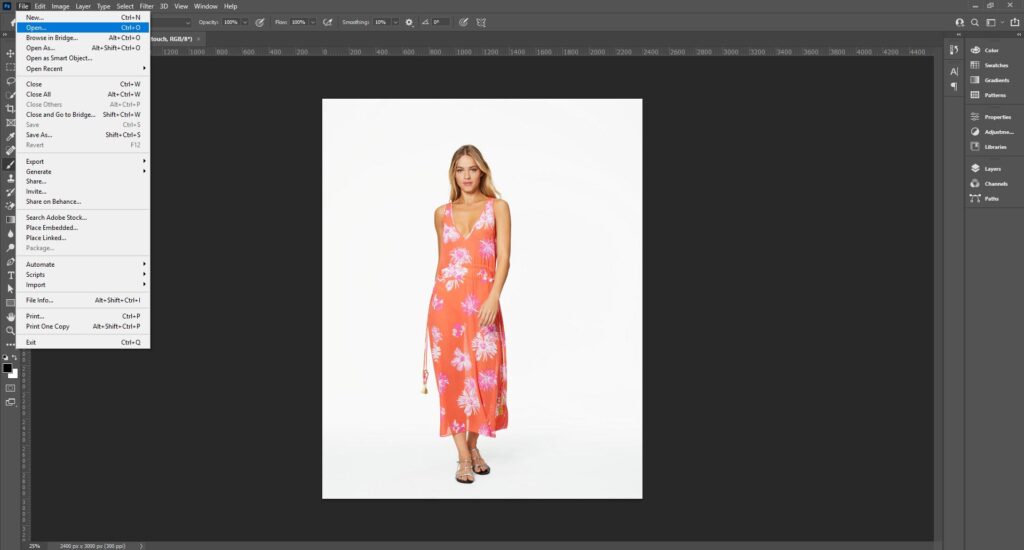
Step 1: Open the Image in Photoshop
Go to the File menu and click Open. Select a clothing photo you want to change the color of, preferably if the image is high-quality.
Step 2: Make a Selection
Choose your preferred selection tool (Pen Tool, Quick Selection tool, Lasso tool, etc) from the Toolbar. For precise selection, click Select and then Select and Mask.
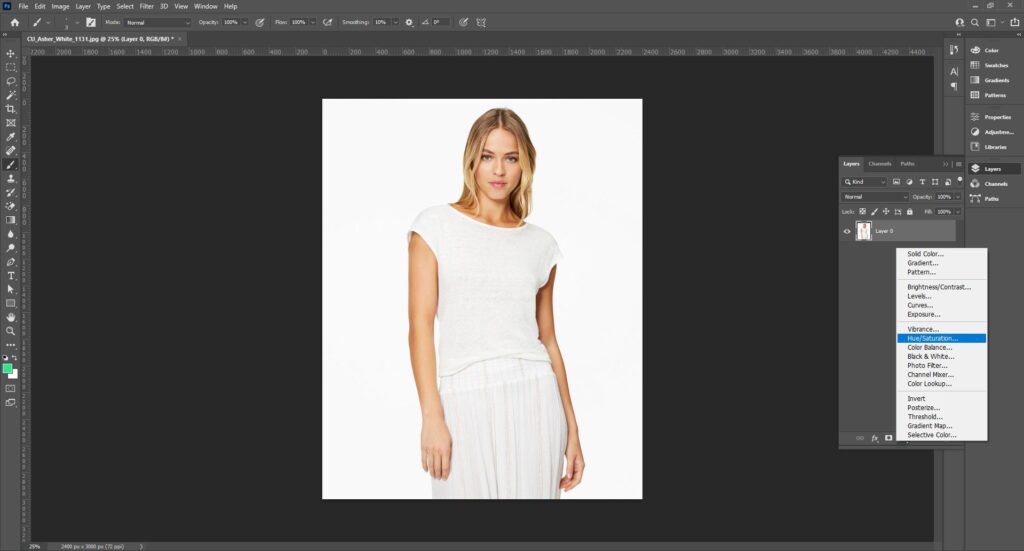
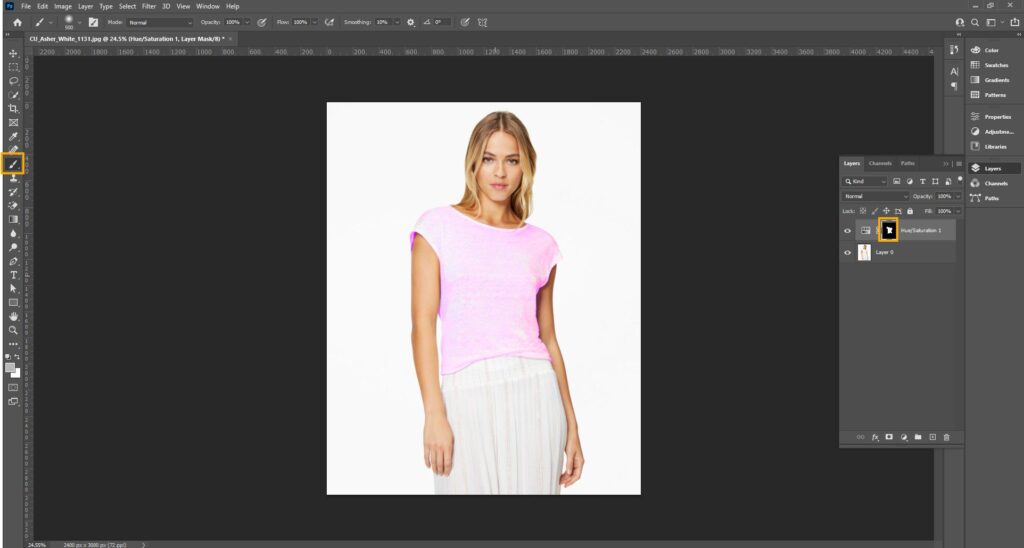
Step 3: Create a Hue/Saturation Adjustment Layer
From the Layers panel at the bottom, click the New Adjustment Layer icon and then choose Hue/Saturation. Photoshop will automatically create a Layer Mask attached to this layer. The selected area on your image will appear white, and unselected areas will turn black.
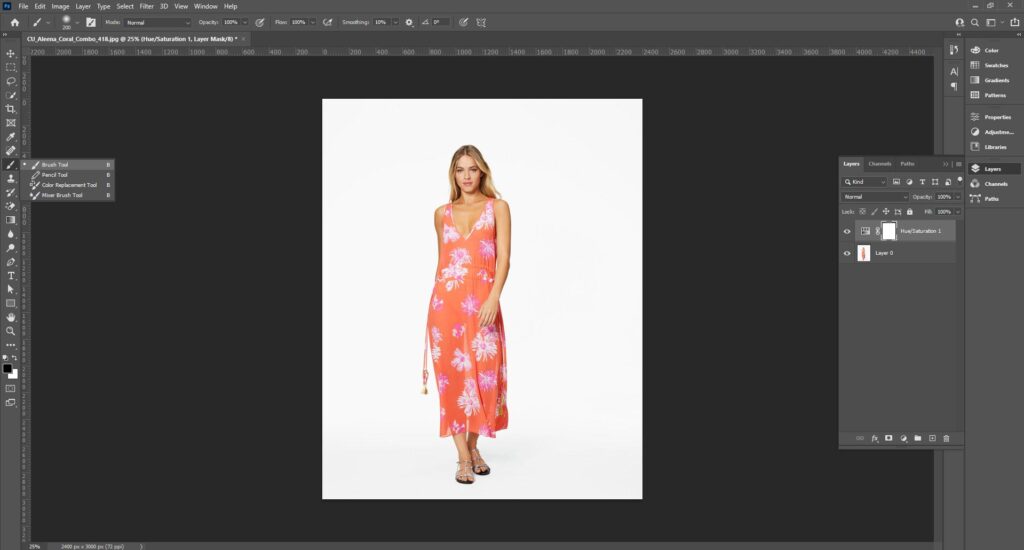
Step 4: Refine the Layer Mask
Select the layer mask thumbnail if the selection doesn’t look perfect. Use the Brush tool with black paint and hide the unwanted areas. Use white paint to reveal the adjustments of clothes that weren’t selected earlier. Make sure the edges of the mask align well.
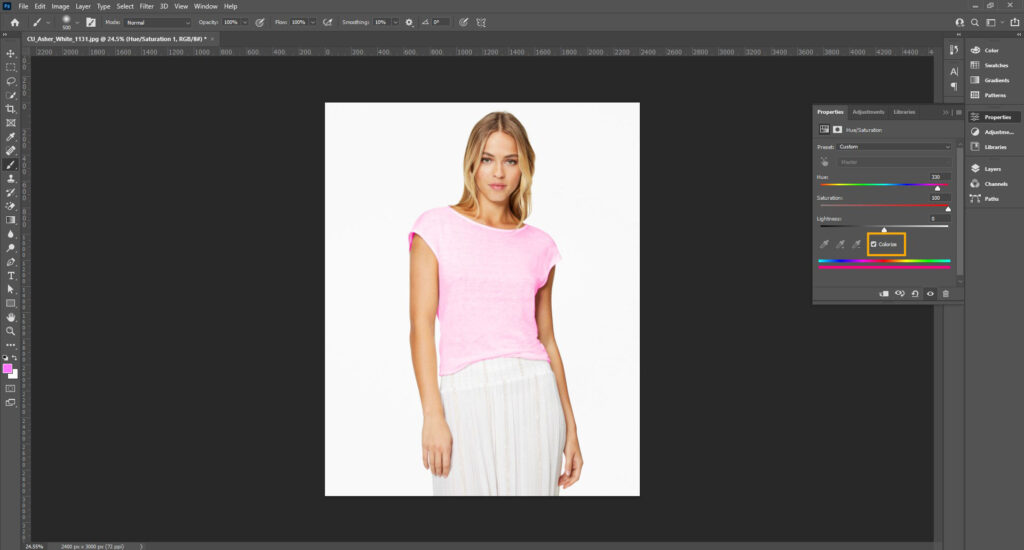
Step 5: Open and Adjust the Hue/Saturation Properties
Double-click on the Hue/Saturation thumbnail in the Layers panel. The Properties panel for the Hue/Saturation adjustments will open up. Check the Colorize box. This process will make a uniform hue to the selected area. Use Hue/Saturation, and lightness sliders for the color you want.
Step 6: Further Mask Refinement
Review the colors after applying. To adjust any parts where the color doesn’t appear right or edges need further refinement, follow from step 4.
How to Change the Color of Clothes to Black or White in Photoshop?
To change the color of clothes to black or white in Photoshop, follow these steps.
Step 1: Open the Image and Select
Go to the File menu in Photoshop and click Open. Then, choose your preferred selection tool from the Toolbar.
Step 2: Create a Hue/Saturation Adjustment Layer
In the Layers panel, click New Adjustment Layer and choose Hue/Saturation. You will see that a Layer mask is automatically created.

Step 3: Refine the Layer Mask
Select the Layer Mask thumbnail. By using the Brush tool with black paint, hide any unwanted areas. Use white paint to show the adjustment on any parts of the clothing. Make sure the mask edges are clean.
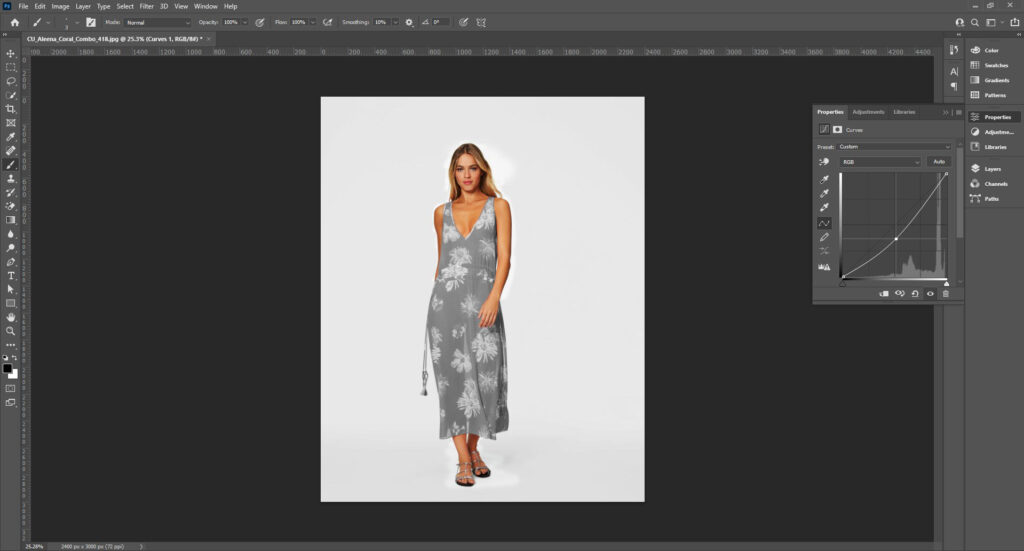
Step 4: Adjust for Black or White
To add black, reduce saturation by dragging the Saturation slider all the way to the left (value of -100), it will remove all color information. Then do the same for the light slider and stop at the value you need. To control the shadow and highlight, add a Curve Adjustment Layer. Pull the curve lower, it will contain some shadow detail.
To add white, drag the saturation slider left to reduce saturation. Then, turn the saturation slider right to lighten the clothing and stop at the lightness value you need. To add detail in the image, use a Curve Adjustment Layer, pull the curve upward to illuminate white.
Step 5: Final Review
Review the colors; if any parts seem unbalanced, go back to step 3 for further refinement or step 4 to tweak the Hue/Saturation and curve settings.
When to Change Clothing Color in a Picture?
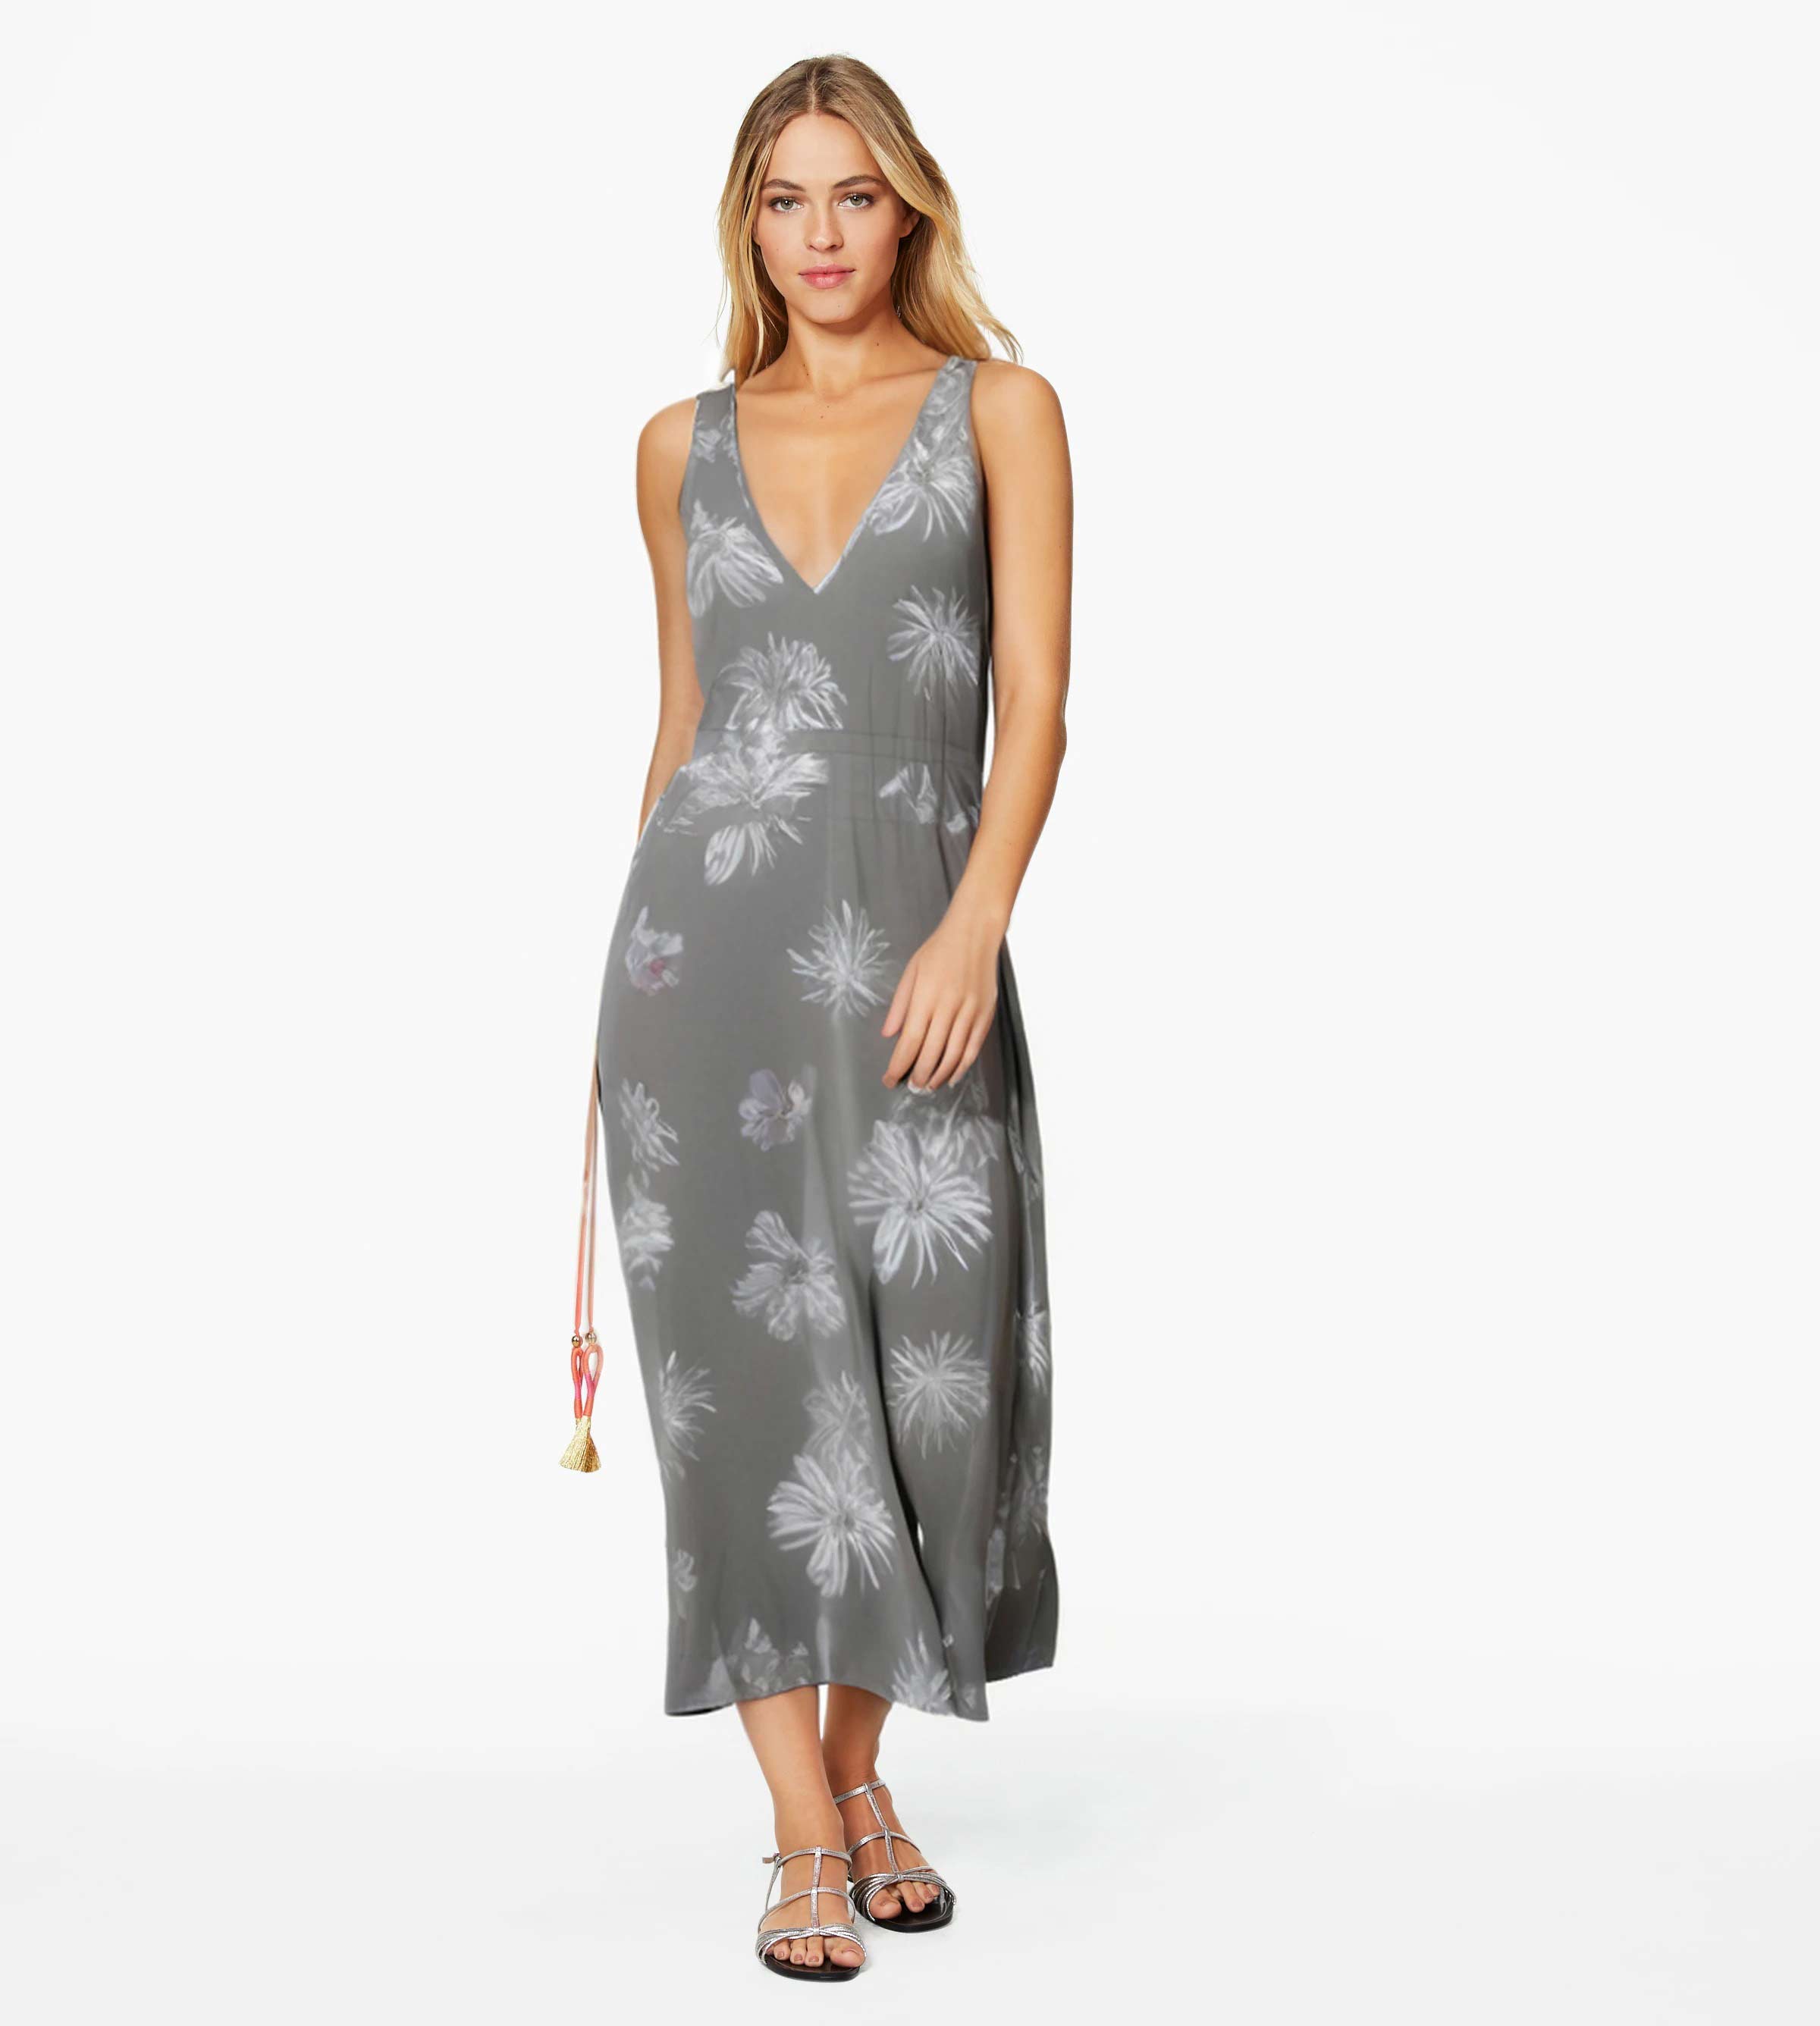
The clothing color in a picture needs to be changed to show clothing variation, convince buyers with a pristine product look, and boost clothing product sales. Photographers, e-commerce sellers, and online store owners mostly collaborate to receive service for changing clothing color correction in Photoshop.
- To Display the Same Products as Different Products
Clothing products differ in size and color. Instead of photographing all the products, shooting one product and then changing the colors on it is a time-saving method. It creates ample options for apparel product sellers to keep up with the demand and brand authenticity.
- To Follow Specific Color Guideline
E-commerce store owners, renowned fashion brands, and customized clothing product sellers follow specific color guidelines. So, photo editors change the color if there is a specific reference color that clients want on their images.
- To Maintain Consistent and Accurate Colors
Online clothing product presentations need to be consistent and pristine for the customers to click the add to cart button. To have the accurate color everywhere, the color of the clothes is often changed.
Who Offers Dress Color Changing Services Near Me or in New York?
There are many clothing color correction services offering apparel color changing services near and inside New York. They offer 24/7 services to international clients at an affordable pricing structure.
Clipping Path Studio is a renowned clothing color-changing service provider. Backed by 150+ photo editors and color correction specialists. The company has vast experience and expertise and has achieved a 53% improvement in engagement rate for clients. Clients of all around the world choose Clipping Path Studio for the following reasons.
- Fast turnaround
- Time and resource saving
- Affordable pricing (photo color correction price starts at $0.99)
- Brand-specific custom service and bulk discount
- Accessibility of expertise and skill
- Scalable and flexible project completion
- Access to advanced technology
FAQs about Changing the Dress Color in Photoshop CC
Is it possible to change the color of clothing without affecting other parts of the image?
Yes, it is possible to change the color of clothing without affecting other parts of the image by using selection tools, layer masks, Hue/Saturation adjustment layers, color replacement brushes, etc.
Are there any AI-powered tools in Photoshop that help with clothing color changes?
The Generative Fill and Neural Filters are an AI-powered tool in Adobe Photoshop that helps with clothing color changes.
How do I match the lighting and shadows when changing clothes color in Photoshop?
To match the lighting and shadows when changing clothes color in Photoshop, use a combination of an adjustment layer, a color adjustment layer, and a blending mode.
What should I do if the original clothing color is too similar to the background?
When the original clothing color is too similar to the background, you can either change the background or change the color of the clothing by using photo editing software.
What’s the difference between using Hue/Saturation and the Color Replacement Tool for clothes?
The difference between the Hue/Saturation tool and the color replacement tool is the color implementation method—the Hue/Saturation adjusts the overall color balance by modifying these elements, and the color replacement tool selectively alters the colors.
Final Overview
- Clothing colors need to be changed to show product variation, follow brand-specific color guidelines, and maintain consistency.
- In Photoshop, you can change the colors of clothing by texture retention and changing colors through a Hue/Saturation adjustment layer.
- Professional color correction service starts at $0.99. Outsourcing color-changing service ensures high-quality, professional, and consistent results within the deadline.
