
Rasterize in Photoshop refers to the process of converting a vector layer or a smart object, such as shapes or text, into a raster (pixel-based) layer. Raster layer, known as bitmap images, is composed of countless tiny squares called pixels. The vector layers utilize mathematical equations to define lines, curves, and shapes. Rasterizing is useful when you need to use effects or tools like brushes, erasers, or others that only work on rasterized layers.
There are 5 easy & quick ways to rasterize an image in Photoshop.
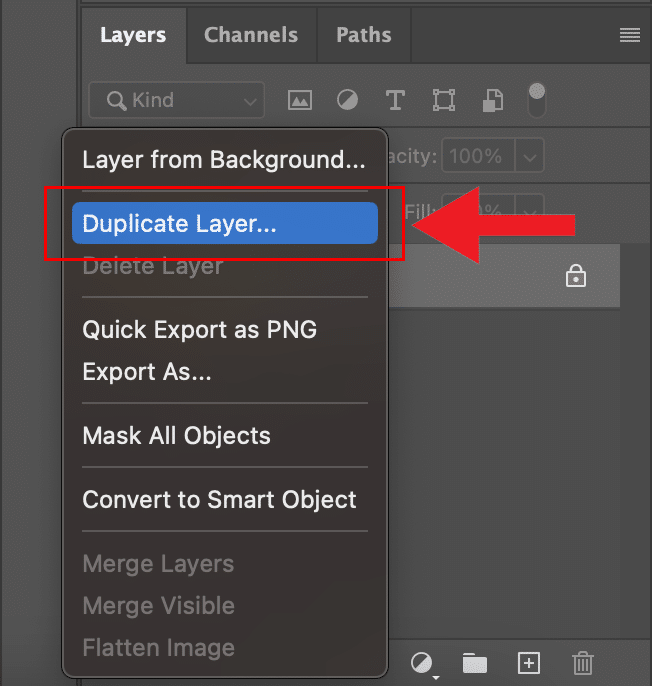
- Select the Layers you want to rasterize (Note: press F7 to level the Layers panel if not visible)
- Duplicate the layer before rasterizing
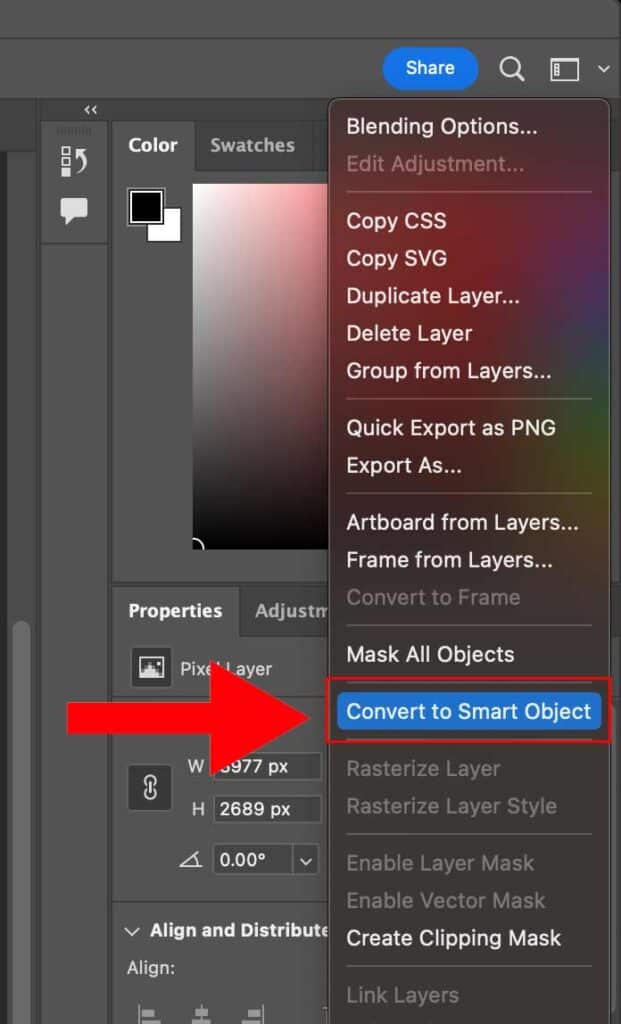
- Convert the Layer to a Smart Object
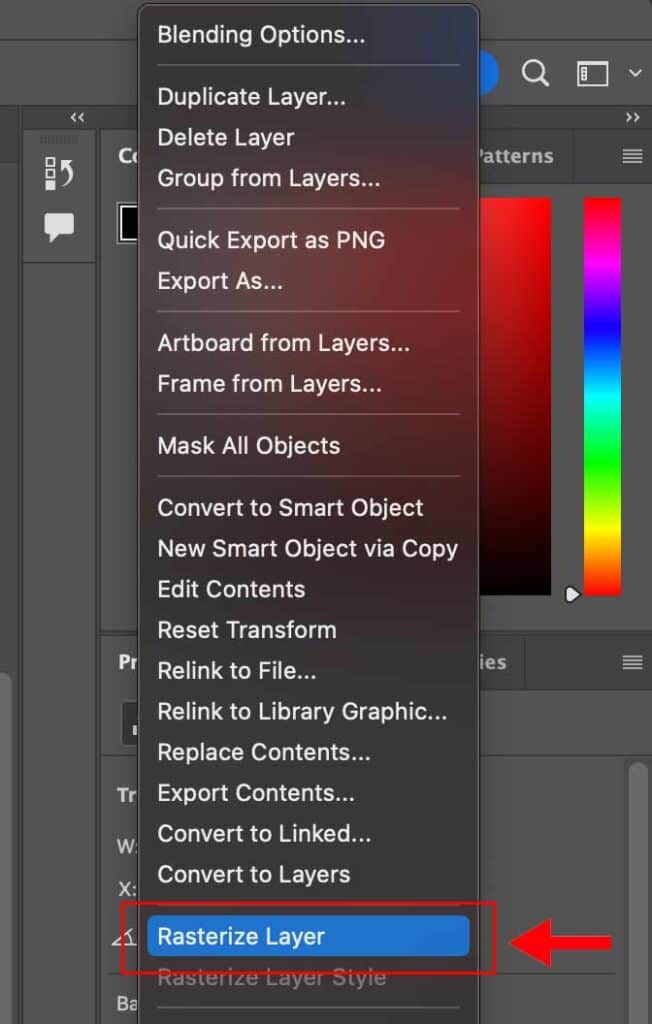
- Click the “Layer” menu and choose the “Rasterize” option, and
- Confirm the rasterization process.
What you’ll learn in this article
- 1 Step 1: Select the Layer to be Rasterized
- 2 Step 2: Duplicate the Layer You Want to be Rasterized
- 3 Step 3: Convert the Layer to a Smart Object
- 4 Step 4: Go to the “Layer” Menu and Choose “Rasterize”
- 5 Step 5: Confirm the Rasterization Process
- 6 How to Rasterize Text in Photoshop
- 7 What Does Rasterize Mean in Photoshop?
- 8 What Other File Types Can You Rasterize in Photoshop?
Step 1: Select the Layer to be Rasterized
To begin the rasterization process, choose the specific layer you want to convert into a rasterized layer, ensuring you have the correct layer targeted for the desired transformation.

Step 2: Duplicate the Layer You Want to be Rasterized
Once you have your layer selected, right-click and duplicate the layer. That way, you are not editing destructively.
Step 3: Convert the Layer to a Smart Object
Once you’ve duplicated your layer, right-click on the new layer and select “convert to smart object.”
Step 4: Go to the “Layer” Menu and Choose “Rasterize”
After converting the desired layer to a smart object, right-click on the layer and select the “Rasterize” option. This action will initiate the rasterization process, converting the selected layer into a pixel-based image
Step 5: Confirm the Rasterization Process
Once you have selected the desired rasterization options, proceed by confirming the process. This action will initiate the conversion of the selected layer into a rasterized layer, finalizing the transformation. Confirming the rasterization ensures the changes take effect and the layer is successfully converted
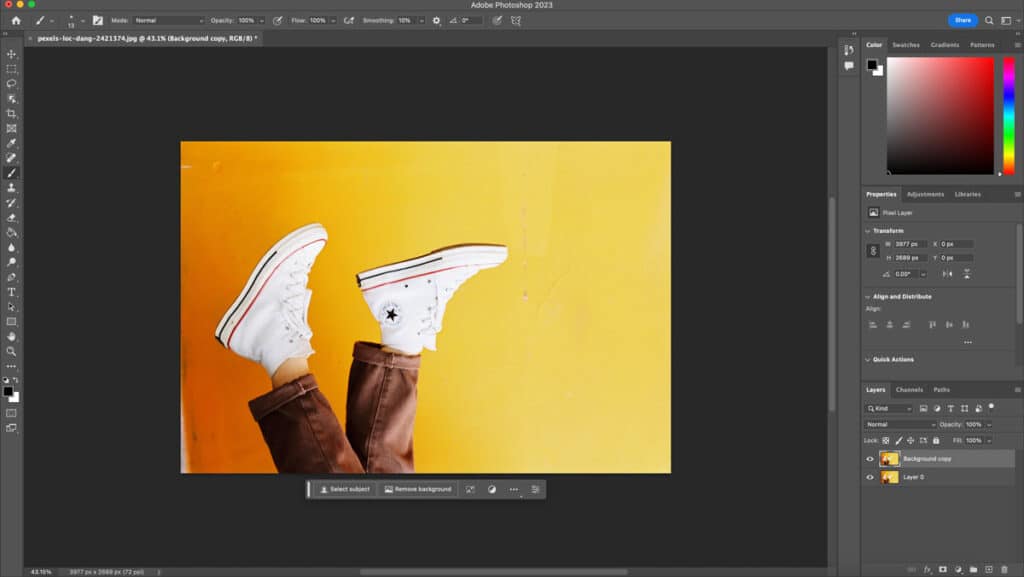
Now your image has been converted to pixels.
How to Rasterize Text in Photoshop
The steps to rasterize text in Photoshop include selecting the Text Layer to be Rasterized, Rasterizing the Text Layer, and Customizing the Rasterized Layer.
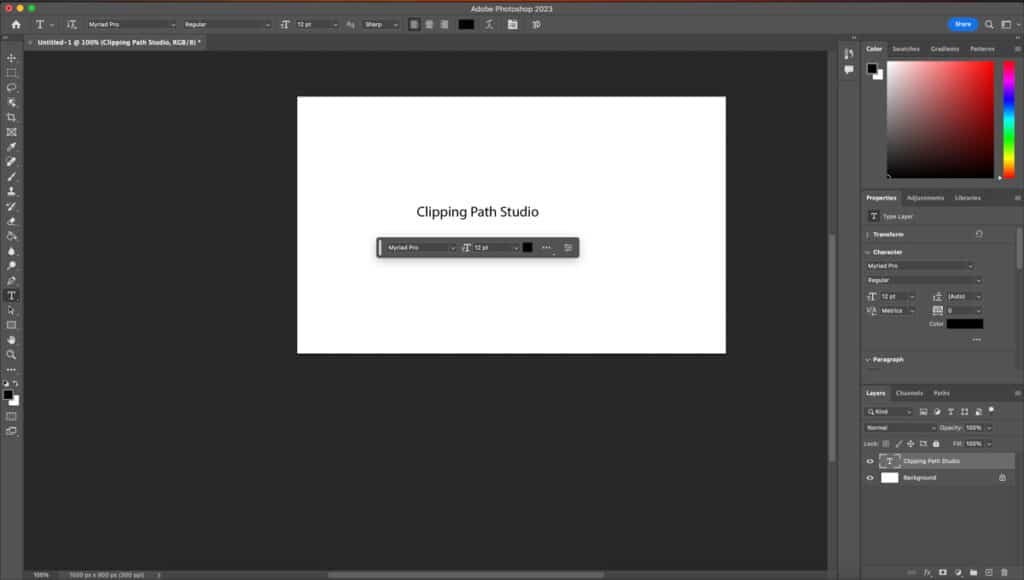
Step 1: Select the Text Layer to be Rasterized
Open your project in Photoshop and identify the text layer you want to rasterize. Ensure the layer is selected in the Layers panel before proceeding to the next step.
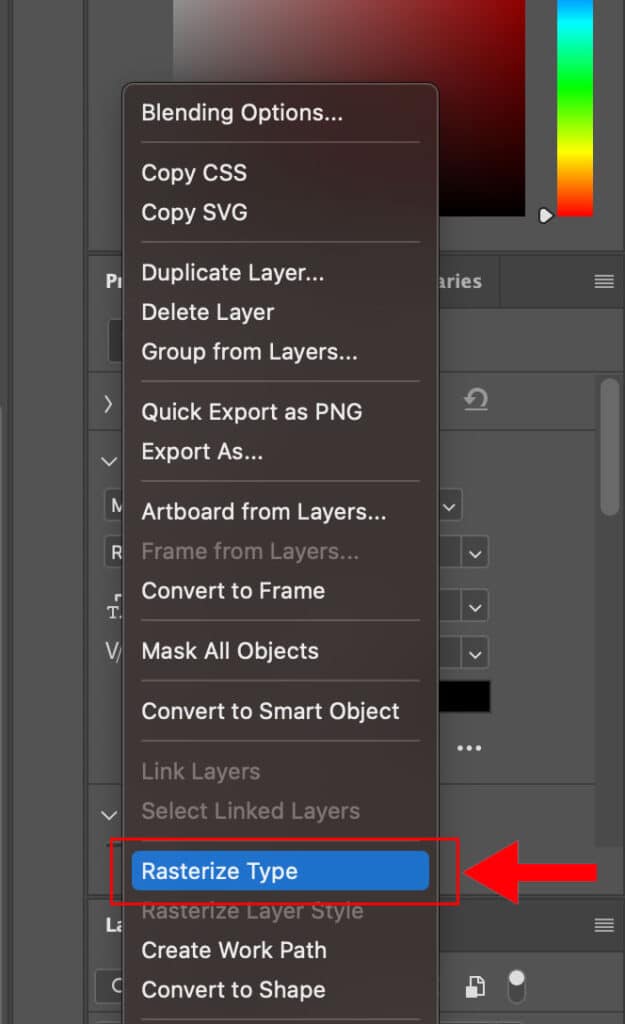
Step 2: Rasterize the Text Layer
Right-click on the selected text layer in the Layers panel. From the context menu, choose the “Rasterize Type” or “Rasterize Layer” option (depending on your Photoshop version). Alternatively, go to the “Layer” menu, select “Rasterize,” and then choose “Type” or “Layer.”
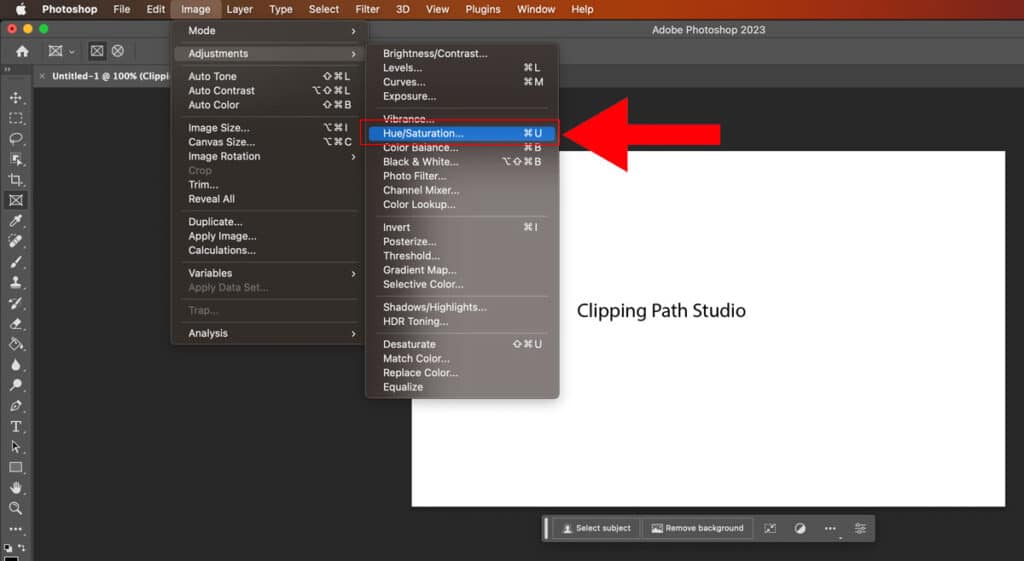
Step 3: Customize the Rasterized Layer (if desired)
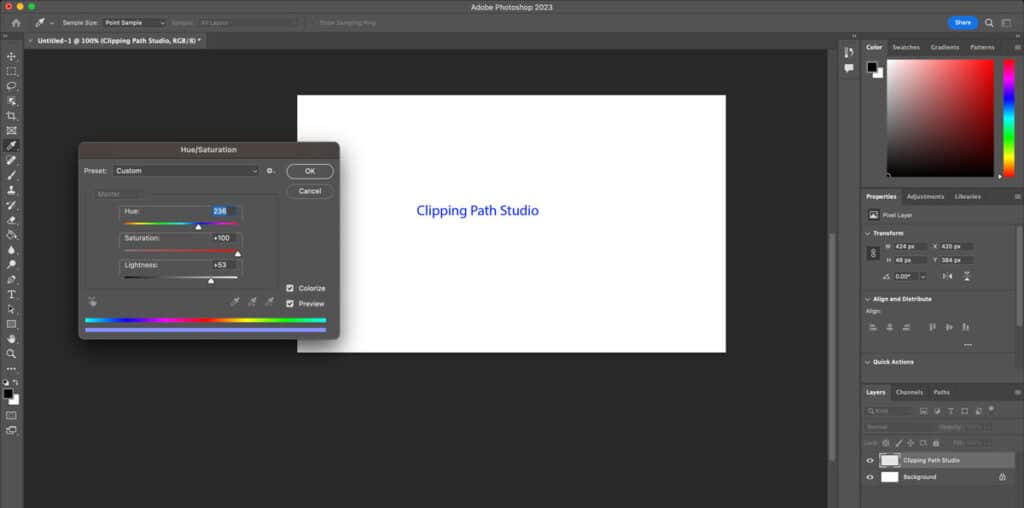
Once the text layer is rasterized, you can customize it by applying effects, filters, or transformations to achieve the desired appearance. Go to Image > Adjustments > Select which adjustment you’d like to apply to your layer.
What Does Rasterize Mean in Photoshop?
Rasterization in Photoshop refers to converting vector or text layers into rasterized layers, where each pixel carries color and position information, allowing for compatibility with certain effects, merging layers, and reducing file size.
Is Rasterization the Same as Vectorization?
No, rasterization and vectorization are different processes. Rasterization converts vector or text layers into rasterized images, while vectorization converts raster images into scalable vector formats.
Why is the “Rasterize Layer” Option Disabled in Photoshop?
The “Rasterize Layer” option can be disabled in Photoshop when the layer contains certain elements that cannot be rasterized, such as smart objects or linked files.
Should I Rasterize Images in Photoshop?
Rasterizing images in Photoshop is recommended in certain situations, such as when you need to apply specific effects or filters, merge layers, or ensure compatibility across different software or platforms. Evaluate your project requirements to determine if rasterization is necessary.
Does Rasterizing Reduce Image Quality?
Rasterizing can potentially reduce image quality since it converts vectors or text into fixed pixels, causing a loss of scalability and introducing pixelation if scaled beyond the original resolution.
Why Add Rasterization to Your Photoshop Processes?
Incorporating rasterization into your Photoshop workflows can benefit your design and editing projects. By rasterizing layers, you gain compatibility with specific effects and filters, simplify complex compositions by merging layers, and reduce file size for faster processing.
At Clipping Path Studio, we offer exceptional image editing services that can significantly streamline your process. Our team of experts understands the intricacies of rasterization, ensuring precise and high-quality conversions. You can focus on other aspects of your work by entrusting us with your rasterization needs.
What is the Importance of Understanding the Concept of Rasterization?
Understanding rasterization, including how to rasterize photos, is vital for designers and photo editors. It facilitates efficient image manipulation, supports compatibility with effects, allows for layer merging, reduces file size, and ensures visual consistency across different platforms and software applications.
What is the Purpose of Rasterizing?
Merging Multiple Layers into a Single Layer
Rasterization simplifies complex compositions by combining multiple layers into a unified rasterized layer, reducing file size and enhancing the ease of editing and manipulation.

Reducing File Size for Faster Processing
Rasterization optimizes images by converting them into fixed pixel-based formats, resulting in smaller file sizes that can be processed more quickly, improving workflow efficiency and performance in Photoshop.
Ensuring Consistency Across Different Software or Platforms
Rasterization provides a universal format that ensures visual fidelity and consistent rendering of images across various software applications or platforms, promoting seamless compatibility and reliable representation.
What Other File Types Can You Rasterize in Photoshop?
Other File Types you can rasterize in Photoshop are Vector Files (e.g., AI, EPS, SVG), Smart Objects, PDF Files, and Video Files (e.g., MP4, MOV).
1. Vector Files (e.g., AI, EPS, SVG)
Rasterization allows compatibility with specific effects and filters and enables the editing of vector artwork with raster-based tools.
2. Smart Objects
Rasterization is useful when you need to edit the contents of the smart object directly within Photoshop or apply specific effects that are not compatible with smart objects.
3. PDF Files
Rasterizing specific elements within a PDF file allows for editing, applying effects, or preparing the file for web display, where vector elements may not be supported.
4. Video Files (e.g., MP4, MOV)
Rasterizing video frames can be helpful when extracting specific frames for editing, applying effects, or creating still images from videos.
