
A layer mask in Photoshop is an image-processing technique to partially reveal or hide images by using Photoshop’s Brush tool, selection tool, etc. It controls the visibility of another layer, which is demonstrated through different colors: black to hide, white to reveal, and gray for selective visibility.
The icon of layer masking in Photoshop is found at the bottom of the Layers Panel. It is used in images when blending layers, removing background, isolating objects, and applying selective adjustments.
What you’ll learn in this article
- 1 What is a Layer Mask in Photoshop?
- 2 How Does a Layer Mask Work?
- 3 When to Use a Layer Mask in Photoshop?
- 4 Where is the Layer Mask Icon in Photoshop?
- 5 How to Make a Layer Mask in Photoshop?
- 6 How to Copy a Layer Into a Layer Mask?
- 7 How to Get Rid of Layer Mask in Photoshop?
- 8 What is a Clipping Mask?
- 9 FAQ’s About Photoshop Layer Mask
What is a Layer Mask in Photoshop?
A layer mask in Photoshop is a non-destructive photo editing tool that allows users to selectively hide or reveal parts of a layer without permanently deleting any pixels. It is created by using Photoshop tools such as the Brush Tool, Selection Tools (Lasso, Marquee, Quick Selection), and the Gradient Tool.
Photoshop Layer mask allows controlling the images’ visibility or concealment to ease up blend layers, remove backgrounds, or isolate subjects. Users can preserve original image data upon making flexible edits and simplify corrections. Industries like photography, e-commerce, advertising, and digital marketing rely on layer masks for refined visuals, composite images, and promotional visual content that are high-quality and don’t lose image data.
How Does a Layer Mask Work?
A Layer Mask works by allowing or controlling the visible parts within an image layer so that the image data remains intact. When a mask is selected, you can paint it in black, white, and gray to hide or reveal different parts.
- Black color indicates hiding.
- White color is for revealing.
- Gray is for selective visibility.
Photoshop Brush tool, Gradient tool, and Selection tools are used to create a layer mask, blend layers, remove background, and create a photo cutout while keeping the original images.
What is the Difference Between a Quick Mask and a Layer Mask?
The difference between a quick mask and a layer mask is that the quick mask is temporary, and the layer mask is permanent. Clipping masking is used for creating and refining the selection, whereas layer masking is used for non-destructive editing fr selective exposing or hiding images. Other differences between a layer mask and a quick mask are as follows.
| Topic | Quick Mask | Layer Mask |
|---|---|---|
| Selection Appearance | Selected/unselected areas show as a semi-transparent red overlay. | Selected and unselected areas appear black, white, or gray. |
| Purpose | Creating or refining selections. | Selective hiding and revealing. |
| State of Work | Temporary. | Permanent and non-destructive. |
| Editing Scope | Limited to selections. | Allows blending, adjusting layers, complicated editing, etc. |
| Duration | Disappears when the selection or deselection happens. | Stays with the layer until deletion. |
When to Use a Layer Mask in Photoshop?
Use a layer mask in Photoshop for these 4 situations: blending layers, removing image background, isolating subjects and creating cutouts, and applying selective adjustments in images. Being a non-destructive edit, layer mask makes these tasks easy, allows precise and complete control, keeping the original image pixel data.
1. When Blending Layers: Use a layer mask when collaging multiple images. As it allows selective revealing and hiding of the masked areas in images, you can create a smooth and natural-looking composition without permanently deleting any pixels.
2. While Removing the Image Background: Apply the layer mask when you need to change or remove the image background without harming the subject.
3. During Isolating Subjects and Creating Cutouts: Use the layer mask when you need to create a precise cutout or extract the subject for placing on another background. Masking is the best photo editing solution when the subject contains soft edges, such as hair, fur, etc.
4. When Applying Selective Adjustments in Images: Implement Photoshop layer masking to enable adjustment layers or filters on specific areas. You gain control over the color, exposure, or effects while the rest of the images remain unaffected.
Where is the Layer Mask Icon in Photoshop?
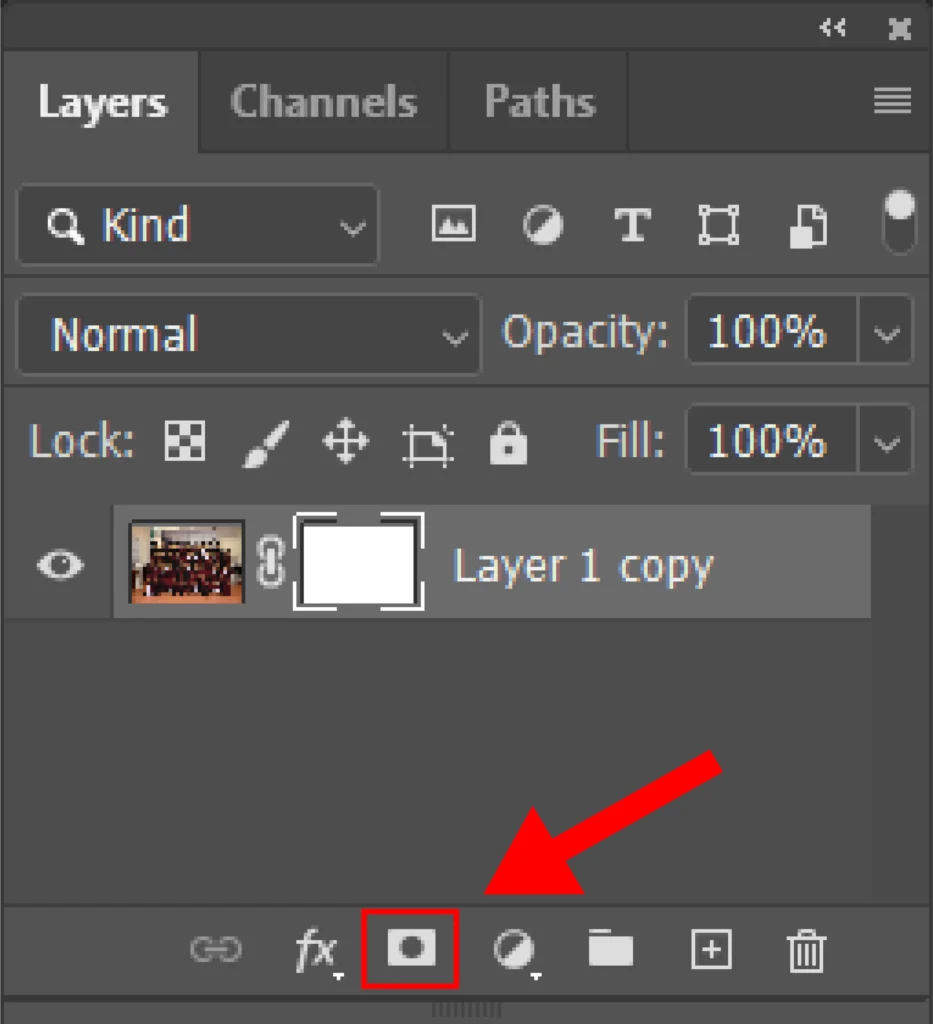
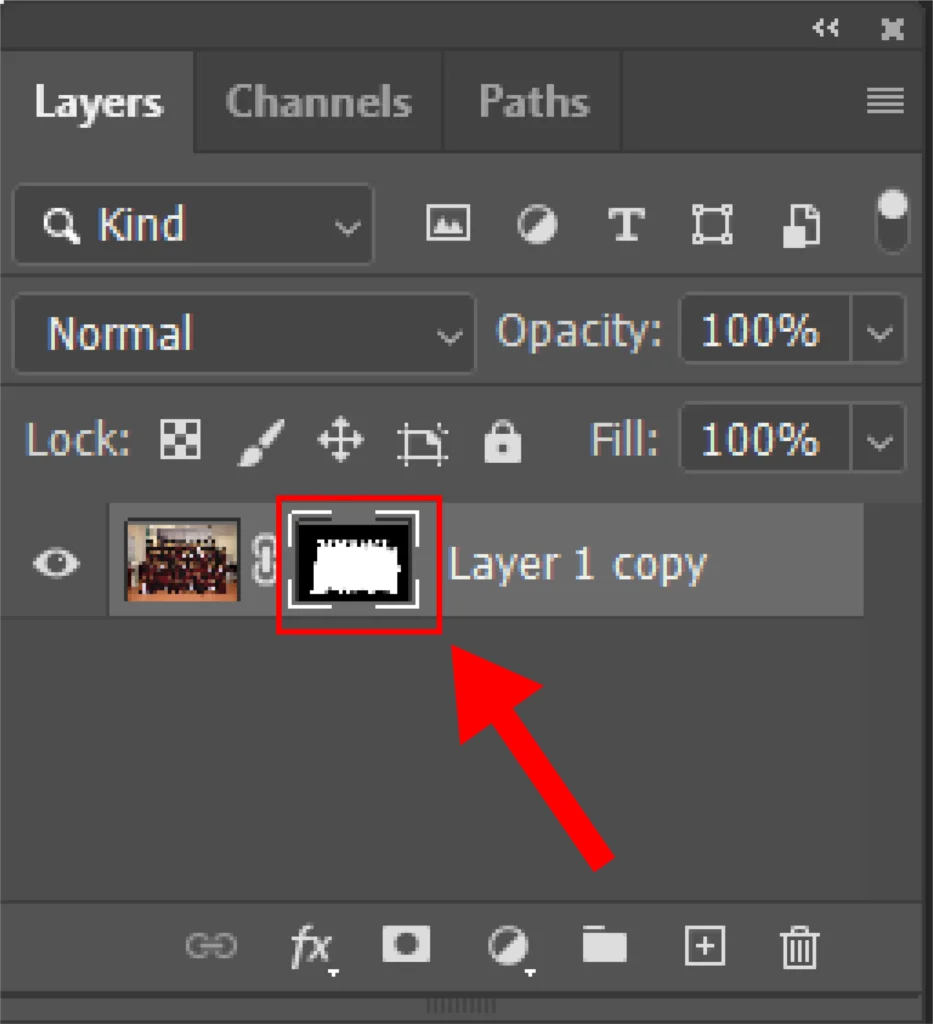
The layer mask icon in Photoshop is situated at the bottom of the Layers Panel, in a rectangle shape with a black circle inside. After selecting a layer, click this icon a mask thumbnail will appear next to the layer thumbnail, creating a layer mask.
Alternatively, press the Alt key in Windows or the Option key in Mac while clicking the icon a black mask will appear that hides everything.
How to Make a Layer Mask in Photoshop?
The step-by-step tutorial for making a layer mask in Photoshop is as follows.
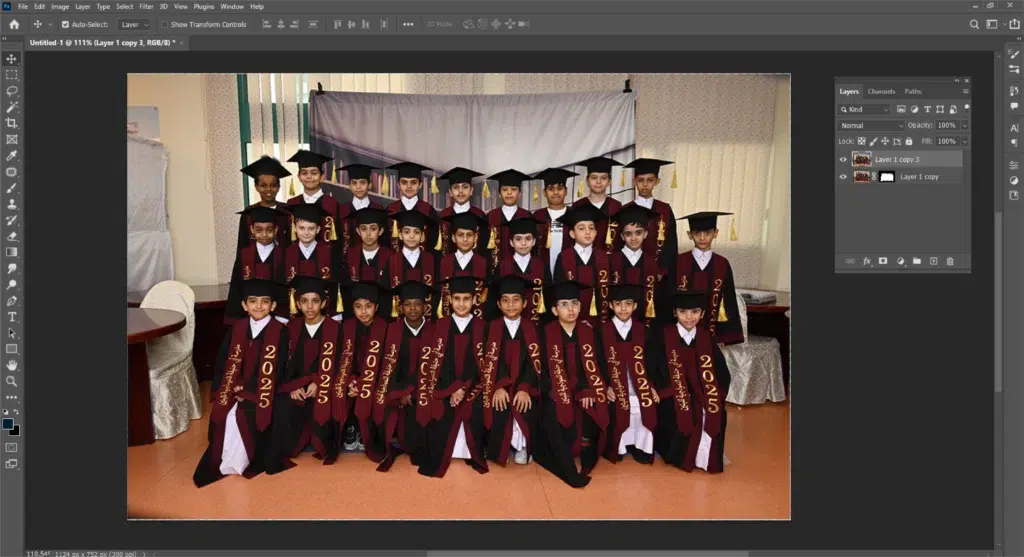
Step 1: Open Your Image
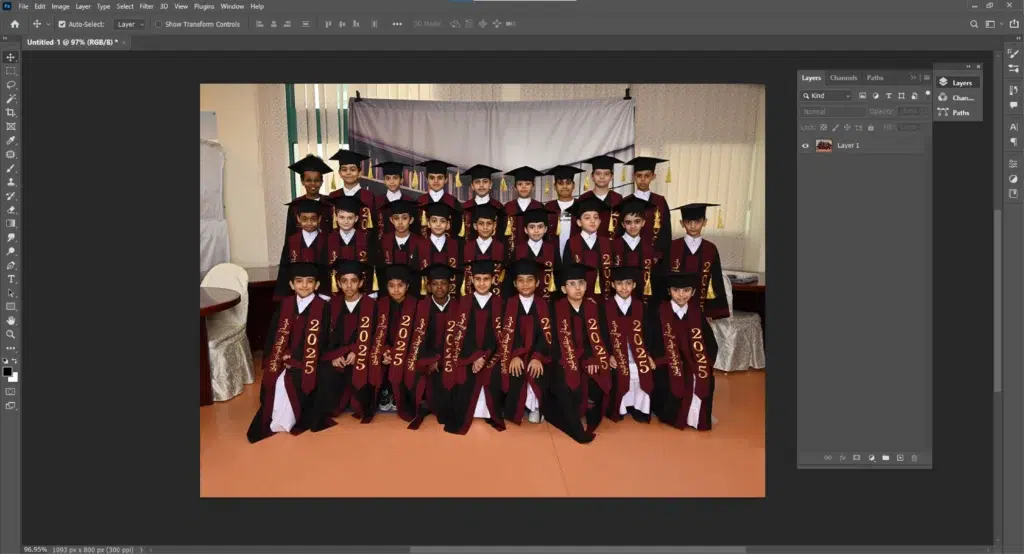
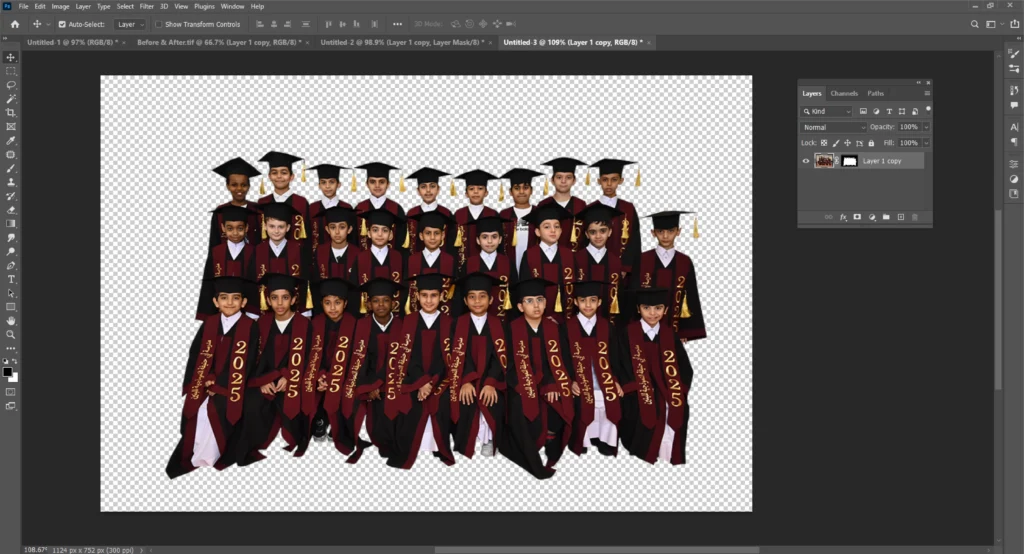
Open your image file in Photoshop and keep the Layers panel visible. Click Window, then Layers. Click on the layer thumbnail you need to apply the mask.
Step 2: Add a Layer Mask
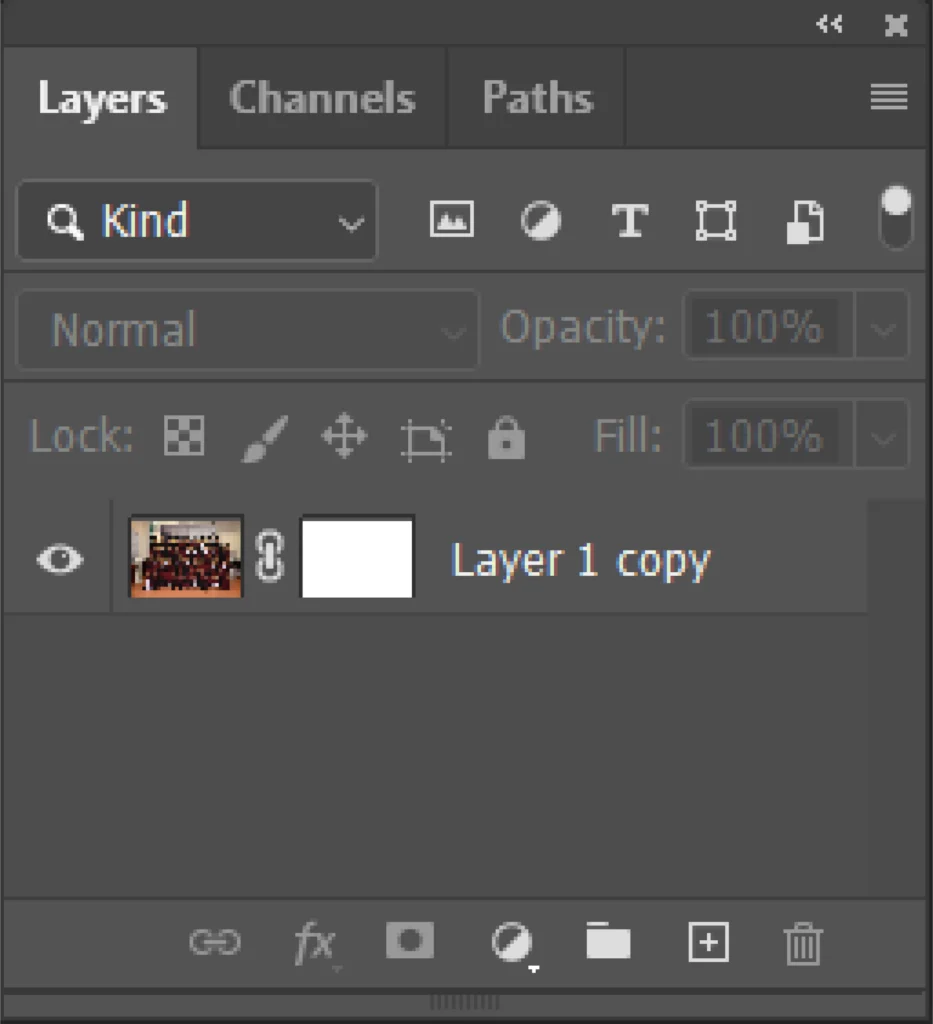
Click on the Add Layer Mask (an icon rectangle with a circle) at the bottom of the Layers panel. A white mask thumbnail will appear.
Step 3: Activate the Mask
Click the mask thumbnail. A border will appear around it, which indicates it is active.
Step 4: Reset Colors
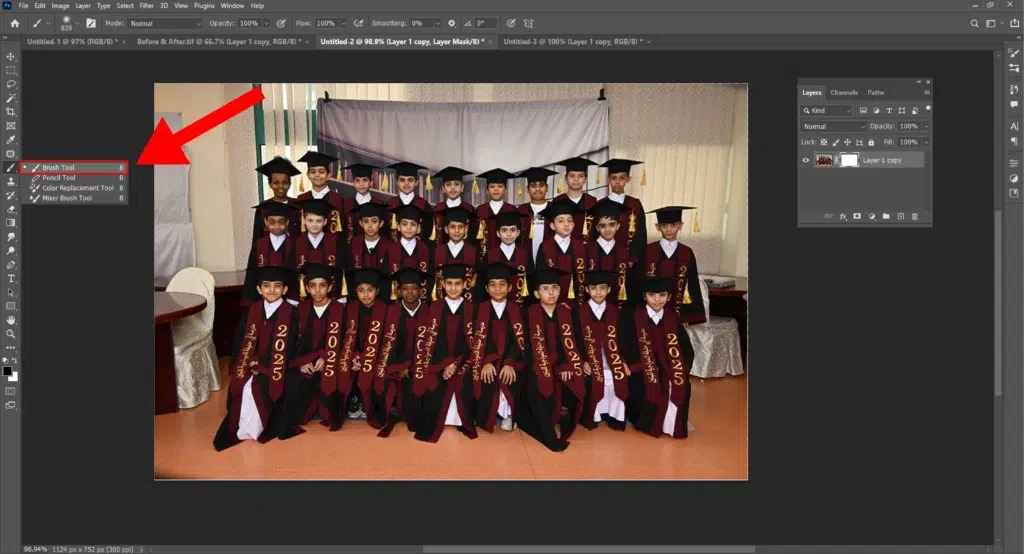
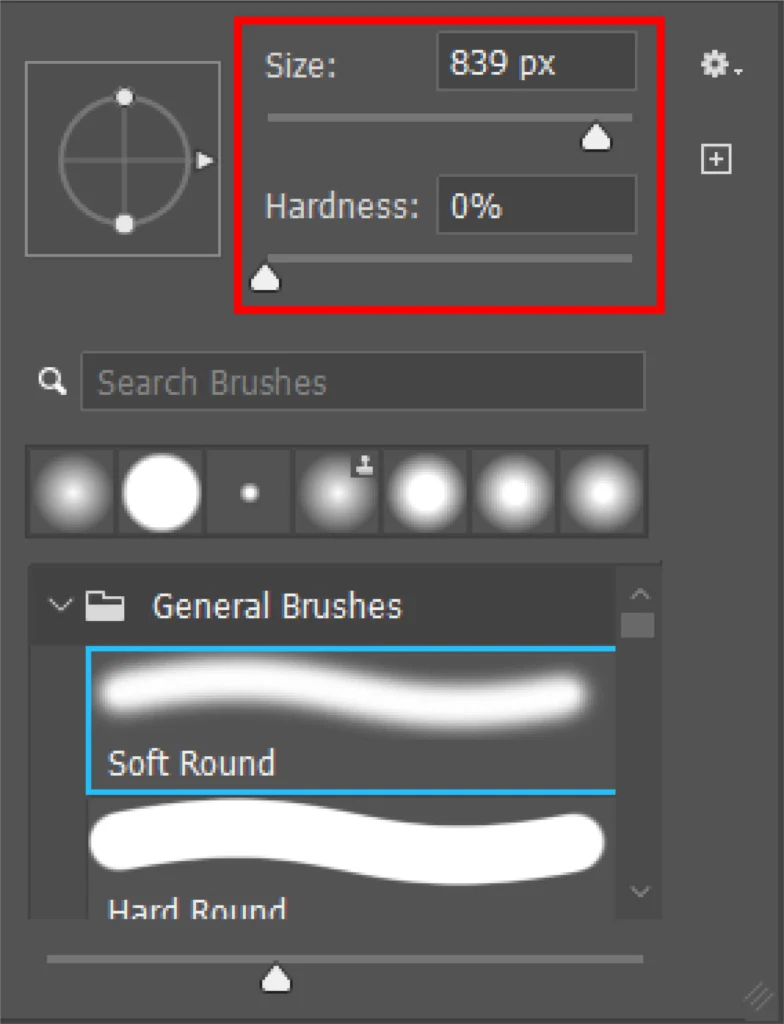
Press D to reset colors (black=foreground, white=background). Now, select the Brush Tool (B), adjust size/hardness, then paint as follows.
- Black hides pixels
- White reveals pixels
- Gray adds partial transparency
Step 5: Refine and Finish
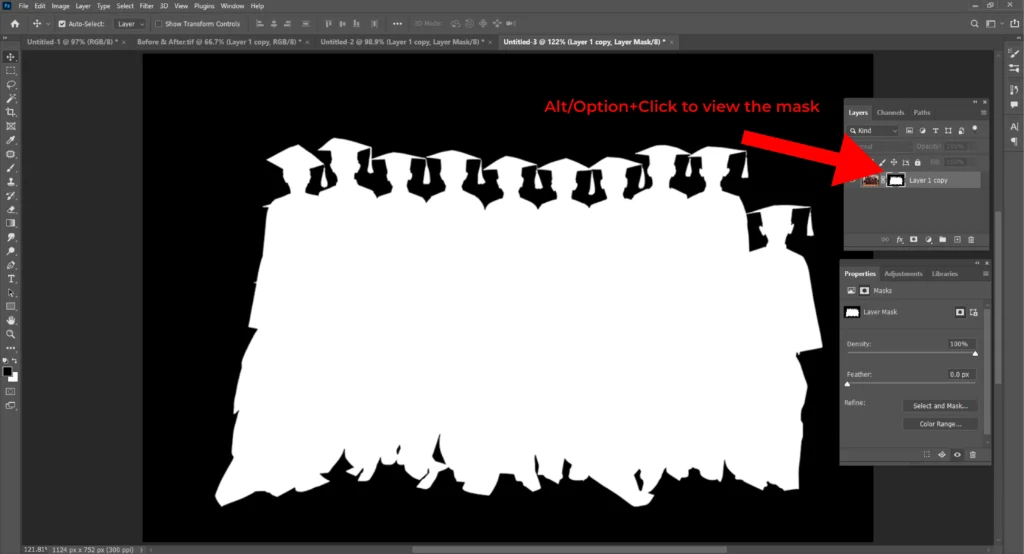
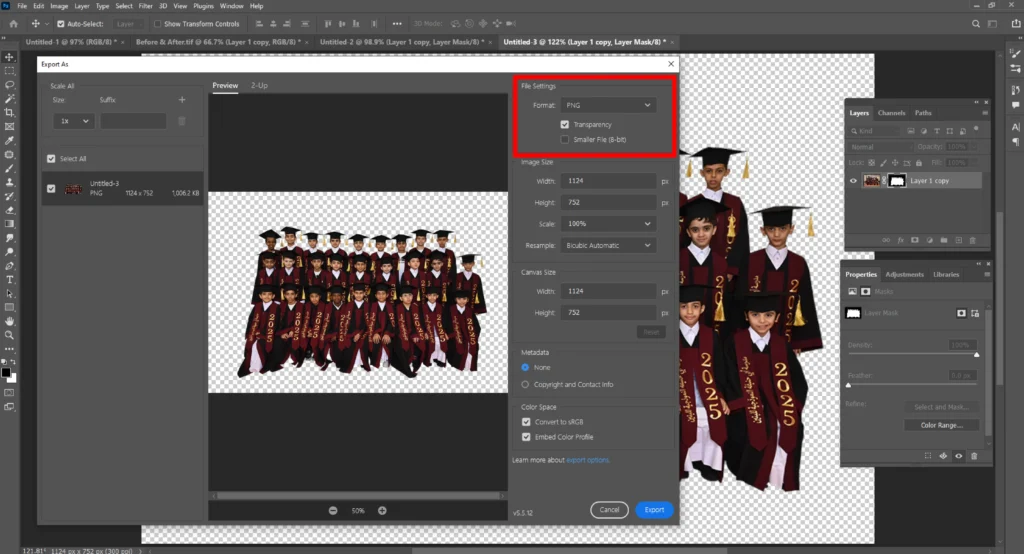
Use Alt/Option+Click to view the mask. Then, press Shift+Click to toggle it. To refine the edges in Properties, Select and Mask, invert with Ctrl/Cmd+I. When finished, save the file as .PSD to keep it editable or export as PNG/JPG for final use.
What are the Different Ways to Create a Layer Mask?
The different ways to create a layer mask are selection, quick mask mode, masking from a channel, and hiding everything first.
1. From a Selection
Use the Marquee or the Lasso tool. Alternatively, select the subject and click Add Layer Mask. This process will make the selected part visible, hiding the rest.
2. Quick Mask Mode
Launch Quick Mask by pressing Q. Use a brush to paint the selection area. Press Q again to convert the painted part into a selection. When done, add a mask. The painted areas will be masked.
3. Mask from Channel
Go to the Channels panel. Press Ctrl/Cmd+Click on a channel (for example, Red, Green, Blue, or an Alpha channel) to load it as a selection. Then, click Add Layer Mask. The mask will appear using tonal values from the channel.
- White: Visible
- Black: Hidden
- Gray: Partial
4. Hide Everything First (Black Mask)
Hold the Windows Alt (Windows) or Option (Mac) while clicking Add Layer Mask. A black mask will hide the entire area. Paint white to expose the areas you want to reveal.
Why Can’t I Enable Layer Mask in Photoshop?
You can’t enable layer mask in Photoshop when the background layer is locked, you have selected the wrong layer, or when you are using Smart Object, or if the layer contains unsupported layer types. Check the Layers panel always before starting.
1. The Background Layer is Locked: The background layer won’t allow any masking if it is locked by default.
Solution: Unlock it by double-clicking on the background layer. Rename and try.
2. Wrong Layer Selection: Working on another layer than the editable layer will disable masking.
Solution: Check and highlight the correct layer in the Layers panel.
3. Using Smart Object: Working on a Smart Object allows adding a mask, but not permanent application.
Solution: Change the Smart Object in a regular layer to create permanent masking.
4. Unsupported Layer Types: Using adjustment layers and fill layers like special layers have masking in themselves, so you can’t add another layer.
Why is My Mask Moving with the Layer?
Your mask is moving with the layer by default. Masks are connected with the layer they are placed on. It means any changes affect both the mask and the layer. To not allow the mask to move with the layer, follow this step.
- Go to the Layer Panel.
- Click the link icon between the layer and the mask thumbnail.
- Unlink it.
Alternatively, use the Pan Behind tool. Now you move and adjust them without affecting the other.
Why is the Layer Mask Grayed Out in Photoshop?
The layer mask is grayed out in Photoshop if it’s not active or the layer doesn’t support masks. It occurs when you work on an Adjustment Layer or a Fill Layer, as they already contain a mask. This also happens if the layer is locked or if you select a path or channel instead of the layer.
To remove the grayed out in Photoshop, click the mask thumbnail in the layers panel to activate it and unlock the layer if it is locked.
How to Copy a Layer Into a Layer Mask?
Here is the step-by-step guide to preserving tonal detail in the images are as follows.
Step 1: Prepare Layers
Open the file. Determine the Source Layer from where you will copy and the Target Layer where you will apply the mask. Alternatively, duplicate the target layer by pressing Ctrl/Cmd+J to keep an editable backup.
Step 2: Add a Layer Mask to the Target
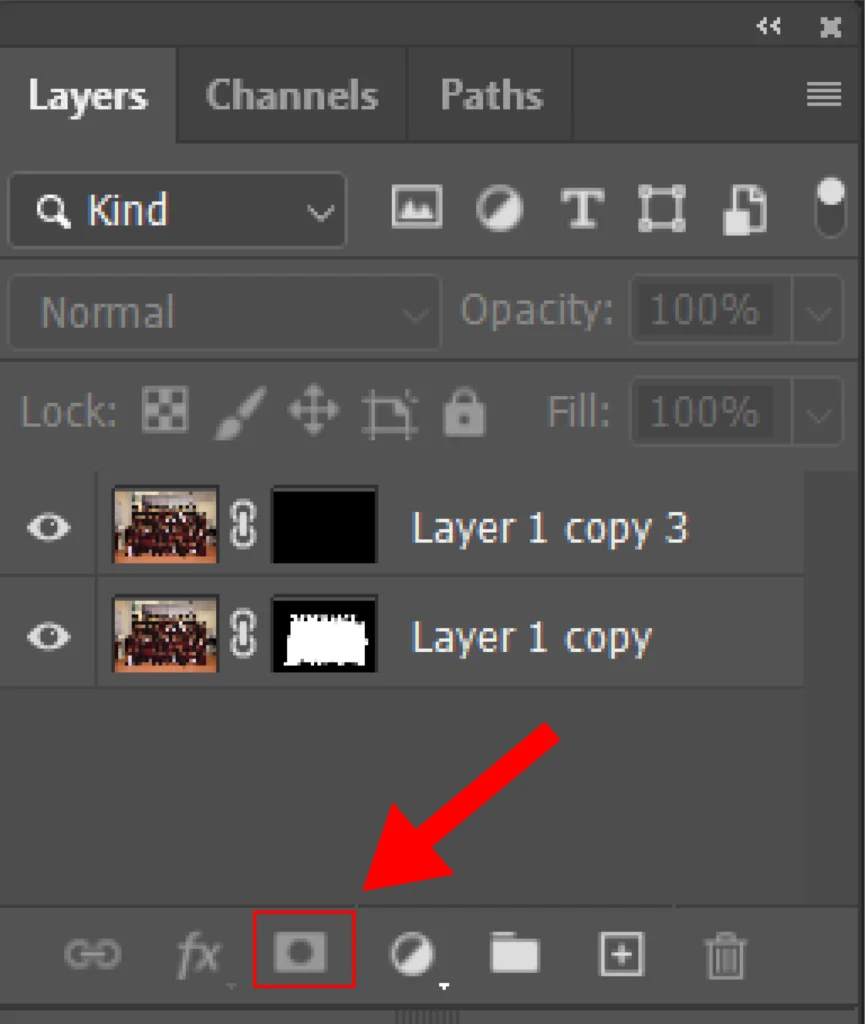
Select the Target Layer. Click the Add Layer Mask icon from the layers panel. A white color mask thumbnail will appear, which will reveal everything. Click Alt/Option+click the icon to create a black mask if you want to hide everything.
Step 3: Activate the Mask

Click the mask thumbnail, and it will have a selection border making the mask activating the editing target. Press Alt/Option+click the thumbnail to preview the mask alone.
Step 4: Copy the Source into the Mask

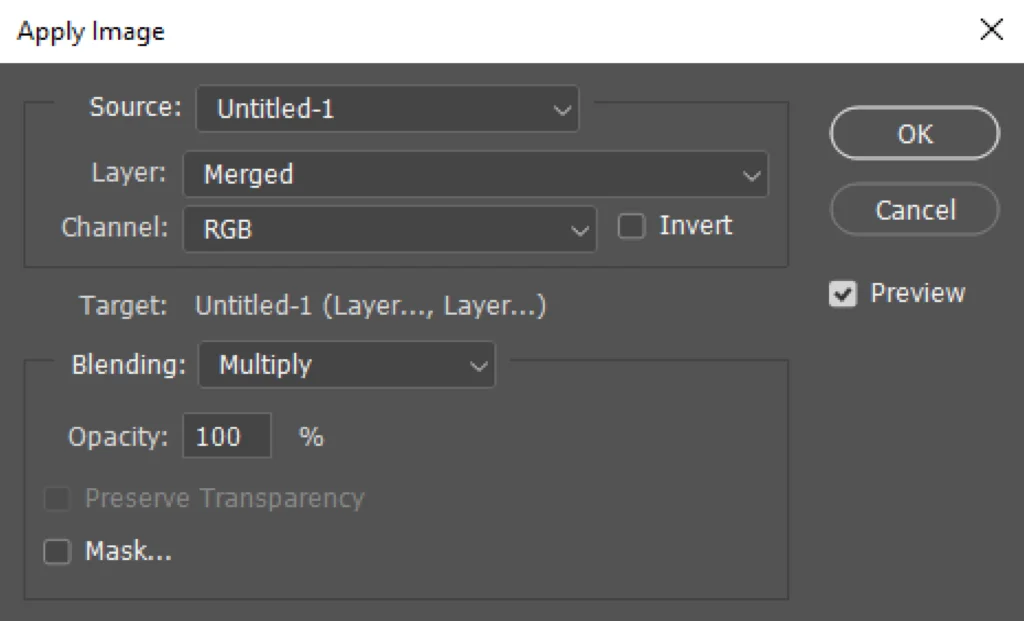
With the mask active, go to Image and click Apply Image. In the dialog, set the Source to your document and follow these steps.
- Pick the Source Layer.
- Choose RGB (or a single channel).
- Keep Blending = Normal and Opacity = 100%.
- Use Invert if you need black and white reversed.
- Click OK.
Step 5: Refine and Finish
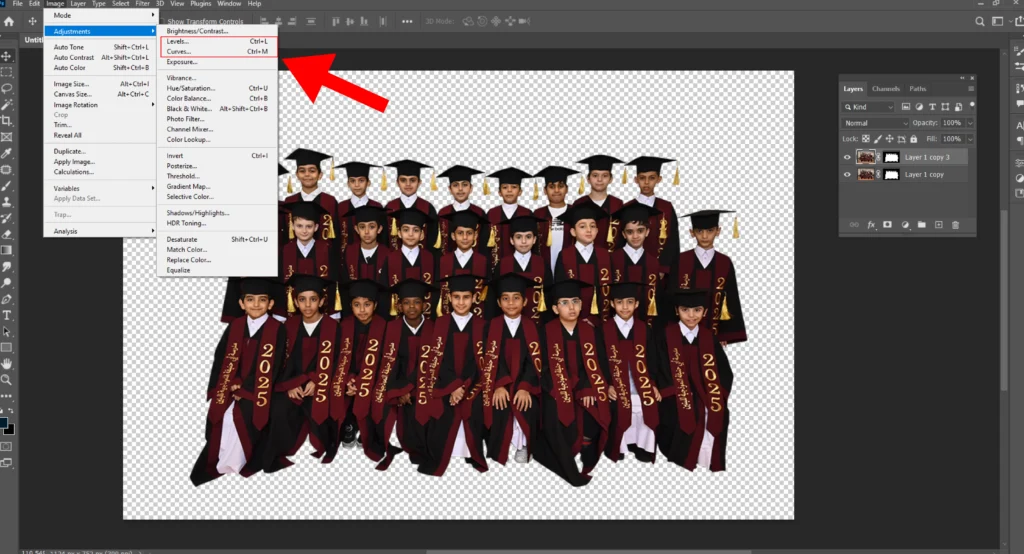
Keep the mask selected and use Image, then go to Adjustment. Click Level or Curves to make the light areas lighter and dark areas darker. It will clear the mask. If you want to reverse it, press Ctrl/Cmd+I. Once done, save the file as .PSD for later editing or export as a JPG/PNG file.
How to Get Rid of Layer Mask in Photoshop?
Here is the step-by-step guide to get rid of a layer mask in Photoshop.
Step 1: Select the Layer with the Mask
Go to the Layers Panel and click the layer with a mask that you want to remove. This process ensures that Photoshop knows which mask to work with.
Step 2: Remove the Mask

There are 2 ways to remove the mask from a layer, as follows.
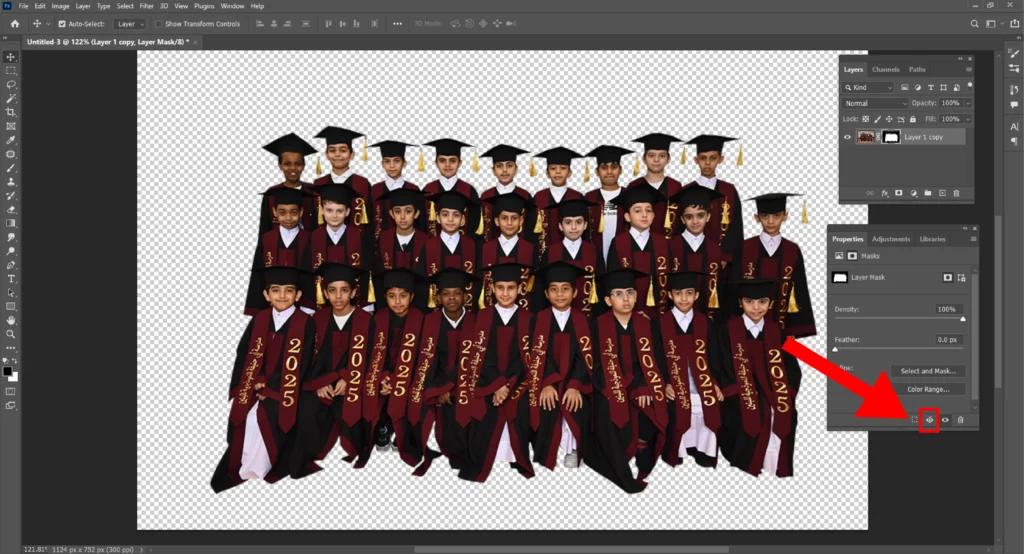
1. Apply and Remove: Click Apply Mask from the Properties panel. You will be able to apply the mask permanently, and the hidden parts of the layer will be deleted.
2. Delete Without Applying: Click Delete from the Properties panel. Click Delete again to confirm. In this process, all the layer pixels will remain intact while eliminating the mask.
Or, you can go to the Layer menu, then Layer mask, and then either Apply or Delete the mask by using the top menu.
Note: Permanently applying a mask isn’t possible through layers made of a Smart Object; it allows only deleting.
What is a Clipping Mask?
A clipping mask is a photo editing technique that uses one layer to control the visibility of another layer. When applied, the top layer shows inside the bottom layer’s shape. The bottom layer acts as a boundary. To create a clipping mask, use the Layers panel or press Alt/Option + Ctrl/Cmd + G for a shortcut.
Being a non-destructive method, clipping path saves time and flexibility and ensures professional results. It is used in post-production for various reasons as follows.
- Applying textures, patterns, and images within a shape without changing
- Applying photo overlays, text-based effects
- Adding gradient or color fills
- Cropping images precisely
- Creating double exposure effects
- Designing custom frames or cutouts
- Masking adjustment layers
What is the Difference Between a Clipping Mask and a Layer Mask?
The difference between a clipping mask and a layer mask is clipping mask relies on the transparency or the shape of another layer, whereas a layer mask uses painting in white, black, or gray. A clipping mask is widely used for precisely applying textures, shapes, and effects without permanently altering the pixels. Other differences between a clipping mask and a layer mask are as follows.
| Aspect | Clipping Mask | Layer Mask |
|---|---|---|
| Number of Layers | At least 2 layers. | Works on a single layer. |
| Flexibility | Automatic adjustment. | Requires manual eiting or painting. |
| Editing Techniques | Controlled by the transparency or shape of the bottom layer. | Controlled by painting. |
| Tools | The Layers panel or keyboard shortcuts (Alt/Option + hover). | The Layer Mask button and brush/gradient tools. |
| Best for | Applying textures, effects, and patterns inside an object or shape. | Selective revealing or hiding or or blending. |
| Usecases | Adding textures, creating double exposure, etc. | Selective revealing or hiding, or blending. |
FAQ’s About Photoshop Layer Mask
What is the layer mask button?
The Layer Mask button in Photoshop allows adding a mask to a selected layer. Users can control what to show or hide in the layer, without altering the original image file. The layer mask button is located at the bottom of the Layers Panel in Photoshop.
What are the different types of masking in Photoshop?
There are 14 different types of masking in Photoshop, those are: layer mask, alpha channel mask, gradient mask, clipping mask, quick mask, vector mask, color mask, hair mask, collage mask, translucent image mask, refine edge mask, clipping paths, transparency mask, and channel mask. Each masking type allows selective visibility, isolating, and manipulating elements without permanently changing the original layer content.
What is the shortcut key for layer masking?
The shortcut key for adding layer masking with Photoshop is Alt+Click for Windows and Option+Click for Mac, which will create an inverted mask. Or, select a layer and click the layer mask button. You get quick access to masking and enable non-destructive edits.
What is the benefit of using a quick mask in Photoshop?
The benefit of using Quick Mask in Photoshop is to ensure fast and precise selection during post-production work. This simple process allows users to paint over an area to add or eliminate anything for quick isolating, refining edges, adjusting, etc.
