
Who doesn’t enjoy desserts?
Of course, Everyone. This is because it stimulates our emotional appetite.
However, taking pictures of desserts may seem simple at first, but as you dig deeper, difficulties may surface. Do you know why? It’s food, and it doesn’t look the same right out of the oven as it does a few minutes later.
Whether you’re a food blogger, Pinterest and Instagram enthusiast, or food photographer, make sure you’re ready to give your best and have a ton of dessert food photography tips at your disposal.
What you’ll learn in this article
- 1 What Do You Need for a Dessert Food Photography Setup?
- 2 12 Tips to Take Scrumptious Shots of Dessert Food Photography
- 2.1 1. Prepare Your Dessert Food to be Photo-ready
- 2.2 2. Choose Your Appropriate Angle
- 2.3 3. Set the Scene with a Series
- 2.4 4. To Evoke Emotions
- 2.5 5. Experiment with Framing
- 2.6 6. Choose a Color Palette
- 2.7 7. Think Outside the Ice-cream Box
- 2.8 8. Use Short Exposure
- 2.9 9. To have a Low ISO
- 2.10 10. Focus on Texture
- 2.11 11. Have fun
- 2.12 12. Edit Your Dessert Food Photos
- 3 FAQs
- 4 Final Verdict
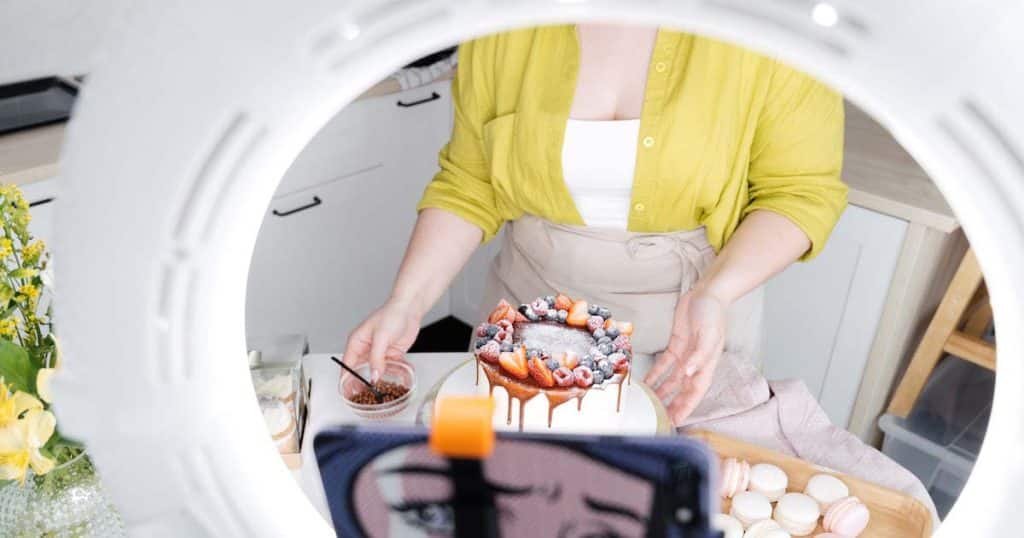
What Do You Need for a Dessert Food Photography Setup?
Being a photographer requires creativity, the capacity to see things in unique ways, and the ability to break the rules of photography. Having this quality isn’t enough, you also need some tools and a suitable setting for photographing desserts to accurately represent your work. These are-
- Camera: Honestly says, no camera no photography. In this case, excellent image quality, autofocus, great in low light, and built-in image stabilization featured camera works great to take impressive dessert shots. Find the best camera for food photography that sustains the details easily.
- Lens: Dessert photography takes place mainly indoors or in small spaces, so using a 35mm or 50mm food photography lens might be great for clicking delectable shots.
- Tripod: Stability is necessary for taking drool-worthy dessert shots, whether you take them at home, in restaurants, or in low light. But it’s difficult to maintain it. So to avoid blur, use a tripod, it lessens the camera shake.
- Background: It narrates the story about desserts. Whether using a solid color background to highlight the color of the food, dark-colored to make it more dynamic, or light-colored to make it more visually attractive, they’re able to make your dessert a star. Get more ideas about food photography backdrops here.
- Lighting: If desserts are the main attraction, liven it up with good lighting. So you must know when to use window lights, any artificial light, a reflector to bounce it, or a diffuser to soften it. The food photography lighting setup mastery makes your desserts pop.
- Props: When photographing dessert food, they are not required, but act as a compliment. Include garnishments to dishes or place napkins, cutlery, or any fabric placemat as props bringing more freshness to creative dessert food photography.
12 Tips to Take Scrumptious Shots of Dessert Food Photography
Are you obsessed with photographing delectable dessert foods? Remember, making desserts and taking dessert shots are totally different.
Explore our carefully curated list of 12 mouthwatering food photography tips.
1. Prepare Your Dessert Food to be Photo-ready
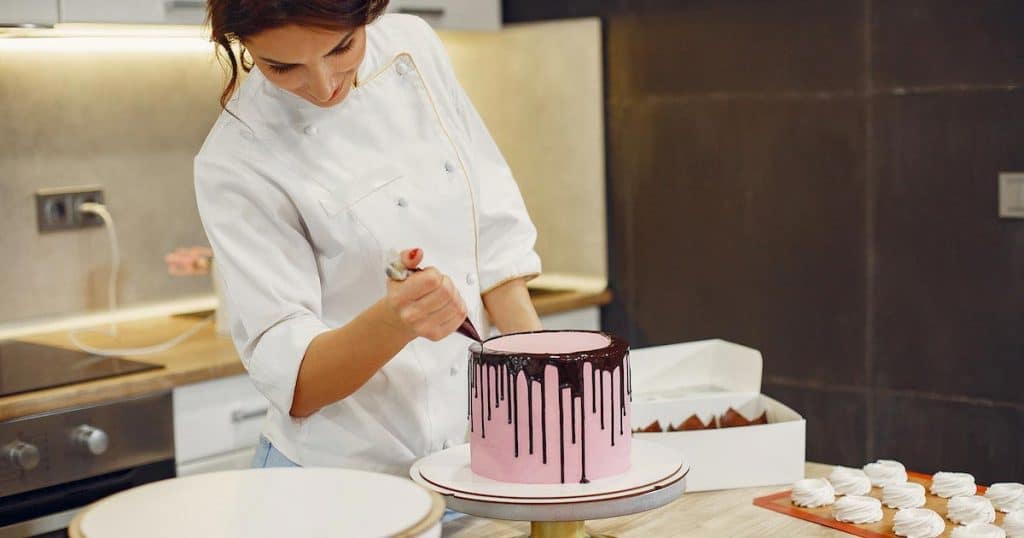
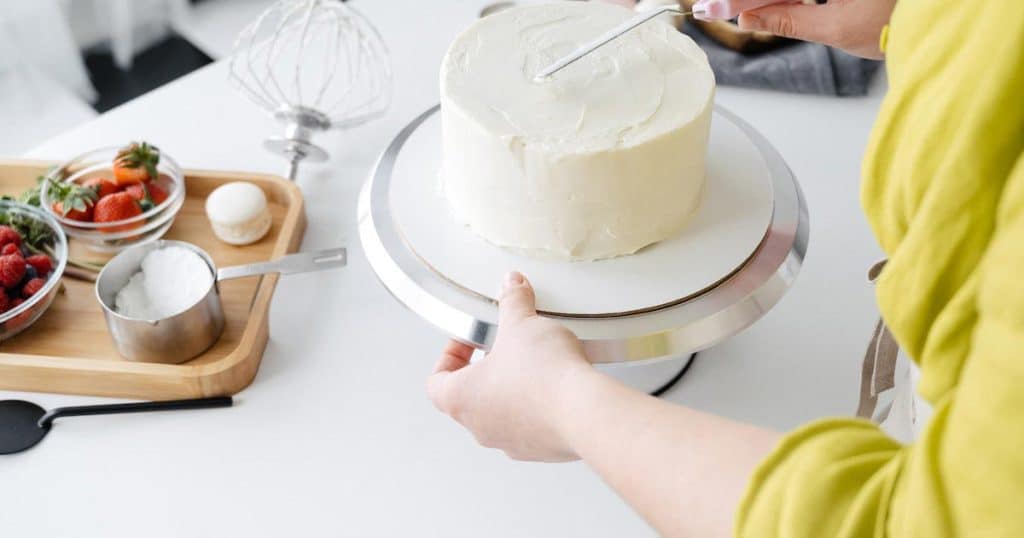
First, prepare your dessert food for shooting, then style its surroundings or itself. Do you need a food stylist, or can you manage it all on your own? A food stylist is required, but if you can’t afford one, let the chef assist.
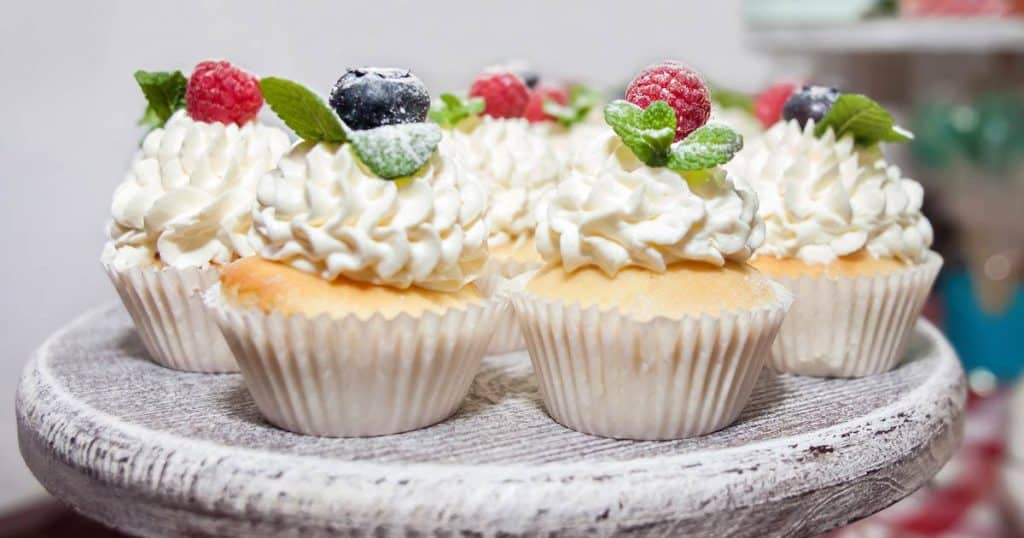
If you are both a chef and a photographer, plating should come before styling. The more the dish looks clean and attractively garnished with all the little details, the more delectable a picture you can take.
2. Choose Your Appropriate Angle
When taking compelling food shots, choose the most advantageous angle to show the best elements of a dessert. You can go for a 90-degree overhead angle that highlights the shape beautifully and even fits multiple props to decorate the space. While taking action shots for the desserts, use a 45-degree angle, a go-to-angle for almost all dishes.
3. Set the Scene with a Series
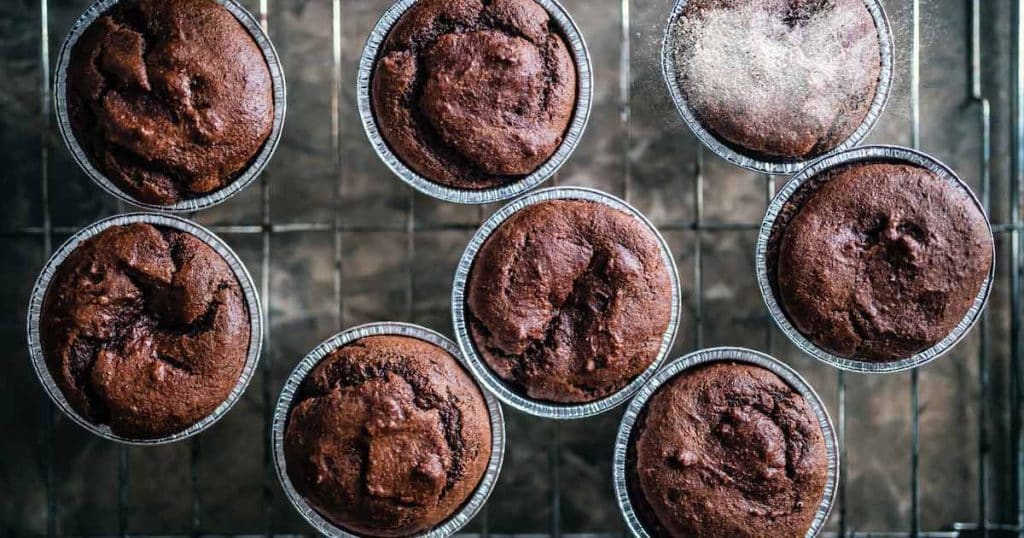
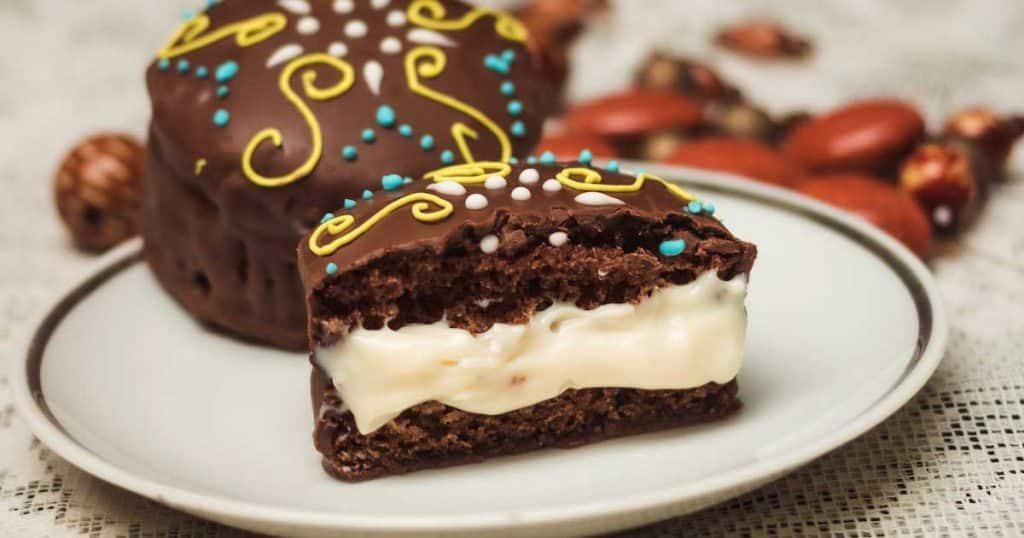
Take a series of photos of your ready-to-eat dessert that give a sneak peek at its preparation. A chocolate cake, for instance, would be placed in the center of the composition with its ingredients dispersed all around. This artistic photograph raises the bar for your dessert photography.
4. To Evoke Emotions
Delicious dessert photos appeal to multisensory strings. You merely arouse the viewer’s senses so they can imagine the flavor, aroma, and sensation of biting into or holding it in their mouth. Take your dessert photography to the next level by going deeper into the details that evoke an emotional response.
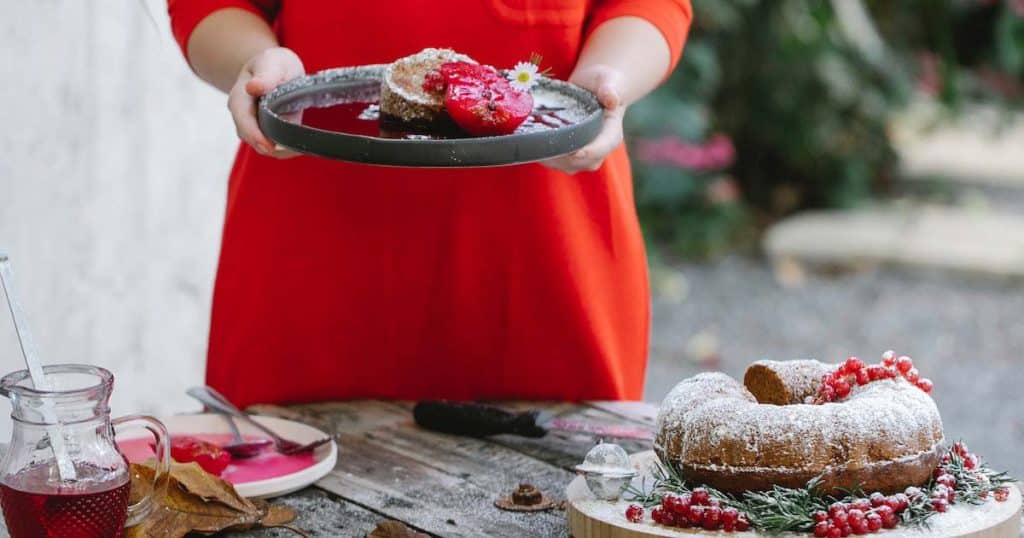
5. Experiment with Framing
Consider adding a human element while creatively framing the dark background that conveys the message about the dessert. Proper use of DOF (depth of field) develops your mastery of framing.
A frame acts as a border around the main subject. It can have round, rectangular, or square frames. Food can also serve as the frame in food photography, along with plates, bowls, glasses, and other placemats.
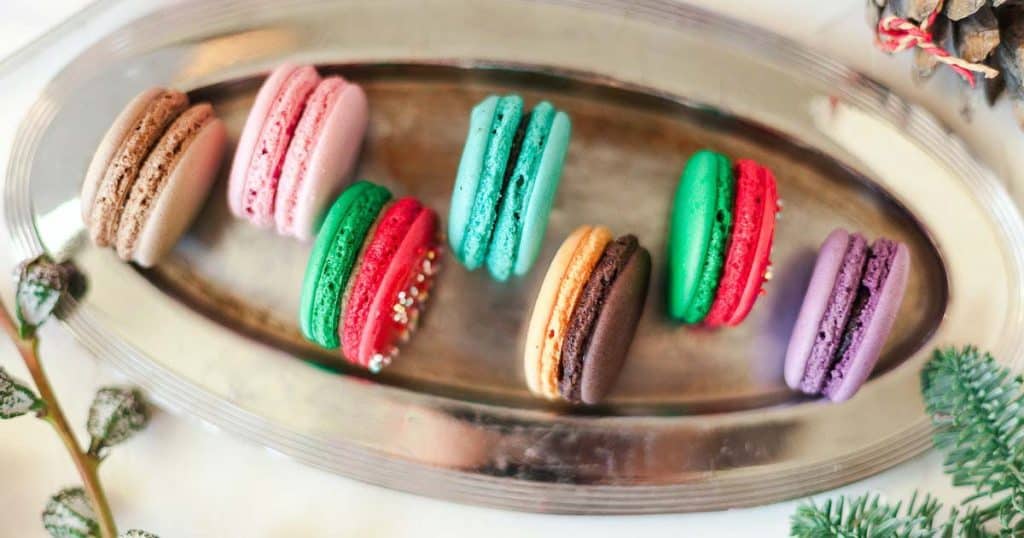
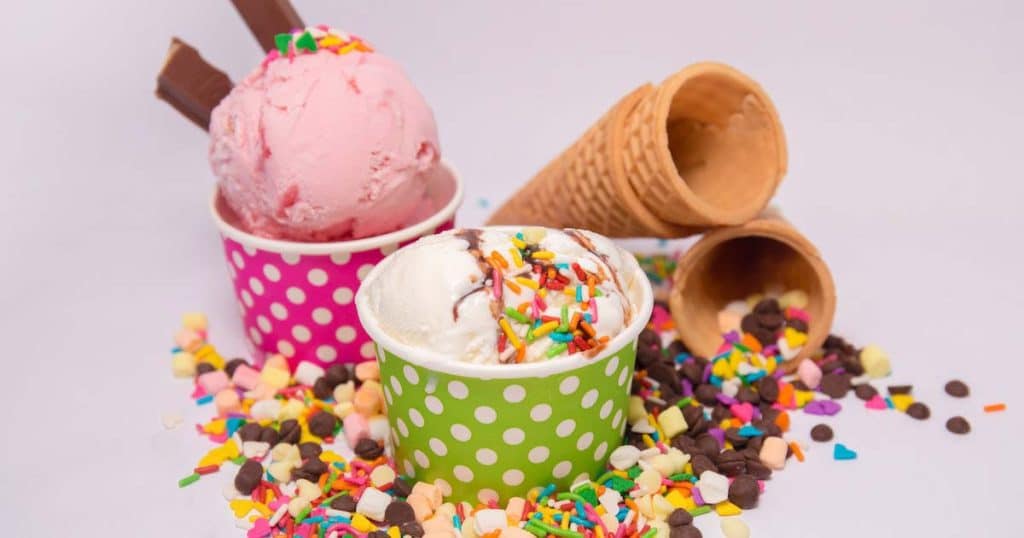
6. Choose a Color Palette
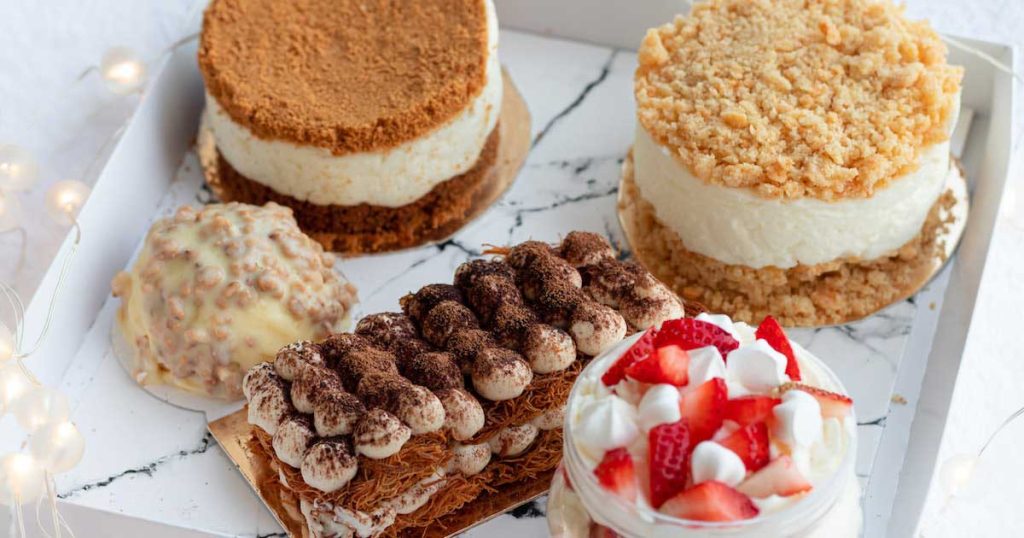
Dessert food photography is always vibrant to look at. When photographing colorful cheesecake, ice cream, or any other type of dessert, you must use a complementary color palette.
Set up the dessert scene with the proper background and props. Then, experiment with the depth of field, boost the saturation, and try to overuse color. The camera flash will help the colors stand out without creating a glare.
7. Think Outside the Ice-cream Box
Thinking outside the box is difficult, but it will help you present your work more creatively. We’re not just talking about ice cream boxes or sorbet, but about anything creamy and powdery that you can put on food to experiment with the textures of a dessert.
For instance, garnishes such as sliced fruit, mini cookies, cake or nut crumbs, and flavor-infused, crunchy tuiles are frequently used to give desserts a more drool-worthy look.
8. Use Short Exposure
If the dessert food photos look underexposed, they look terrible. To get a perfect exposure, the shutter speed and aperture need to match accurately.
Pastries, bread, and other lighter dessert items frequently look better when they are slightly overexposed. Use a tripod if possible, and limit your ISO to 200 or lower to freeze the motion.
9. To have a Low ISO
A camera’s ISO level reveals how sensitive it is to light. So, the lower the light sensitivity, the sharper the dessert food photos you take.

As a result, an ISO of 400 or lower is recommended. It lets you capture finer details, increase exposure in low light, and even intriguingly freeze motion shots.
10. Focus on Texture
The texture is typically a visual depiction of color, shape, and the subject’s surface. It makes the dessert photos alluring. Including textures engages the viewers’ senses, allowing them to imagine how the dessert tastes.
Use the leftover crumbs sprinkled with a teaspoon of powdered cocoa, broken cookies, the icing on a cake, or chocolate chips to decorate the desserts. Increase the lens’s aperture between f/1 and f/4 to capture images with textures resembling those found in a desert. It will smooth out the edges and highlight the main subject artistically.
11. Have fun
Use a few simple props and your brain to make it more fun and inspiring. You can arrange your desserts in various ways, including in a flat lay, high up, in a line, askew, with props, and in funky ways.
Depending on the arrangement, you might need to use a 45-degree, 90-degree, or 75-degree angle to create mouthwatering images that make the viewers desire them.
12. Edit Your Dessert Food Photos
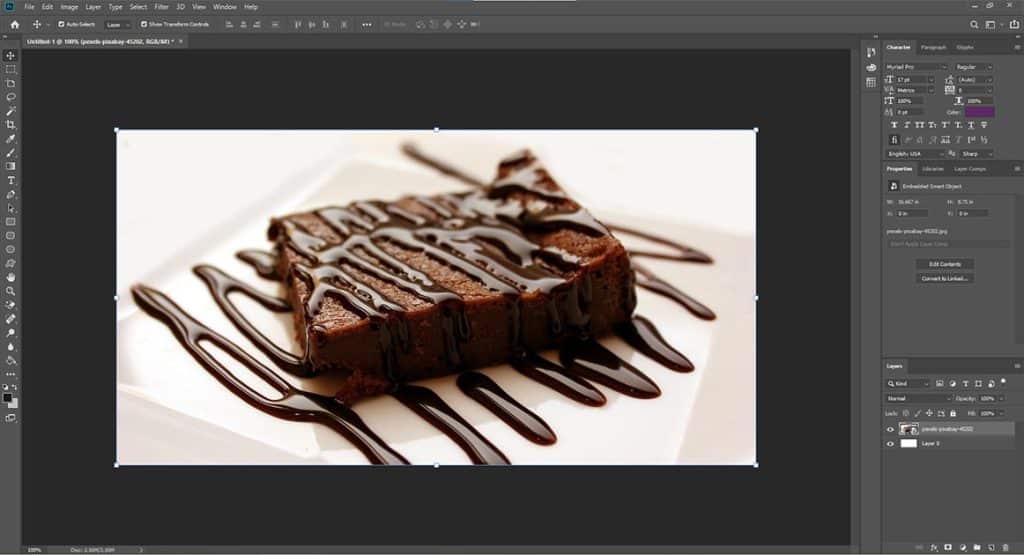
Food photos are used by restaurant owners, food photographers, or vloggers. Their main objective is to make the viewers feel hungry.
Like all other product photos, dessert food photos need basic photo retouching for color correction and exposure. If you still need to style your dessert photos properly, you might need more editing to get a better outcome.
FAQs
How do you photograph baked goods?
Use reflectors and natural light to create mouthwatering images of baked goods from angles such as close-ups, aerial views, and downward views.
What are the most popular desserts?
The most popular desserts are –
- Creme Brulee
- Tiramisu
- Apple Pie
- Baklava
- Kunafa
- Nanamio Bars
- Black Forest Cake
- Gulab Jamun
What are the types of desserts?
Dessert is irresistible among food types. These are –
- Pies
- Tarts
- Cake
- Cookies
- Custards
- Pudding
- Confections
- Fried desserts
- Frozen desserts.
What dessert sells the most?
Some desserts sell the most around the world. Such as –
- Cookies
- Muffins
- Bread
- Brownies
- Truffles
- Ice-cream
- Cupcakes
How do you get close up with dessert food?
You can use a macro lens to capture the intricate details of the dessert, but you must put the desserts at a fascinating new angle.
How do you color cocoa butter for chocolate?
The simplest way to create your cocoa butter color is to start by melting the cocoa butter at 45–50°C. Then, add 5–10% fat-dispersible pigment, blend with an immersion blender, and crystallize it.
Final Verdict
To make your dessert food photos stand out, use the following tips and techniques. I hope you now know a little bit more about the world of dessert food photography.
Keep practicing, I Hope; you’ll get the best results out of it and gain popularity on social media platforms like Pinterest and Instagram. Good luck!
Share your thoughts in our comment section!
