
Compound path (Combined path) in Illustrator refers to a unique feature that enables you to make intricate shapes and masks by combining multiple objects and paths. This feature is quite useful for isolating different parts of vector graphics, adding complexity to designs, and creating detailed illustrations without modifying the actual objects.
In this guide, we have explored the core purpose and advantages of using compound paths, walked through step-by-step methods for creating and editing them, and examined differences from groups, clipping paths, and compound shapes. We have also addressed common issues and provided best practices for using compound paths in more complex workflows, such as masking text and combining shapes.
What you’ll learn in this article
- 1 What is a Compound Path in Illustrator?
- 2 What is the Purpose of the Compound Path in Illustrator?
- 3 How Do You Make a Compound Clipping Path in Illustrator?
- 4 How Do You Select All Compound Paths in Illustrator?
- 5 How Do You Release a Compound Path?
- 6 How Do You Turn a Compound Path Into a Regular Path?
- 7 How Do You Combine Objects of the Compound Path?
- 8 How to Use Compound Paths for Clipping Mask
- 9 How Do You Convert Text to a Compound Path in Illustrator?
- 10 Do E-commerce Products Need a Compound Clipping Path?
What is a Compound Path in Illustrator?
Compound path in Illustrator is a technique that combines two or more paths into a single object. This can act as a clipping mask, ensuring that only the area inside the compound path remains visible while the rest of the image is hidden from view.
The compound clipping path becomes useful when you are trying to create complex cut-out effects from images or when attempting to create different masks within an image. For individuals who enjoy creating designs with complex and multi-layered elements, Illustrator offers a particularly useful feature – the compound clipping path.
What is the Difference Between a Group Illustrator and a Compound Path?
The difference between a Group in Illustrator and a compound path is that a group is used to organize multiple shapes or objects together for easier manipulation and transformation during design. Each object in a group remains fully independent, can be ungrouped at any time, and stays completely visible. On the other hand, a compound path creates a new shape by combining objects, where overlapping areas are hidden, resulting in a unified design that behaves as a single object.
What is the Difference Between a Clipping Path and a Compound Path?
The difference between a Clipping Path and a compound path is that a clipping path creates a vector shape by combining different objects and hiding portions of the image to form a mask. On the other hand, the compound path in Illustrator is a combination of multiple paths that can act as a clipping path on their own. This is used when the design needs to have complex internal structures.
What is the Difference Between a Compound Path and a Compound Shape?
The difference between a compound path and a compound shape is that compound shapes are created using the Pathfinder panel, offering dynamic flexibility to change combination modes and modify the underlying shapes. On the other hand, the compound paths are static and less flexible unless you release and rebuild them. This makes compound shapes more ideal during the experimentation stage, and compound paths better suited for finalized designs.
What is the Purpose of the Compound Path in Illustrator?
The purpose of a compound path is to create objects with transparent holes. This interesting feature can come in handy when you are trying to create a clipping mask, logos, icons, and shapes.
Here is what you can do with the compound path in Illustrator:
- You can use the compound paths in Illustrator for creating different objects by combining shapes.
- The compound path also allows you to make objects with holes or cut out portions that can be used for complex designs.
- A great advantage of using the compound path is to combine different shapes and treat them as one object for easy modification.
- You can use the compound paths to create objects that can be used as clipping masks.
- The feature allows you to design text effects and logos with complicated shapes.
- The compound path gives you the power to improve your workflow with better organization and easy manipulation.
Why is Compound Clipping Path Not Working in Illustrator?
Compound clipping path is Not Working in Illustrator for several reasons, such as incorrect layer order, using unsupported objects like symbols, raster images, or live text, or not applying the correct command.
- Incorrect Order of Layers: One of the biggest reasons why the clipping path might not work in Illustrator is that your layers are not selected in the right order. The clipping path must be on top, and the object or shapes beneath it.
- Using Unsupported Objects: While the compound path works on most objects or shapes, it might not work with some symbols, raster images (JPEG or PNG), or live text.
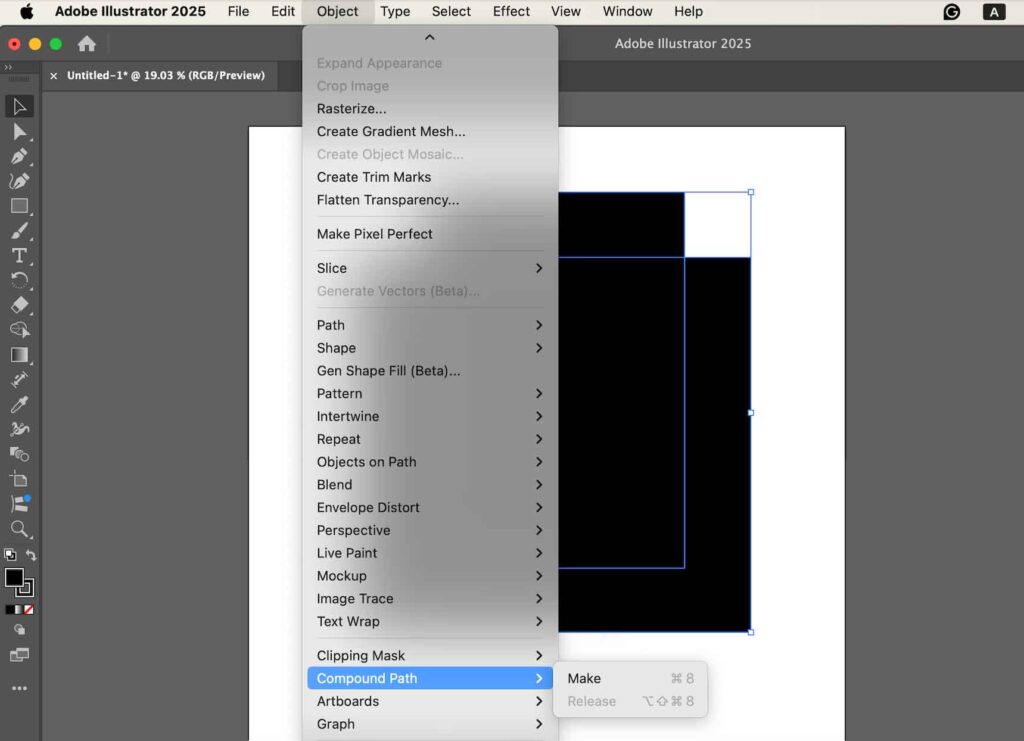
- Not Using the Right Command: Some people don’t know how to create a compound path and get confused. The right way to do so is by going to the Object menu and clicking on Compound Path > Make (Ctrl+8 / Cmd+8).
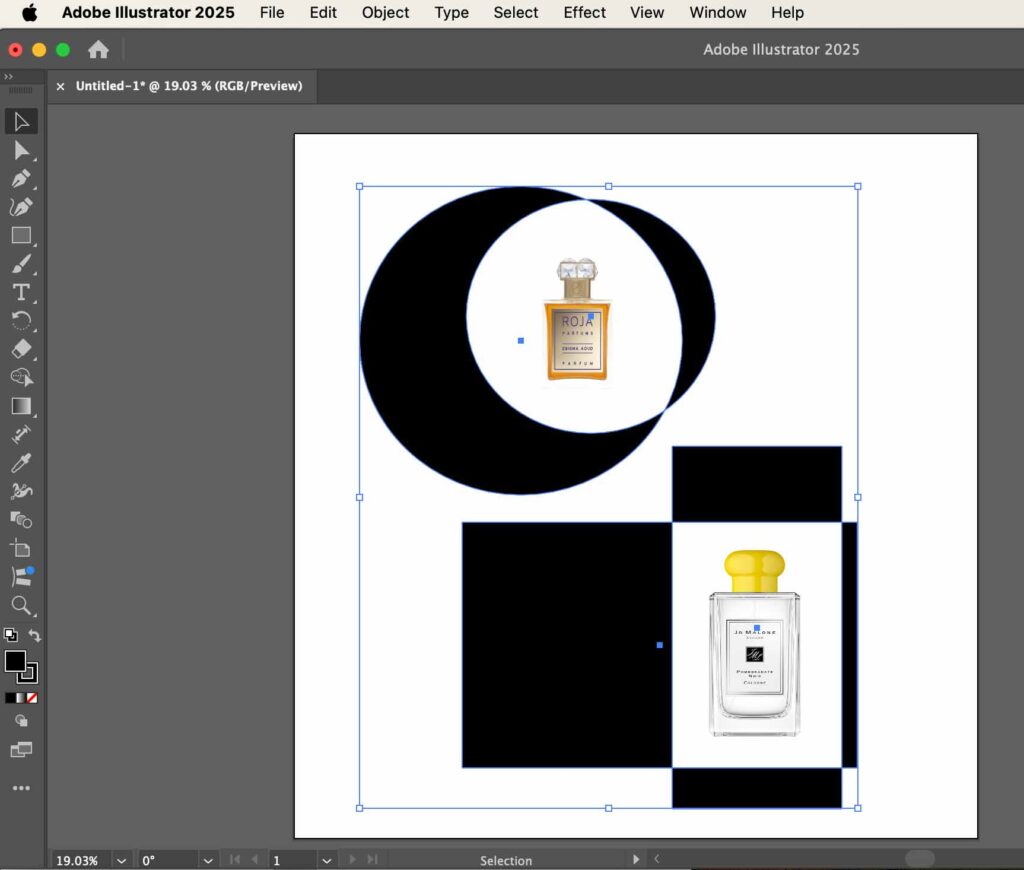
How Do You Make a Compound Clipping Path in Illustrator?
You can make a compound clipping path in Illustrator by following these steps:
- Draw the shapes
- Select the shapes
- Make a compound path
- View the compound path
- Add the image or object to the clip
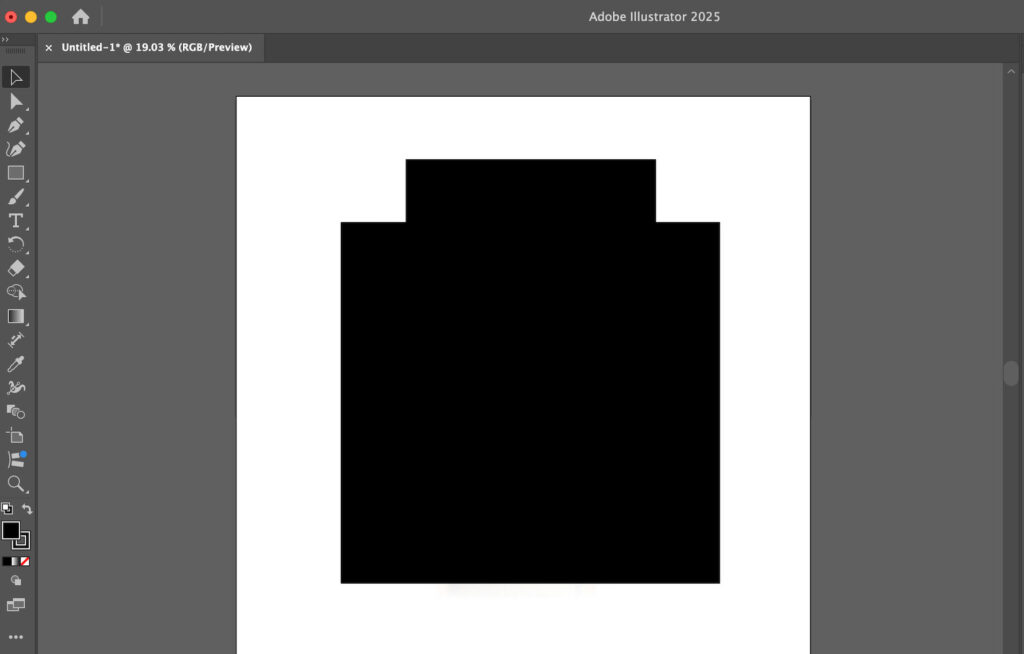
Step 1: Draw the Shapes
The first step is to draw the shapes you want to use as a compound path.
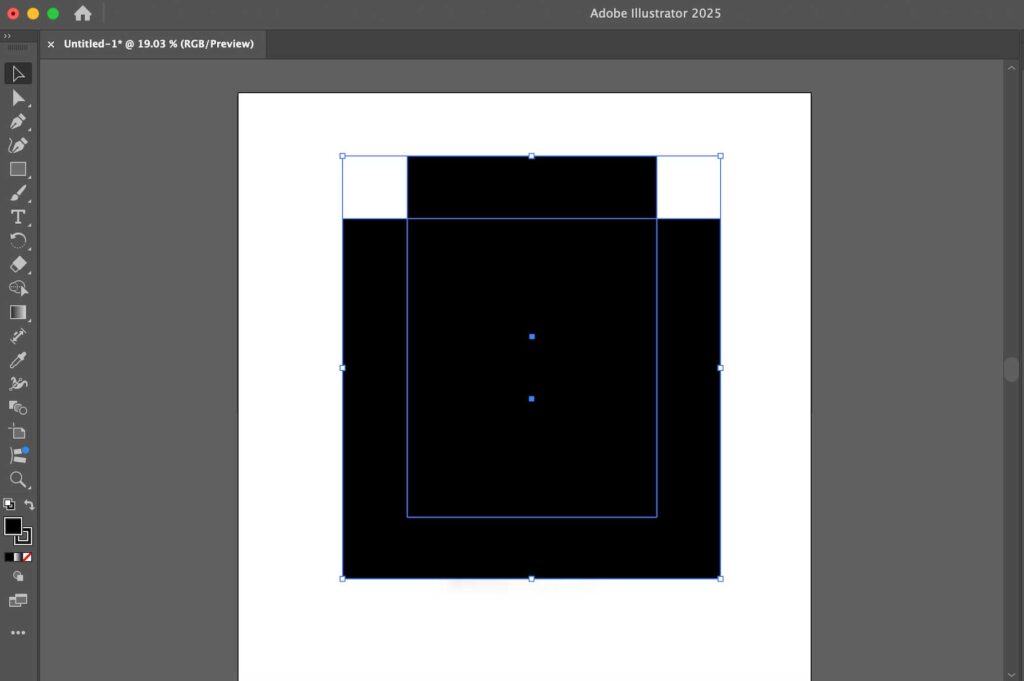
Step 2: Select the Shapes
Now use the Selection Tool or press V on the keyboard to select all the shapes.
Step 3: Make a Compound Path
Next, go to the top menu option that says ‘Object’ and find the ‘Compound Path’ and then click on Make. Alternatively, you can also press Ctrl + 8 (Windows) or Cmd + 8 (Mac) to do this.
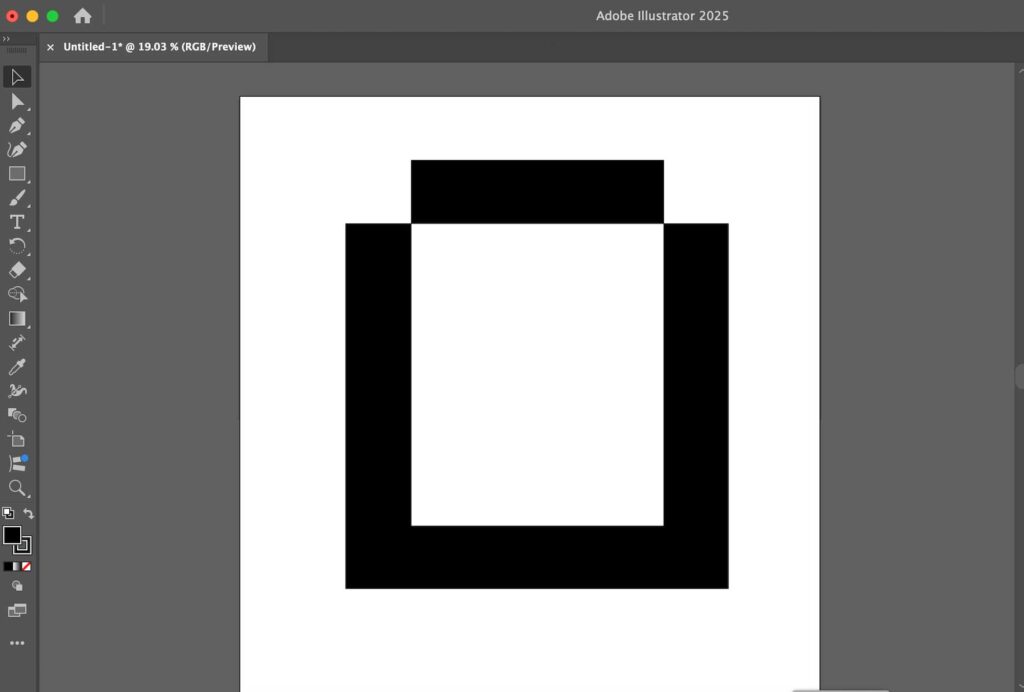
Step 4: View the Compound Path
After you create the compound path, you will see a hole in the shapes that you drew earlier.
Step 5: Add the Image or Object to the Clip
To create the compound clipping path, move the object or shape beneath the compound path.

How Do You Select All Compound Paths in Illustrator?
You can select all compound paths in Illustrator by selecting Select > Object > Compound Path > All. This selects every compound path in your document, making it easier to edit or apply changes. Illustrator allows multiple compound paths in the same file, so you ensure don’t miss any composite path.
Pro Tip: If you only want to select certain compound paths, use the Direct Selection Tool (A) to select individual paths, or hold Shift while clicking to select multiple paths manually.
How to Select Multiple Paths in Adobe Illustrator
To select multiple paths in Adobe Illustrator, you can use the following methods.
- Layers Panel
- Shift and Select
Method 1: Shift and Select
While pressing Shift on the keyboard, click each object individually to select it.
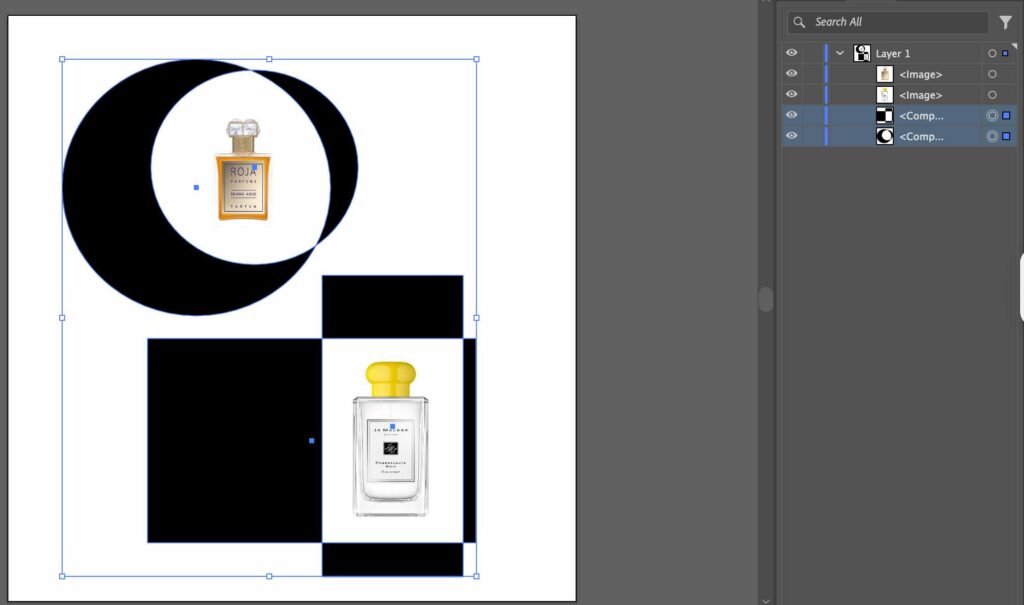
Method 2: Layers Panel
Go to the Layers Panel in Illustrator and find the paths to select them directly by clicking on them while holding Shift.
Selecting compound paths in Illustrator allows you to modify and move all the paths in your documents together.
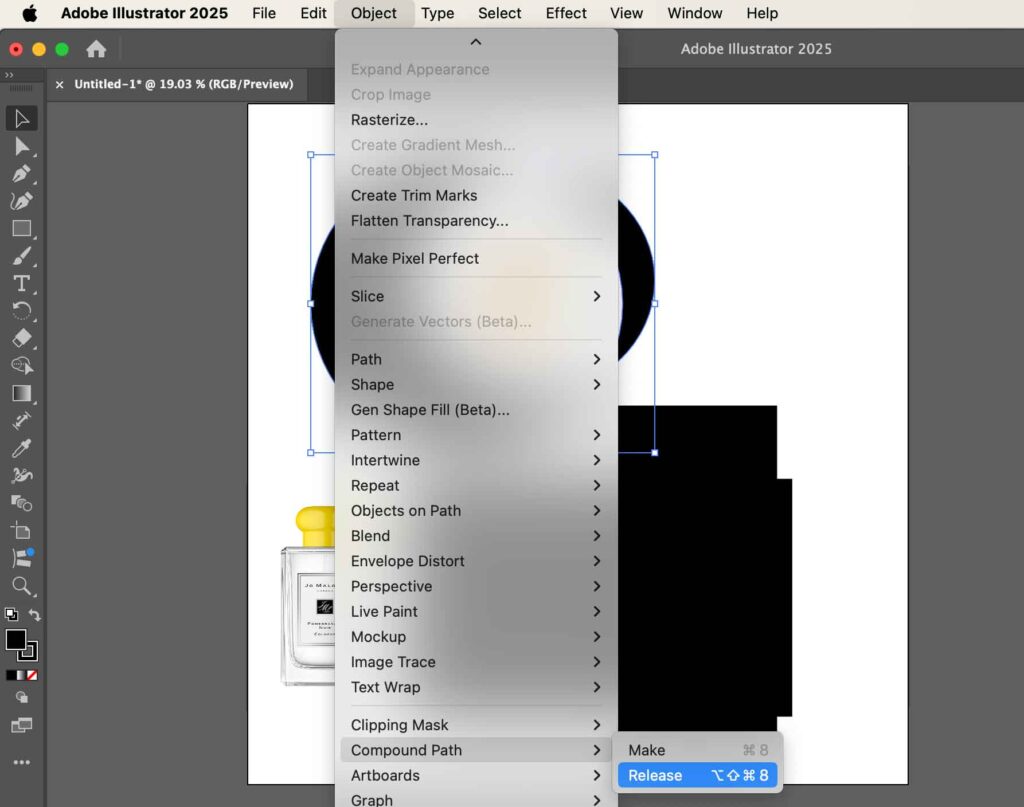
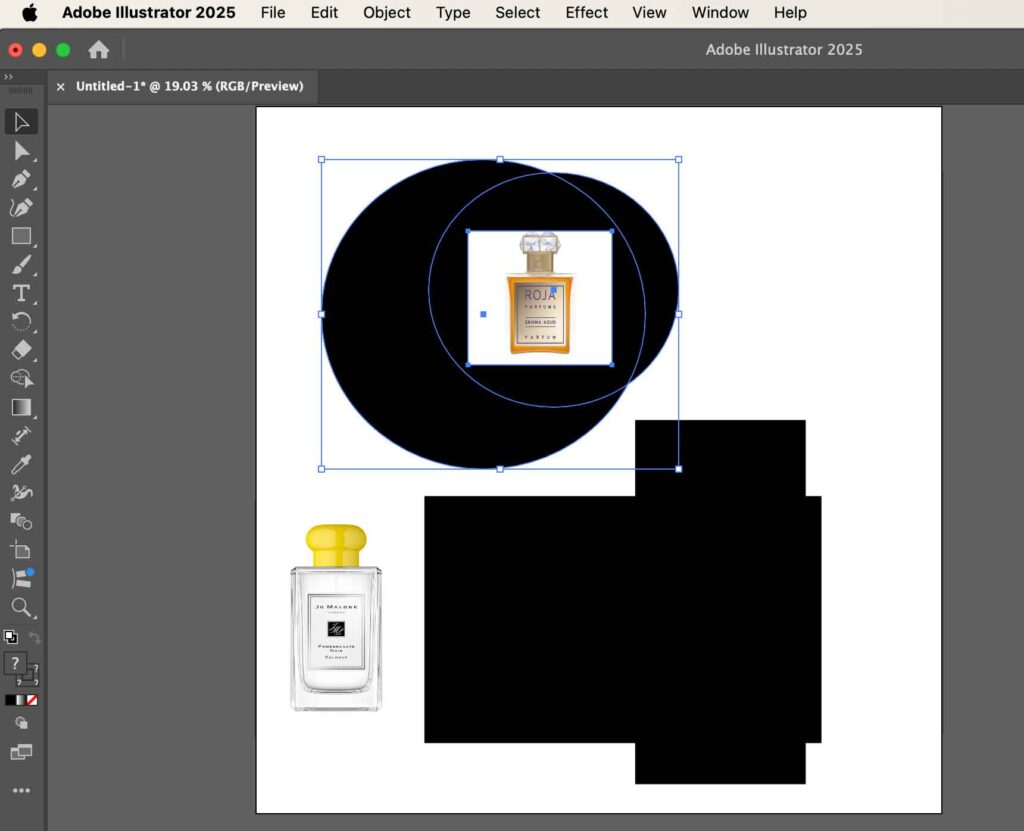
How Do You Release a Compound Path?
To release a compound path, you have your compound path selected, and you can move it around or modify it as you want to. Once you are done, you can release the compound path by following these instructions:
Step 1: Go to Object
While the compound path that you are working on is selected, go to the Object option in the menu.
Step 2: Click on Compound Path
Now, click on the option that says Compound Path and then press Release.
This is helpful when you need to edit individual shapes separately or want to modify the path structure in the compound path. To change the compound path, you would have to select it again.
How Do You Turn a Compound Path Into a Regular Path?
You can turn a compound path into a regular path by following these steps.
- Select the path
- Release the path
- Use shapes separately
Step 1: Select the Path
The first step is to select the path you want to convert into a compound path by either going to the Layers menu or clicking on it.
Step 2: Release the Path
Following the process outlined above, release the compound path by going to Object> Compound Path > Release.
Step 3: Use Shapes Separately
You may then ungroup the shapes if needed using Object > Ungroup.
By releasing the compound path, you can convert it back into a regular path and modify the shapes and objects individually, and create new designs.
How Do You Combine Objects of the Compound Path?
You can combine objects of the compound path by following these steps.
- Select compound path
- Select attributes
We have looked at different ways you can select and release the compound paths, but you might be interested in knowing how to combine the objects of the compound path to further enhance your designs.
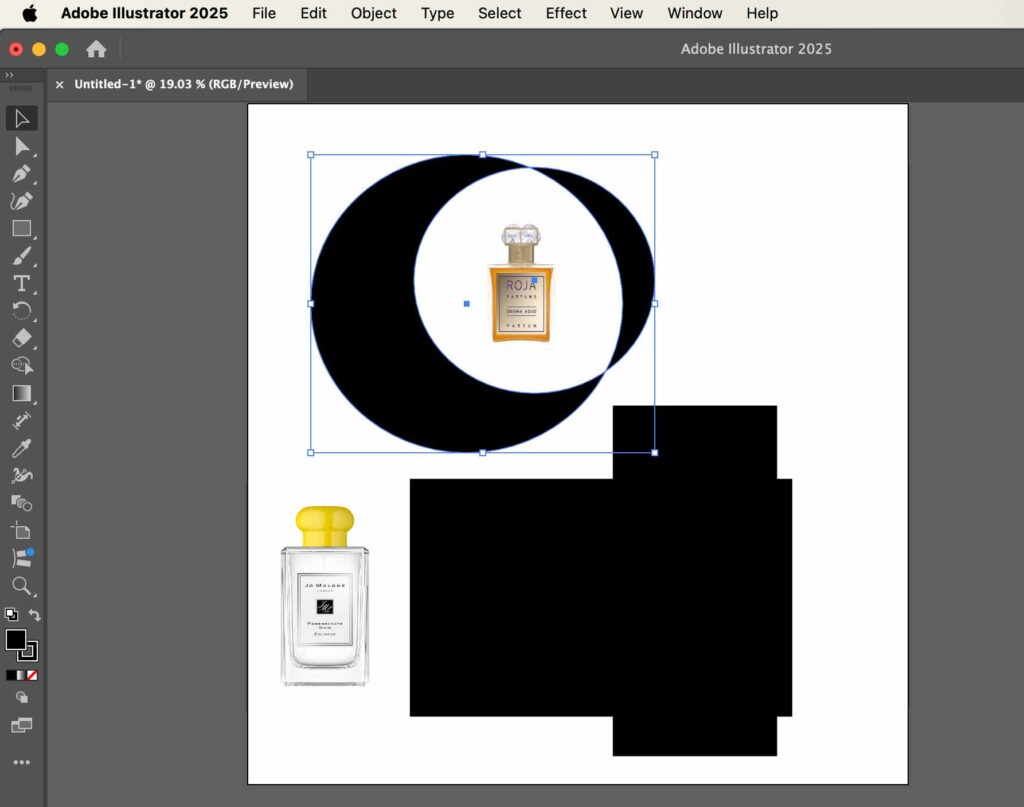
Step 1: Select Compound Path
The first step is to select the compound path by using the selection tool or pressing V on the keyboard.

Step 2: Select Attributes
Go to the Window and Select Attributes. The screenshot of Adobe Illustrator shows two options.

- Overprint Fill
- Overprint Stroke
Lastly, toggle between the two options to find the right fit for your design. You can use either of the two ways to make changes in your compound path and to combine objects.
How to Use Compound Paths for Clipping Mask
You can use compound paths to create a clipping mask, which would allow you to cutout holes from the object and use different backgrounds. Follow these step by steps.
Step 1: Create a Compound Path
Create your compound path using Object > Compound Path > Make.
Step 2: Place it above the Object
Place the compound path above the object you want to clip.

Step 3: Select Everything
Select both the compound path and the target object.

Step 4: Create a Clipping Mask
Go to Object > Clipping Mask > Make or press Ctrl + 7 (Windows) / Cmd + 7 (MAC).
This technique is particularly helpful when the mask shape includes holes, inner cut-outs, or layered complexity.
How Do You Convert Text to a Compound Path in Illustrator?
You can convert text to a compound path in Illustrator by following these steps.
- Add text
- convert to outlines
- Create a compound path
Step 1: Add Your Text
The first step is to add some text above any shape or object.

Step 2: Convert to Outlines
Now convert the text to outlines via Type > Create Outlines.

Step 3: Make a Compound Path
With the text outlines selected, go to Object > Compound Path > Make.
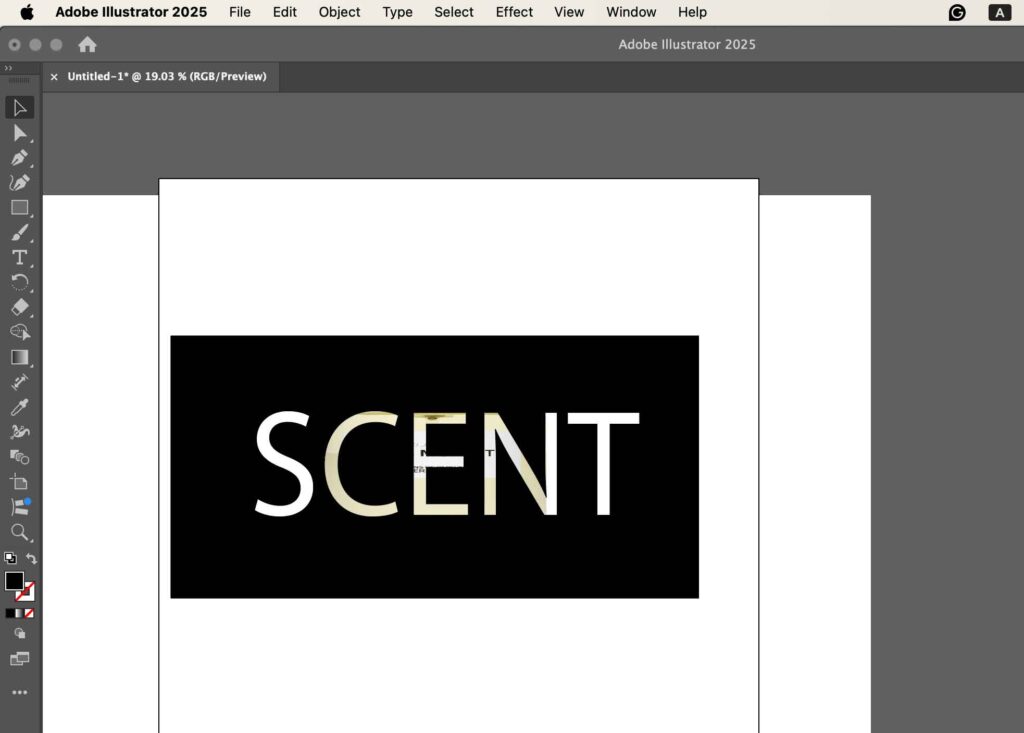
This is useful when you want to apply clipping masks through text shapes or need to manipulate characters as compound units.
Do E-commerce Products Need a Compound Clipping Path?
E-commerce products need a compound clipping path when product images have complex shapes, multiple overlapping elements, or use negative space. Using a compound clipping path ensures a consistent and clean background, accurate product features, precise image cutouts, and a professional appearance. This is beneficial for jewelry, accessories, furniture, apparel, watches, toys, gadgets, and multi-part items.
Why Should You Choose Clipping Path Studio for Compound Clipping Paths?
You should choose Clipping Path Studio for compound clipping paths for its professional and well known for the best clipping path service provider. Clipping Path Studio (CPS) photo editors use advanced techniques such as multiple paths, layer masks, and selective adjustments, ensuring 100% hand-drawn and highly accurate results. This expertise is valuable for e-commerce products, jewelry, apparel, footwear, electronics, and multi-component items. By choosing CPS, businesses get clean, professional cutouts that enhance product presentation, improve visual appeal, and elevate brand perception across websites, catalogs, and marketing materials.
