Camera settings for product photography refer to the effectiveness of a camera’s features for a photographer set to shoot a product, which mostly indicates ISO, aperture, shutter speed, auto/manual focusing, white balance, etc. The best camera settings for product photography are a low ISO (100-200) to minimize noise, a narrow aperture between f/8 and f/11, and a shutter speed of 1/125s or faster. Putting these settings manually ensures sharp, clear, and detailed product images with a good depth of field. Product pictures that look demonstrative, feature-rich, natural, and consistent encourage targeted buyers to make a purchase.
To achieve the perfect product shot, there are several settings divided into basic and advanced levels to distinguish product photoshoot purposes. The basic camera settings for product photography include situation-based focusing, using RAW format to shoot products, fine-tuning to find the right exposure triangles, adjusting white balance, among others. The advanced camera adjustments involve color space, tethered shooting, diffraction correction, etc.
Camera settings for still products and action-oriented/lifestyle products differ. Motion shots capture dynamic environments and freeze movements to capture spontaneous moments to show the usage of products. Determining the right camera settings varies based on the camera, lens, and the product.
What you’ll learn in this article
What are the Basic Camera Settings for Product Photography?
Basic camera settings for product photography include using situation-based focusing, shooting in RAW formats, setting the right exposure triangles, adjusting white balance, using off-camera flash, paying attention to image size, and creating zoom effects. The diagram shows the basic camera settings for product photography.

1. Use Situation-Based Focusing
Situation-based focusing refers to strategically using both manual and autofocus modes during a product photo shoot. Manual mode works best for controlling and precise focusing, as you can adjust aperture, ISO, and shutter speed without damaging the frame. Autofocus is used when the subject is in motion or in a speedy scenario. To use manual focus for a motion photo shoot, set the shutter speed higher, 1/1000 or more, to take motion shots while manually focusing.
When to Shoot in Manual Focus?
Shoot in manual focus when you need sharp images, when products have low contrast, intricate details, or when the camera is on a tripod. Use manual mode to focus when doing macro photography, Astrophotography, and Landscape Photography.
When to Shoot in Autofocus?
Shoot autofocus to capture images during motion, to snap dynamic or lifestyle product photos, and to shoot products with clear features and good contrasts. You can choose to shoot manually during motion or lifestyle shots by increasing the ISO numbers.
2. Apply RAW Format to Shoot Products
The RAW image file format is an uncompressed image format that contains all image data. Shooting RAW images allows you to capture the best image quality with ample data, brightness, sharpness, and less noise. Such images possess richer color information and wider dynamic range. RAW images are best for performing non-destructive editing and getting high-quality printing. The downside of using RAW formats is their large size and compatibility issues, but there are applications and workflows designed to adapt RAW formats for professionals’ workflows.
3. Fine-Tune Your Exposure Triangles
Exposure Triangles is the term that indicates the 3 elements that affect a camera’s exposure settings: ISO, aperture, and shutter speed.
- ISO is the sensitivity of a camera’s sensor to light. Low ISO implies less sensitivity, and high ISO means higher sensitivity to light.
- Aperture is the camera lens’s opening size, measured in f-stops. A smaller number (f/2.8) indicates a larger opening and larger aperture. A larger number (f/11) shows a smaller opening and smaller aperture. In short, a smaller number> a larger number in aperture.
- Shutter speed is the speed at which the camera closes and opens.
How do I Avoid Overexposure in Product Photos?
Avoid overexposure in product photos by using an aperture between f/4 and f/8, ISO settings from 400 to 1000, and a shutter speed around 1/125. Control harsh lighting with reflectors or bounce cards, monitor the histogram for balance, and enable zebra stripes to detect and correct blown-out highlights.
What ISO Should You Use for Product Photography?
You should use a low ISO (ISO 100-200, also called native ISO) for product photography because it produces less grain and optimal image quality in ample lighting. While shooting products in motion, action, or lifestyle product photography, increase the ISO range to 400 to achieve specific motion effects and desired depth of field during faster shutter speeds.
What Aperture Should You Use for Product Photography?
You should use an aperture of f/11 for product photography in order to achieve a strong depth of field, avoid diffraction, and balance lightness and sharpness. Set aperture f/2.8 to f/8 to shoot products in action, motion, or lifestyle product photography for isolating the product, achieving creative control, and allowing more light in the sensor to assist faster shutter speed to freeze motion.
- A large aperture, such as f/2.8, interprets a low number and a wide opening. It focuses only on the product and blurs the surroundings when the background is chaotic.
- A small aperture, f/11, shows a higher number and a narrower opening. It keeps both the background and foreground in focus.
What Shutter Speed Should You Use for Product Photography?
You should use a shutter speed of 1/125s for product photography as it eliminates shake, the camera sensor perfectly captures light from the studio flash, allowing you to take professional standard photos. Use a faster shutter speed, 1/1000s or higher, when taking product shots in motion or action, as it will freeze action, and balance with ISO and aperture.
4. Adjusting White Balance Settings on Camera
White balance is the camera setting that adjusts the color cast in terms of the color temperature of light to illuminate the scene. Different light sources produce different ambience in color temperature, for example, warm light emits a yellowish or orangish hue, and cool lights produce a bluish/greenish hue. White balance is measured in K, which stands for Kelvin Scale. Lower K value indicates yellow/red light, and a higher K value indicates blue light. White balance adds the opposite color casts to neutralize the color effects, creating a balanced and professional appearance for product images.
5. Use Off-Camera Flash
Off-camera flash refers to a flash light unit that isn’t attached to the camera. Using off-camera flash lights is beneficial for controlling lighting quality and direction, revealing shape, texture, design, and details from specific angles, and assisting in e-commerce product photoshoots. It controls ambient backgrounds for uniform lighting conditions and accurate color representations. OFC allows you to take dynamic product shots while freezing motions, thanks to the brief flash duration (1/1000 of a second or faster).
6. Pay Attention to Image Size
Product images published on e-commerce, social media, and ad campaigns differ. Camera sensor captures images beyond those specific size requirements and allows resizing as needed during post-production. Capture images in the highest resolution so that when images are cropped, it doesn’t lose details.
7. Creating a Zoom Effect
Zoom effects are responsible for the camera achieving magnification. Take several close and distant shots with zooming effects. I use digital zoom, optimal zoom, and hybrid zoom to shoot products, and optical zoom works better.
- Optical zoom requires the lens to move inside the lens system to adjust focal length. It requires physical movement to magnify the light before it reaches the sensor. As a result, you get more actual information in images without losing image data.
- Digital zoom is a software-based system that crops the central portion and enlarges it to fill the frame.
- The hybrid zoom combines both optical and digital zoom to improve image quality beyond the optical limit.
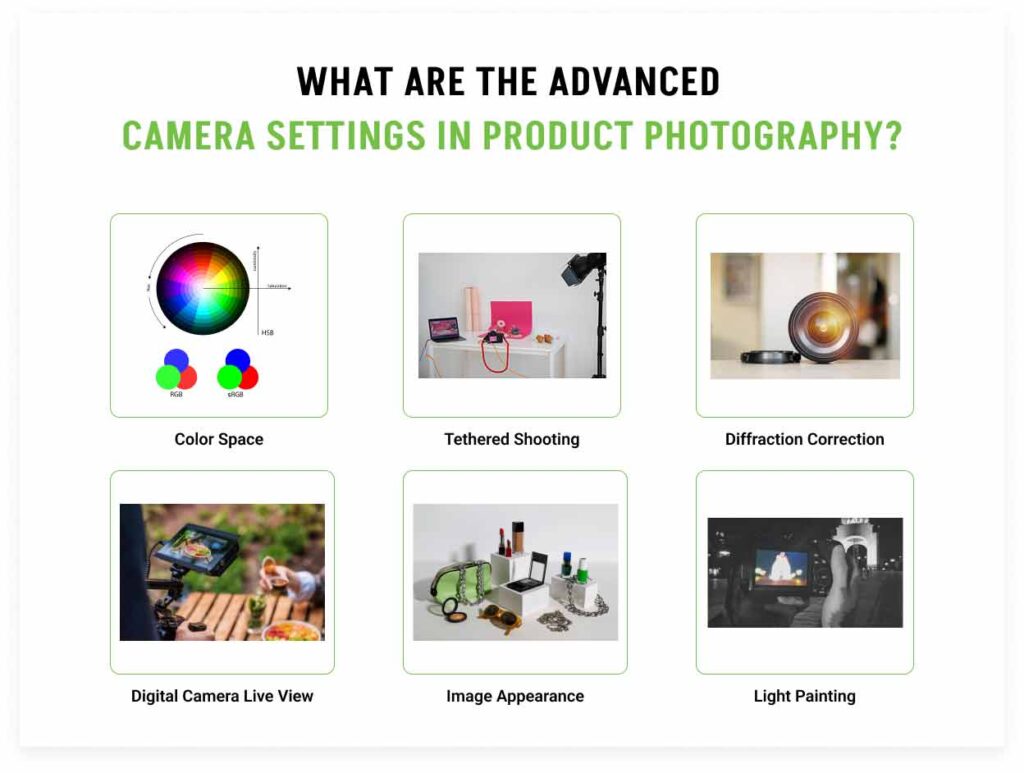
What are the Advanced Camera Settings in Product Photography?
The advanced camera settings in product photography include:
- Color space
- Tethered shooting
- Diffraction correction
- Digital camera live view
- Image appearance
- Light painting
This image shows the advanced DSLR camera settings for a product photoshoot.
Color Space
Cameras come with both Adobe RGB and SRGB color spaces. Use SRGB to shoot images for websites and online media platforms, as it presents products in accurate colors. Use RGB when shooting products for high-quality prints.
Tethered Shooting
Tethered shooting is the process of connecting a camera directly to a computer or similar device to transfer shots on a big screen for live preview. Photographers check their work in real-time and make necessary changes to camera settings and product photograph setup.
Diffraction Correction
Diffraction is the optical illusion of waves in the camera’s aperture that hinders product photos’ resolution and sharpness. It occurs during small aperture (f/11, f/16, f/22, etc) settings. So keep the camera’s correction option on to counteract the diffraction effects.
Digital Camera Live View
Modern-day digital cameras bring plenty of features to assist photographers in their work; you should take advantage of them. Due to their newness, I categorize them as advanced. Some of the live views are as follows.
- Exposure simulation in live view: Sony, Canon, and Nikon (some cameras) offer a simulated exposure option on and off in live preview before taking the shot. Turn on and the photo’s brightness will appear. Turn off the screen won’t be able to show the flash, and you need a visible preview.
- Depth of field simulation in live view: Digital camera’s wide aperture allows photographers to preview live view by switching ‘Depth of Field simulation ON’. They can adjust the camera settings, composition, and setup to make necessary adjustments.
Image Appearance
There are several options to eliminate image appearance of shake, blur, distortion, vignetting, or color fringing issues.
| Issues | In-Camera’s Advanced Feature |
|---|---|
| Shaky or blurry images | Image stabilization |
| Barrel & Pincushion | Distortion Correction |
| Vignetting | Peripheral Illumination Correction |
| Color Fringing | Chromatic Aberration Correction |
Light Painting
Light painting is a specialized camera settings technique where the camera’s shutter stays open for some time in a dark room, allowing photographers to paint with light to highlight the product features. It is effective for intricating or reflecting products.
What are the Ideal Camera Settings for Action-based Product Photography?
The ideal camera settings for action-based photography are ISO 400, aperture 2.8 to f/8, and shutter speed 1/1000. Increase the shutter speed to 1/2000 when you shoot models. Set the camera to autofocus and shoot in RAW format.
Action-based product photography or lifestyle product photography requires changing camera options to capture dynamic environments, freeze and capture movements, and deliver a unique narrative of the products. For example, camera settings for clothing photography or jewelry photography prioritize showing products’ benefits, presentation, fabric/material, build, etc. Assigning models involves movements that resonate with targeted customers’ emotions. Changing camera settings to shoot products effectively captures viewers’ perception towards purchase.
How Camera Settings Impact Product Photography?
Camera settings impact product photography through extracting maximum sharpness, depth of field, and clarity that creates picture-perfect product images, which contributes to photographic outcomes and consumer buying decisions, and sales. It directly influences the product presentation, perception, and images’ effectiveness. Inaccurate camera settings create subpar images, with little to no data, containing blur and noise, and delivering unprofessional results as follows.
| Camera Settings | Low | High |
|---|---|---|
| ISO | Creates underexposed (too dark) images in low light. | Creates digital noises and minimizes sharpness. |
| Aperture | Focuses small part of the products. | Produces dark images, slower shutter speed, or high ISO. |
| Shutter Speed | Delivers shaky images without a tripod. | Creates underexposed images. |
| White Balance | Excess warm or bluish color produces unnatural color casts. Displays inconsistent color tones across multiple shots. | |
Such images increase editing time and cost, and the product looks less appealing. In extreme cases, you might recreate the whole setup to reshoot.
Optimal camera settings to capture product minimize the level of editing to create accurate color representation, sharp, clean, and noiseless images. By mastering camera settings, professional product photographers capture dynamic images that require minimal editing, support a well-maintained photo editing workflow, and produce visually appealing photos.
What Camera Settings are Considered Too Low or Too High for Product Photography?
Camera settings that are considered too low or too high for product photography when introduce any problem affecting image quality. Imbalance in camera settings would create color shifts, digital noise, color inaccuracy, extremely shallow depth of field, diffractions, camera shake, etc, and that’s when you know the camera settings aren’t right.
Do Camera Settings Change Based on the Product Background?
Yes, camera settings change based on the product background. Light and bright background reflects light, so using a softbox or an umbrella is helpful to even out the light. Dark background absorbs light, so using more than 2 lights, increasing the ISO would ensure a well-exposed product photograph.
What Camera Settings are Best for White Background Product Photography?
Camera settings that are best for white background product photography are aperture f/8 to f/11, ISO 200, and shutter speed 1/250. Shoot in manual mode while there is even lighting, set custom white balance (grey card) or 5500K-5600K for flash lighting.
How Do I Reduce Noise in Product Images Using Camera Settings?
Use a low ISO (ISO 100-200), slow shutter speed (1/60s), wide aperture (f/2.8), and ample light setup to reduce noise in product images using camera settings.
Should I Change My Camera Settings for Flat Lay Product Photos?
Yes, you should change the camera settings for flat lay product photos, especially the aperture, to allow depth of field based on the background and the product. Set the aperture to f/11 and adjust the other exposure elements.
How Do I Save Custom Camera Settings for Product Photography?
To save custom camera settings for product photography, use the Custom Modes of the cameras, which are labeled as C1, C2, C3, or go to the user settings and follow the process.
- Dial the settings you find appropriate, low ISO, f/11, and shutter speed 1/125s for still products. Also, shoot in RAW, custom white balance, and shoot in manual focus.
- Go to the camera’s menu system. Search for saved user settings. Register the custom shooting mode or my menu.
- Select and confirm the available custom slot.
How Do Camera Settings Affect Post-Production Editing?
Camera settings affect post-production editing by allowing editors access to the stored data in the image. Accurate camera settings capture an image in good quality, with enough data to edit after the photoshoot ends.
Correct exposure, white-balance, and focus create balanced images that require minimal editing and fit right for product listing, promoting, and advertising. Proper camera settings also help reduce glare on reflective surfaces, making it easier to remove glare during post-production. Also, camera settings contribute to capturing images in maximum quality, allowing flexibility for non-destructive editing.
