
ISO in photography is an exposure setting that measures a camera sensor’s sensitivity to light, brightness, noise, and image clarity. Lower ISO (100–400) is best for shooting during daylight and in a controlled environment. Higher ISO (1600–6400+) suits low-light scenes, night photography, astrophotography, etc. Adjust ISO with aperture and shutter speed for proper exposure. To adjust it, you can use Program (P) or Sensitivity Priority (Sv) mode, Manual (M) mode, and AUTO (A or A+) mode on your camera.
What you’ll learn in this article
What is ISO on a Camera?
ISO (full form: International Standardization Organization) on a camera is the camera’s sensitivity to light. The level of ISO determines the brightness or darkness of the images. Lower ISO makes it clean and less grainy, but the images appear less dark. High ISO makes images brighter, even in low-light situations, but it creates noise.
| ISO Level | Impact | Best to Use | |
Low ISO | ISO 100 to 200 | Creates sharp images with true color, but it is not suitable for shooting in the dark. | Product shooting and outdoor shooting. |
| ISO 200 to 400 | Produces balanced and detailed images, but mild noise may appear. | Indoor photography and cloudy shots. | |
High ISO | ISO 400 to 800 | Produces bright images with minor grains in the shadow. | Portrait photography and indoor photography. |
| ISO 1600–6400 | Bright and grainy image appearances. | Night photography and low-light photography. | |
| ISO 6400+ | Enables shooting in dark situations; the subject appears very bright and textured with heavy grain. | Astrophotography and creative photography. | |
Chart: Impact of ISO on photos
ISO is one of the vital components of the exposure triangle, along with aperture and shutter speed, in photography. While ISO adjusts the sensor’s light sensitivity, aperture controls the amount of light entering the lens, and shutter speed determines the time the sensor is exposed to light to create well-balanced photos.
What’s the Difference Between Film ISO and Digital ISO?
The key difference between film ISO and digital ISO lies in the way to handle light. While film ISO stands for a physical property of the film’s sensitivity, the digital ISO is an element that electronically adjusts a camera sensor’s light sensitivity.
Other differences between film ISO and digital ISO are as follows.
| Topics | Film ISO | Digital ISO |
|---|---|---|
| Sensitivity type | Based on the film, sensitivity remains fixed | Offers adjustability in-camera settings |
| Appearance of grain | Film grain adds texture | Noise looks like color specks |
| Dynamic range | Has a limited dynamic range | Offers a wider range to capture details |
| Tone | Offers smooth tonal transitions | Loose image info at high ISO |
| Flexibility | Requires changing the rolls in film | Allows changing in-camera |
What’s the Difference Between ISO, Shutter Speed, and Aperture?
The major difference among ISO, shutter speed, and aperture is the elements they control; ISO controls light sensitivity, aperture controls the amount of light that passes through the lens, and shutter speed controls motion blur. Each of these elements contributes to the photography exposure.
Other differences among aperture, ISO, and shutter speed are as follows.
| Topics | ISO | Shutter Speed | Aperture |
|---|---|---|---|
| Exposure | High ISO produces brightness | Slow shutter speed brightness | A wide aperture produces brightness |
| Noise | Noise increases with high ISO | Doesn’t directly affect the noise | No direct effect on noise |
| Motion | Doesn’t control motion | Fast speed freezes motion | Indirectly affects motion through the depth of the field |
| Impact | Impacts on image clarity and grain generating | Impacts on the motion blur | Impacts background and focus depth |
What are the Common ISO Values?
Common ISO values are ISO 100 to shoot outdoor shots, ISO 200 to capture cloudy or shaded scenes, ISO 400 for indoor product photoshoots, ISO 800 for event photography, and ISO 1600+ for low-light or night photography. Common ISO values refer to the standard light sensitivity level implemented in most cameras, which range from ISO 100 to ISO 6400 and more in some cases, allowing photographers to adapt the ISO level to different lighting situations.
Some of the common ISO values are as follows.
- ISO 100 is ideal for shooting in bright daylight, studio shots, and in controlled lighting. It creates sharp and clean images without noise.
- ISO 200 is a bit sensitive to light and works well to shoot during cloudy days or shaded areas. The image will appear crisp without issues.
- ISO 400 offers professional-grade output for indoor light or overcast weather by adding a little brightness with the least noise.
- ISO 800 is suitable for shooting dim indoor light scenes or golden hour. Images may appear with slight grain you will get detail.
- ISO 1600 is particularly best to shoot during low-light situations, for example, night photography or shooting nocturnal wildlife. The appearance of noises is a concern, but it is useful when you shoot handheld.
- ISO 3200 is a very high sensitivity level that allows you to capture shots in motion even in dark environments. But you will suffer from texture and color accuracy.
- ISO 6400 is used for extremely low-light scenarios as it produces brighter photos, but there will be a significant amount of digital noise, which is removable during post-production.
- ISO 12800+ is specifically used during near-dark situations or to capture creative grain in photos.
What is the Relation Between ISO and Noise?
The relation between ISO and noise goes in parallel in one direction; an increase in ISO increases noise. Low ISO (100, 200, etc) creates clean, sharp, and detailed images with noise presence of low to no noise. Higher ISO ( 1600) creates digital noise, also known as grain. It makes images look less/lost details, rough, and grainy if there are shadows or dark areas.
How to Reduce Noise in ISO?
There are 4 ways to reduce noise in ISO apart from upgrading your camera; those are using low ISO, slower shutter speed, wide aperture, and editing images.
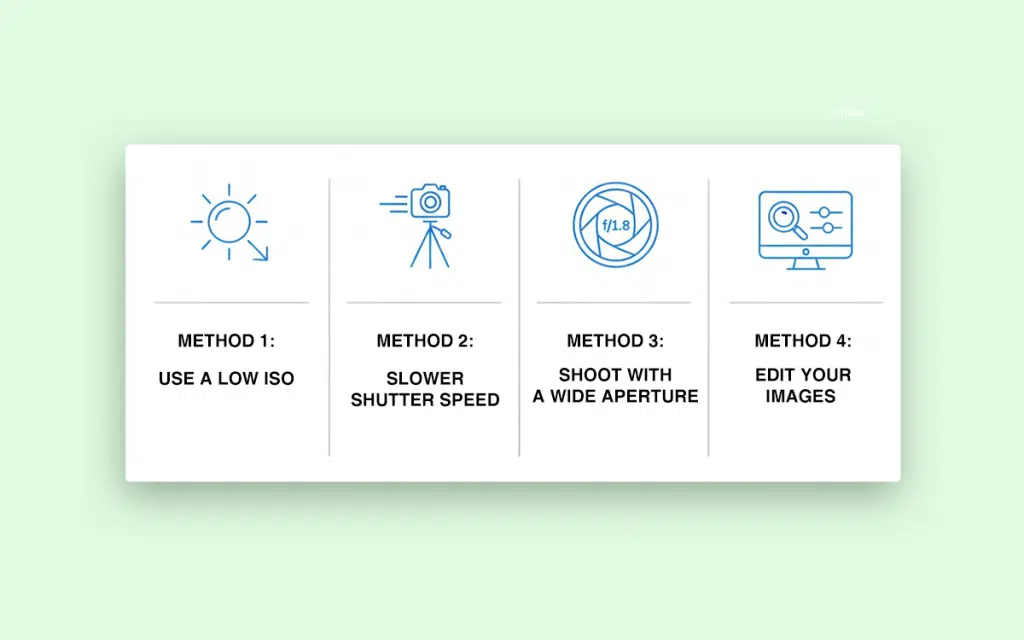
Method 1: Use a low ISO
Start shooting with a low ISO, matching the surrounding lighting conditions. Shooting in a well-lit environment will create clearer and sharper images.
Method 2: Use a slower shutter speed
During nighttime photography, use a tripod and a slow shutter speed without raising the ISO.
Method 3: Shoot with a wide aperture
Use a wide aperture (f/1.2 to f/2.8) to allow more light without increasing ISO. It will help adjust exposure; underexposed images tend to gain more noise.
Method 4: Edit your images
Take advantage of a photography post-production solution. Professional photo editors edit out the noise or distractions to keep the images crisp, sharp, and original.
When to Use Low ISO?
Use low ISO (100–400) when shooting outdoor photography, bright daylight, well-lit indoor photoshoot, or controlled and studio setup, such as product photoshoot or headshot photoshoot, etc. You get clean photos with rich colors and, most importantly, minimal noise. You can also use it when shooting on a tripod. slower shutter speed, and a wide aperture shooting.
When to Use High ISO?
Use high ISO (1600 and above) when you are shooting in low-light situations, such as nightscape photography, space photography, nocturnal wildlife photography, etc. High ISO illuminates images as it increases sensor sensitivity. You can shoot handheld without blur. Though it risks the appearance of digital noise, you can have noise edited in during post-production.
How to Maximize Image Quality with ISO Settings?
To maximize image quality with ISO settings, start shooting with a lower ISO and take advantage of a wide aperture and a slow shutter speed. Lower ISO makes the photo clear, sharp, and free of noise. Shoot at a slow shutter speed for long exposure and a wide aperture to allow more light to enter the camera sensor; this illuminates the scene so you do not need to increase ISO. In this way, you can maximize image quality with the right ISO settings. In case you need to use high ISO, use post-processing techniques to maintain image clarity and data.
How Do You Adjust ISO Settings on a Camera?
You can adjust ISO settings on a camera in 3 ways: Program (P) or Sensitivity Priority (Sv) mode, Manual (M) mode, and AUTO (A or A+) mode. The ISO button resides in the DSLR camera’s body; pressing it changes the ISO values. Older DLSRs or handheld camera settings menus have the ISO function.
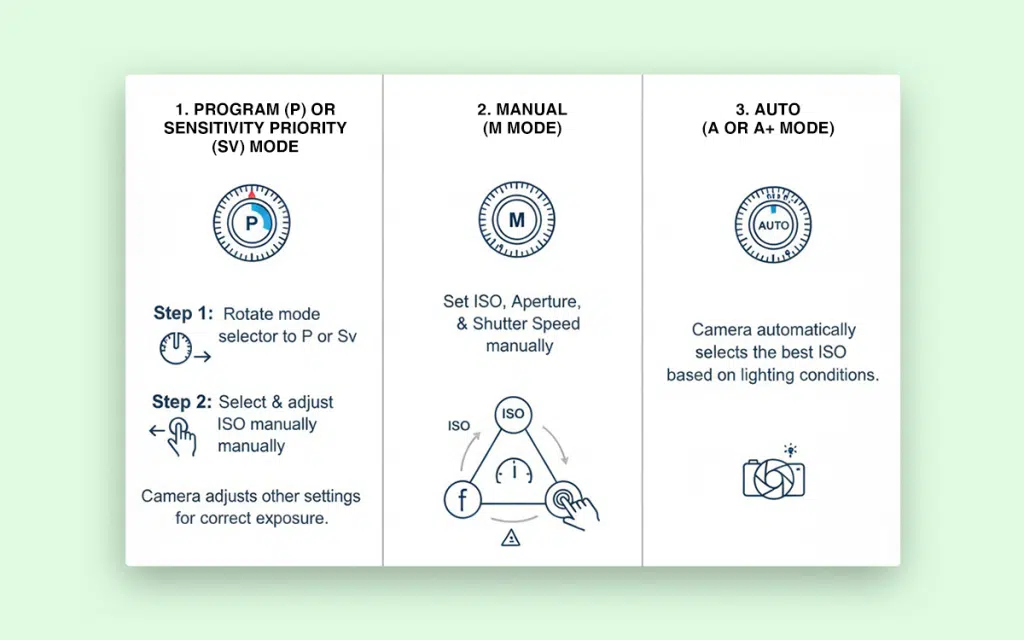
1. Program or Sensitivity Priority Mode
You will find the Program (P) mode in DSLRs, mirrorless cameras, and advanced cameras, and the Sensitivity Priority (Sv) mode in the Pentax cameras. In both cases, when you manually set the ISO, the camera automatically adjusts the exposure values.
Here is how you can enable the program or sensitivity priority mode.
Step 1: Rotate the mode selector (a circular dial on the top left or right of the camera’s body) to Program (P) or Sensitivity Priority (Sv) mode.
Step 2: Select the ISO using the camera’s selector buttons and adjust as needed.
2. Manual Mode
From DSLR and mirrorless to advanced compact and bridge cameras, most modern cameras have a manual mode for changing the exposure triangle settings in the camera. You can set the ISO, aperture, and shutter speed according to your requirements. Also, manual mode is best to learn about the exposure settings and values through first-hand experience.
Here is how you can enable the manual mode in your camera.
Step 1: Rotate the mode selector (a circular dial on the top left or right of the camera’s body) to Manual (M) mode.
Step 2: Select the ISO, aperture, and shutter speed using the camera’s selector buttons.
3. Auto Mode
DSLR cameras, mirrorless cameras, point-and-shoot/compact cameras, bridge cameras, smartphone cameras, and all modern cameras have auto mode inside the camera. It adjusts the exposure settings according to the scenario in the frame. Shooting in auto mode is best during fast-moving situations.
Here is how to enable auto mode for ISO and other exposure elements.
Step 1: Rotate the mode selector (a circular dial on the top left or right of the camera’s body) to auto (Auto or A+) mode.
Step 2: Or, you can select the auto mode through the Program (P) mode.
How to Select the Right ISO settings?
To select the right ISO setting, evaluate the lighting level of the surroundings. A simple trick is to view at the lowest ISO. In bright light, keep ISO low; in dark light, use a higher ISO as it will illuminate the image without grain. Adjust the shutter speed and aperture instead of increasing the ISO much.
A list of ISO values suitable for the type of photography is listed as follows.
- ISO 100: Useful for bright daylight, outdoor portraits, and landscape photography.
- ISO 200: Ideal for studio product photography in controlled lighting.
- ISO 400: Suitable for indoor photography, or Portrait photography with window light or overcast conditions.
- ISO 800: Good for indoor action, evening shoots, or golden hour shooting.
- ISO 1600: Works well for shooting during low-light situations, street photography, or handheld night shots.
- ISO 3200: Best for capturing shots of darker interiors or fast-moving subjects in dim light or darkness.
- ISO 6400+: Used for night photography, astrophotography, creative photography, or nocturnal wildlife photography.
How to Select the Right ISO settings for Different Photography Genres?
The ways to select the right ISO settings for different photography genres are as follows.
1. Product Photography
The best ISO setting for product photography is ISO 200 to 400 because product images require a professional setup, a well-lit environment, and a controlled ambience to capture the best shots. These settings offer clean and detailed product shots.
2. Fashion Photography
The right ISO settings for fashion photography are ISO 100–400, depending on whether you shoot indoors or outdoors. Fashion shoots usually happen in bright studios or commercially lit spaces, including runways and model sets, where controlled light helps keep ISO low for crisp detail.
3. Headshot Photography
Headshot photography works best at ISO 100–200. These shoots take place in a studio with controlled and even lighting, so a low ISO helps maintain sharp skin texture, clean tones, and high-quality facial details.
4. Portrait Photography
Portrait photographs turn out best in ISO 100–400 settings. Lighting can vary from soft window light to outdoor natural light or studio setups. You can change the ISO level considering the brightness and creative mood you want to capture.
5. Apparel Photography
Start apparel photography around ISO 200. Whether you shoot flat lays, still shots, or motion, clothing product lighting can range from bright commercial setups to creative shadow play. A lower ISO keeps color accuracy, fabric texture, and material details sharp.
6. Real-Estate Photography
Real-estate photos appear best at ISO 200–400. Increase up to ISO 800 while shooting dim areas. Interiors often have mixed lighting with bright windows and dark corners; you may need to adjust the ISO level frequently. Start with low and gradually increase to maintain a crisp and clean look of the space.
7. Corporate and Event Photography
ISO 800–1600 is mostly used for shooting corporate photographs and even photoshoots. These environments include conference halls, office stages, and indoor events where lighting quickly shifts. So, a higher ISO is needed to freeze motion and keep subjects sharp.
8. Nature Photography
Nature photography is best to shoot within ISO 100–400. Take note of sunlight, shade, clouds, or early morning light and adjust ISO with the environment to balance brightness without adding noise.
9. Astrophotography
Astrophotography requires ISO 1600–6400 or higher. Taking shots of darkness is challenging due to a lack of natural light; so a high ISO helps the sensor to define elements to shoot, such as stars, constellations, and sky patterns, while keeping exposure bright enough for clear results.
10. Wedding Photography
Wedding photography typically uses ISO 400–3200. Weddings, occasions, festivals, family programs, ceremonies, and receptions include mixed lighting. Shooting in indoor halls, outdoor portraits, stage lights, or dark dance floors requires constant adjustments of ISO to keep the subjects in focus, bright, sharp, and well-exposed.
What are the Common Myths and Misunderstandings About ISO?
There are many myths and misunderstandings surrounding ISO, which beginners and newbies tend to believe. A few are as follows.
- Higher ISO always ruins the photo.
This is a misunderstanding and not true for the new and modern DSLRs. Old cameras had limited functionalities, which is why higher ISO would create noticeable noise. But nowadays, modern DSLRs and mirrorless cameras handle ISO 1600–3200, and you get minimal grain, bright pictures even in low light.
- ISO is the same as brightness.
This is a myth. ISO controls the camera sensor’s sensitivity to light, not brightness alone. Proper exposure comes only when the exposure triangle, ISO, aperture, and shutter speed have performed their role well. Adjusting ISO alone wouldn’t increase or decrease brightness rather create unnatural-looking photos.
- Always leave ISO on auto.
This is a myth and a misunderstanding. Auto ISO is helpful only if you are shooting moving objects or learning how it works. It is not perfect sometimes it struggles to match the right values, creating overexposure or adding noise. Setting ISO manually rather gives you creative control and consistent output even during challenging lighting situations.
- Low ISO is always better.
This is a myth; low ISO is better when you need clean images, but not always. In a low-light scenario, you will need to enlighten the scene; you may need to raise the ISO level along with a slow shutter speed and a wide aperture.
- ISO affects only brightness.
This is a misunderstanding. Yes, ISO brightens an image, but it also affects noise and dynamic range in the photos. A high ISO can reduce shadow detail. Setting the right ISO balances exposure, image quality, and creative intent.
FAQ’s
What is base ISO?
Base ISO is the lowest ISO value of a camera at which it captures shots clearly, sharply, and least noise. Most modern cameras’ ISO base runs from 64–200. Capturing shots at the base ISO allows you to achieve maximum dynamic range and the highest image quality.
What is auto ISO?
Auto ISO is an ISO setting in modern DSLRs and mirrorless cameras; turning on this automatically sets ISO, taking notes of the surrounding lighting conditions. Photographers don’t need to manually change the ISO, especially when taking moving shots, and they can maintain proper exposure.
What is native ISO?
Native ISO is the ISO range that a camera can achieve without using digital amplification. Shooting the subject in the native ISO creates clean photos with detail and accurate color presentations. Native ISO includes the base ISO and other ISO values that the camera sensors support.
