
A comfortable pair of shoes is one of the relaxing materials for daily use. It is vital to show clients that a particular seller’s shoes are excellent choices for them. It is necessary to convince them that those shoes will adorn their feet and provide them a classy vibe, a standard, or a gorgeous look. If you are a photographer and your micro-niche is shoe photography, and you are one of those who are looking for some shoe photography ideas along with-
- How to arrange the total setup?
- What about lighting and background?
- What lens should be used?
- What would be the camera settings?
Then look no further. You are at the right place. In this article, we are going to cover all those we mentioned, along with some crucial tips.
What is the Ideal Preparation for Shoe Photography?
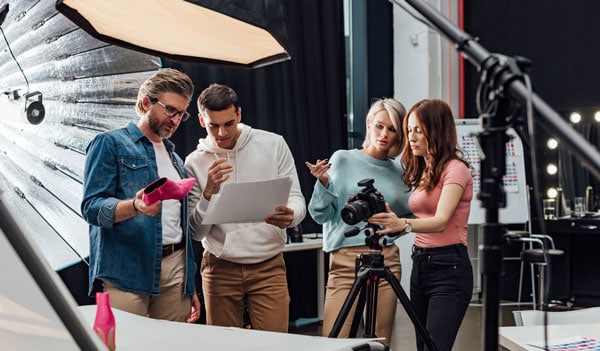
Being a professional product photographer has some perks. He/she is well-aware of his/her field of expertise and already knows how to get the best shots.
Beginners do not have that privilege, though. They are not sure which will work or how to make something work.
If you are a beginner and wondering what to do, let me tell you first- those expert photographers were once beginners themselves. By virtue of their hard work and implementing different techniques, they are now professionals we can exemplify.
For professional reasons, I have to talk with photographers on a regular basis. I asked some of them, as a beginner, how to complete the job perfectly. They shared some tips for different phases of a shoe photo shoot. I gathered all their tips and made a checklist.
By following these tips, you can make your images stunning like professionals do and make your clients happy. Make sure that your preparations, as given below, are okay.
1. Product Placement
You are shooting shoes. The reaction of your targeted prospective clients is going to depend on the image. And in that image, how you place your shoes before the camera is important.
Before the product placement, the setup comes first; the background also plays a crucial role because of the surroundings.
Background
Using a plain background (white for most of the time) is always suggested. But if you don’t have any, you can take photos of the product on any backdrop and later remove the background in Photoshop or image background removal services.
Avoid using props and accessories more than required. Keep your image as minimal as possible.
Which Background is Best for Footwear Photography?
Normally, white is preferable. However, you are allowed to use other plain backgrounds as well.
Photography Lighting
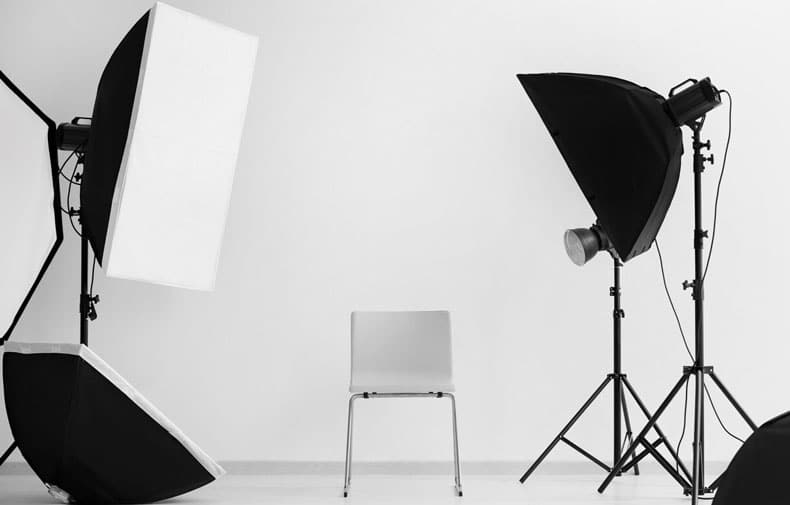
Light is a vital factor for product photography. You have to keep it at a level where it is neither too bright nor too dull.
You can choose to utilize natural lighting at a time when the sun’s rays softly. Or you can use artificial light, a light-box, or a light tent along with an umbrella, flash, a reflector to ensure even lighting.
Clean and New Shoes
Pick a clean and new product for your photoshoot. If you can’t arrange a new one, then make sure that your products are clean as much as possible.
Suppose there are dirt or other marks that cannot be cleansed. Moreover, you have no other options left but to use it. Don’t worry. The doors of post-production services are always open.
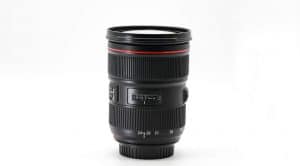
2. Camera Lens
These are the widely used product photography lenses that photographers prefer to use-
- Prime lens

The prime lens allows sharp images. With such a lens, you can have great quality images.
- Wide-angle Lens
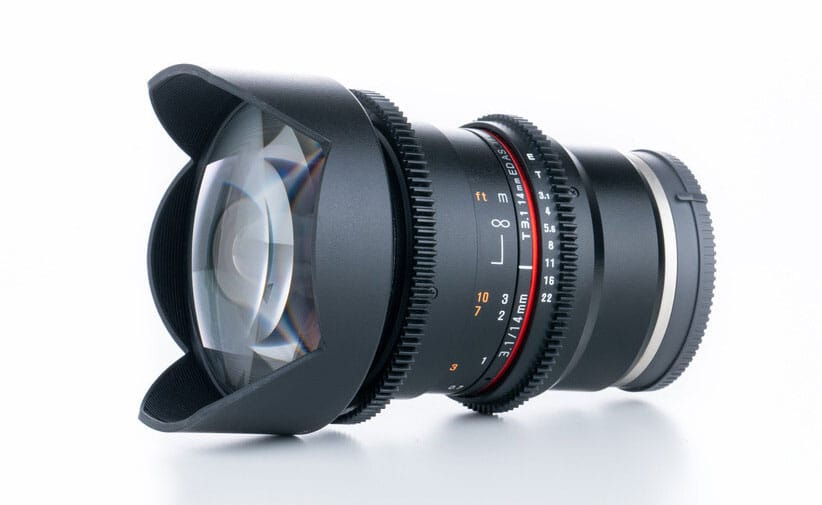
Wide-angle lenses are suitable for outdoor shooting. Such lenses have the highest aperture range. If you take any outdoor shoot for your shoes, like sneaker photography, a wide lens will help you have a great view, blurring the background.
- Macro lens
This is another lens. It is an excellent choice for taking close shots.
What is the Good Lens for Shoe Photography?
Not only for footwear photography, but also for any product photography, a prime lens is highly suggested for having sharp images.
4. Camera Position & Setting
Keeping your product in its designated position, place the camera directly in front of it. In this way, your front camera will be facing the shoes. If the show has a shadow, place a mirror at the side of the shadow to alleviate it.
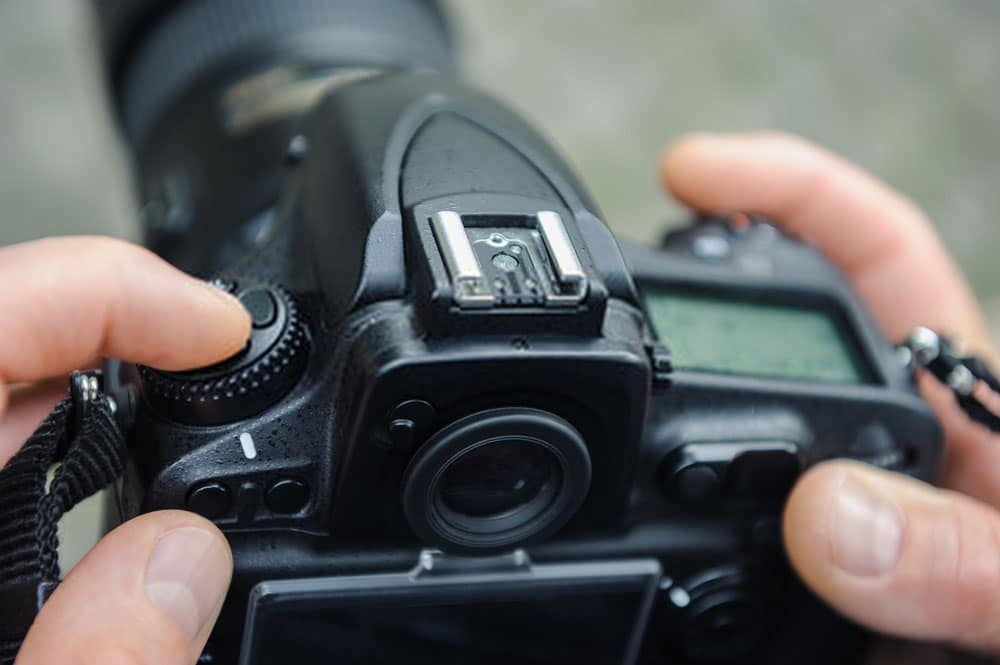
Your camera settings should be like this.
- Mode: Taking photos in manual mode is suggested.
- ISO: ISO means the camera sensor’s sensitivity to light. Higher ISO brings darkness to the image. Keep your ISO low. If you shoot in low light, then increase your ISO.
- Aperture: The opening of the diaphragm of a lens is called the aperture. Through this diaphragm, light passes.
- The lower the aperture number is, the smaller the aperture and vice versa. A lower aperture will have a blurry background, and a higher aperture will do the opposite. So, set your aperture high while shooting your product which is shoes.
- Shutter Speed: Shutter speed is the time the shutter is required while exposing the light.
Being still objects, shoes do not need much shutter speed. However, if you are shooting in bare hands, increase your shutter speed. If you are using a tripod, you can decrease the speed.
5. Shots from Different Angles
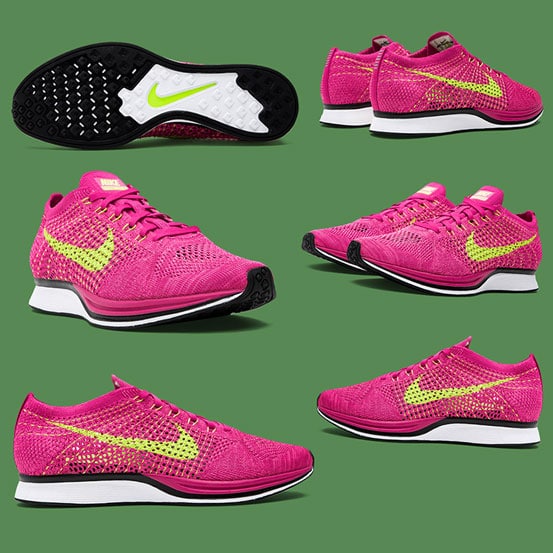
All set! Talking about your background, camera, and product. So, it’s time to nail it. There arises the question you wonder- ‘how can I put the shoes in front of the camera?’
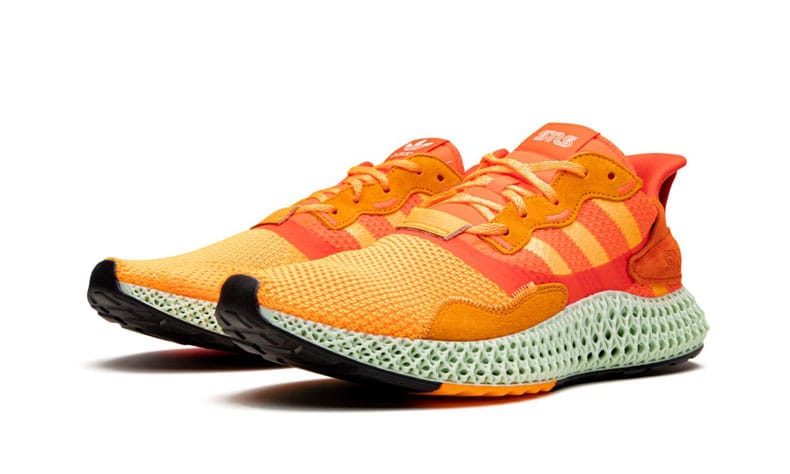
If you plan to shoot shoes for e-commerce sites, take photos keeping the shoe at a 45-degree angle as shown below. Such a pose will make the design and key details more visible to the viewers.
E-commerce sites have specific sets of rules that are regulated for all sellers to follow. So, if you target customers from sites like Amazon, eBay, and Alibaba, you’d better check their specific product image requirements before listing your product.
You can use acrylic shoe stands. It will create a more prominent view of the shoes like this-
While you are at it, take some close shots as well. Show details as much as possible. You can show the design, sole, and anything else.
Apart from shooting for those sites, there are many other ways you can photograph your footwear products. You can add some ideas of your own for the shoes if you find it looks good in your camera.
Include Real Activities
People like products that are relatable to their daily life use. Hence, adding a model for your shoes will serve the purpose like a real review. Right?
When you are showing your shoe that is worn by a model, your clients will relate that with them. It will psychologically impact your prospective buyers’ minds. They will wonder in their subconscious mind how it will look when they wear.
While having a model for your photoshoot, it is not necessary to take an image of the full body. If you must, then ensure the costume or outfit the model is going to wear matches the footwear.
Add a Reflection
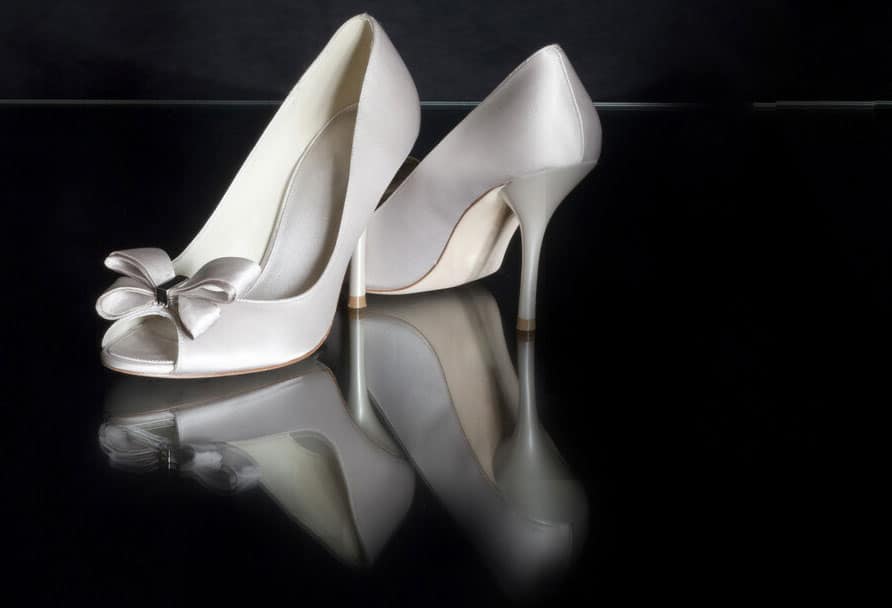
Mirror or reflection is a unique style of taking photos. This photography style goes well with ladies’ shoes. This is an appealing and creative style for some shoe photographers. According to them, such images create an ambient elegance in photos.
Take a 360-degree Shot
Include a 360-degree image. Many shoe businesses nowadays add such an image and allow online shoppers to take a real look at the shoes from every angle.
Floating Shoes Shot
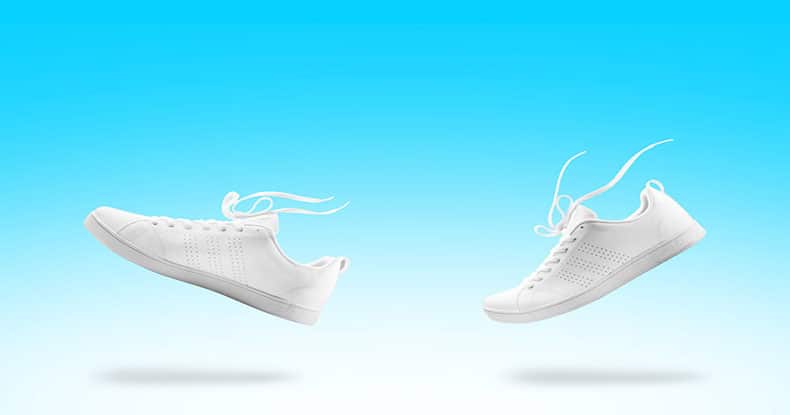
Floating shoe photography is another unique idea to showcase your product. You can use a thread to hang your shoes and take pictures of it. Thus, you get a great view of your product as given.
Those are some of the popular shots you can get. You can add some variations of your own as well.
Also Read: How to Get More Photography Clients
The Best 10 Shoe Photography Ideas and Tips
A lot can be assumed by the shoes people wear, and researchers from the University of Kansas revealed that some of those assumptions are accurate. Information like income, traits like age, choice, etc., can be understood well. So, it is kind of true that you can tell a lot from the shoes people wear.
Shoppers are well aware of this. That is why they prioritize a lot of things while buying shoes. So, if the shoes do not match their choice, they won’t go further. How do you present your product that tell a lot about whether your customers will be attracted or not?
Ensure to fight fair and square with all you get when you are selling online. One of the approaches is to have high-quality photos of your product. There are some shoe photography ideas and tips that I need you to follow to have attractive shoe photos.
Here are those –
1. Have Professionals to Get the Job Done
Make no compromises while you are at it.
If you are not a professional photographer, I would like you to assign a professional photographer for this job. He/she knows the best way to photograph your shoes. He/she is called a professional for a good reason and knows how to take pictures of shoes very well.
Your product can be shoes, sneakers, ladies’ shoes, sandals, or other types of footwear. So, only a professional knows what would work best for your footwear photography.
2. Pay Heed to Details
Make sure your images are showing key details of the shoes. Take high-quality images. And when you are taking close shots, ensure that those do not leave anything.
Images should showcase the shoe as a whole. As online shoppers can neither touch them nor check them, your images are the only option for them to rely on.
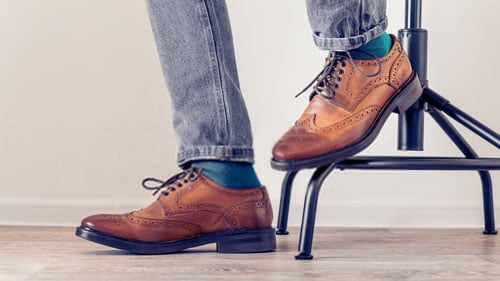
3. Include Movements
When your product is a shoe, it is not something that limits you to taking still photos. You can take photos of movement and activities as well. So, take different images, including running, walking, etc. The more lively the images are, the more urgent to act for your prospective clients will feel.
4. Use a Tripod or C-stand
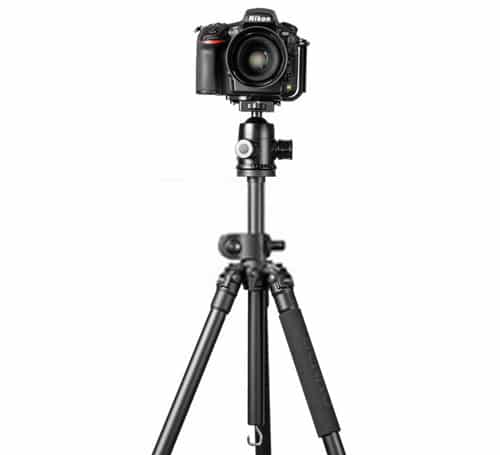
Avoid getting shaky images from minor tremors; use a tripod or C-stand. This will help you to get the same images from a similar distance. Place that in a way that will help your camera get a proper view of the show, and there is no shadow cast.
5. Shiny Shoes Setup
Some shoes are way shinier and dazzling. While shooting those types of shoes, you need to be extra careful of your reflection or shadow. If you find any unwanted shadow, use a mirror or bounce card to illuminate that particular area evenly. And if the shoes are way shinier, then use light that helps the shoes glow.
6. Use Stuffing Materials
If you have boot-type shoes or shoes made of any other fabric that needs a lift, then use a tissue, bottle, or cloth as stuffing material. These will help the shoe stand and create a bit of volume. And your shoes will get a more active look.
7. Keep your Frame Clean
When you are setting your camera, make sure your frame is not surrounded by distracting elements. The more you include those, the more your customers will be confused. And that is not welcome at all.
It is better to use no props at all. This way, only the shoes will be focused on in the image. Then again, if you must, keep your decoration as minimal as possible. Ensure not to distract the viewers from your primary product.
8. Take Different Shots
For still images, take different shots of the shoes. Aside from taking close shots to show details, shoot your shoe product like these-
- A pair of shoes shot
- Front view
- Back view
- Bird-eye view
- 90-degree views
- Outdoor shooting
And your creativity is always appreciated.
9. Have a Model
Having a model is way better than plain shoe photography. Nowadays, many shoe companies endorse celebrities like singers, actors, and athletes for their shoe product photography.
10. Take Post-production Services
Don’t depreciate the power of photography post-production. After editing your shoe photos, you may find the best one you were searching for. Image Editing services help improve the images and bring out the best look, which you will hardly find in pristine photos.
You can do this part by yourself if you can manage time and know how to do it. On the other hand, you can take professional photo clipping services for your photos, saving you time, cost, and hassle.
Is it Necessary to Edit Shoe Photos After Photography?
Yes. You can have your flaws removed; your images can get a more professional look. Even if you don’t need any, you can get an overall enhanced look for your shoe photos.
How to Outsource Photo Editing Services for Shoes?
Many agencies provide professional product photo editing services. Generally, those agencies have a team of experienced experts who are ready to fulfill clients’ expectations. Search for the one that can help you have the best services.
The Don’ts of Shoe as Product Photography
Shoes are not just a material to use. Shoes are also the epitome of fashion. Your fashion will be incomplete if your shoes do not match your attire.
If you are showing your product as a remarkable item for complementing someone’s fashion, I believe the best way is to show them without telling. An image is the best way to do that. Make sure the images capture the viewers’ eye and convey the message you are going to deliver.
I find some people shoot their shoes in the wrong way. Take a look at some of those-
1. Don’t Lay Flat
Shoes look good when they are put in front. To put it bluntly, laying those out is not a good way to showcase in front of your customers. It will look lifeless, and customers won’t get any vivid idea of how the shoe looks, let alone being attractive.
Instead of laying those, make them stand or hang. That will look much better, and you will have some good views while taking photos.
2. Don’t Jumble the Stage
Some images are taken in a jumbled stage. Such images are a no-no for your marketing. You have to let your online shoppers have a clear look at your shoes. As they cannot directly check the product, the only option left for them is to visualize.
Consider yourself in their shoes. If you get a cluttered picture where a brand is promoting its product, where would you focus?
So, focus fully on your product. Have your customers’ undivided attention on your product only. Nowhere else.
3. Avoid Props for E-commerce
When you are an e-commerce seller, do not use any props for your hero image. It is not acceptable.
4. Don’t Blur Too Much
Do not blur your background at the point where your product is affected as well, and make you disappointed.
Take a note about over-processing as well. Do not over-process, unnecessarily crop images; it will ruin the purpose of your shoot.
Hope the following will help you find your style.
