
Creative food photography rejuvenates your appetite. But you don’t have to use expensive lenses and professional cameras; you can use an iPhone instead. Because you’re already aware of its top-notch features and build quality that can easily compete with any other piece of professional gear.
We’ve come up with some incredible tips that can take your iPhone food photography beyond your wildest imagination and some iPhone food photography apps so you can retouch your photographs artistically.
Without much further ado, let’s walk you through it.
What you’ll learn in this article
- 1 What Equipment Does iPhone Food Photographers Use?
- 2 12 Tips for Capturing Mouthwatering Shots
- 2.1 1. Shoot in Natural Light
- 2.2 2. Take Control Of The Shadows
- 2.3 3. Experiment with Angles
- 2.4 4. Choose the Right Background
- 2.5 5. Play with Color Psychology
- 2.6 6. Arrange Your Food Neatly
- 2.7 7. Give Your Subject Some Breathing Space
- 2.8 8. Frame Your Shot
- 2.9 9. Telling a Story
- 2.10 10. Use a Repeating Pattern
- 2.11 11. Style Your Food
- 2.12 12. Experiment with Close-ups
- 3 Best Food Photography Apps for iPhone
- 4 FAQ’s
- 5 Final Verdict
What Equipment Does iPhone Food Photographers Use?
If you’re just getting started, all you really need is your iPhone and whatever you decide to shoot. But if you’re interested in experimenting with food photography on your iPhone creatively, you’ll need some equipment to make your photos look appetizing.
- Tripod with an adjustable center column for taking hands-free photos and videos.
- The clamp attaches to a tripod to hold the iPhone securely.
- Remote-control shutter to reduce camera shake.
- The backdrop for focusing directly on the food images.
- Diffuser to soften the natural and harsh artificial light.
- Portable flashlight for low-light situations.
- Ring light for instantly shining the subject.
12 Tips for Capturing Mouthwatering Shots
After you get to know about the iPhone’s food photography equipment, let’s go over some tips for food composition that will really elevate your food photographs to the professional level.
1. Shoot in Natural Light
Natural light is the best lighting source to shoot food photos. But sometimes the weather isn’t the same as always.
At this point in time, artificial light can help you the most. Its most glaring flaw is that your image can be seen in some odd colors and compositions, which makes the editing process extremely frustrating.
Whether you are taking food photos with your iPhone on a sunny or cloudy day, both are ideal because they perfectly illuminate your subject. But if the light is too harshly falling on the subject, use a diffuser outside or add a white curtain inside to soften the light.
2. Take Control Of The Shadows
Shadows are an important part of photographing food.
In some cases, it improves a picture by adding depth and interest, and in other cases, it detracts from it. So be careful about the intensity of the shadows, which depends on the light.
This is so that diffused light produces softer shadows, while bright light produces darker shadows. Try to avoid dark shadows from still-life photography, digital product photography, and food photography.
3. Experiment with Angles
You know, angular shots can grab more attention than regular shots.

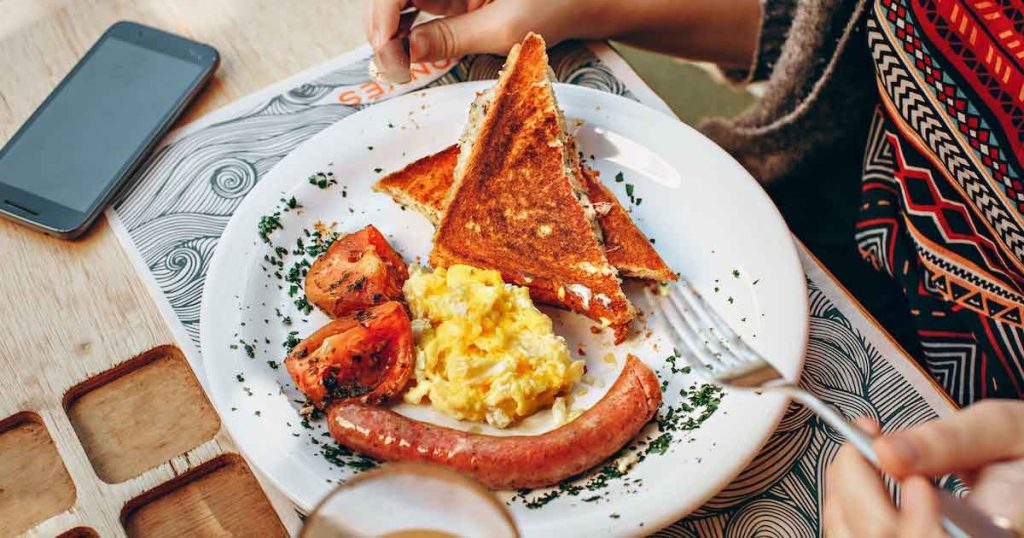
The more you experiment with angles, the more diversified your food shots are. So you can place your dish plate in the center of the frame to take overhead shots so that photos look more pleasing. But a 45-degree angle, comparatively, creates more flattering shots.
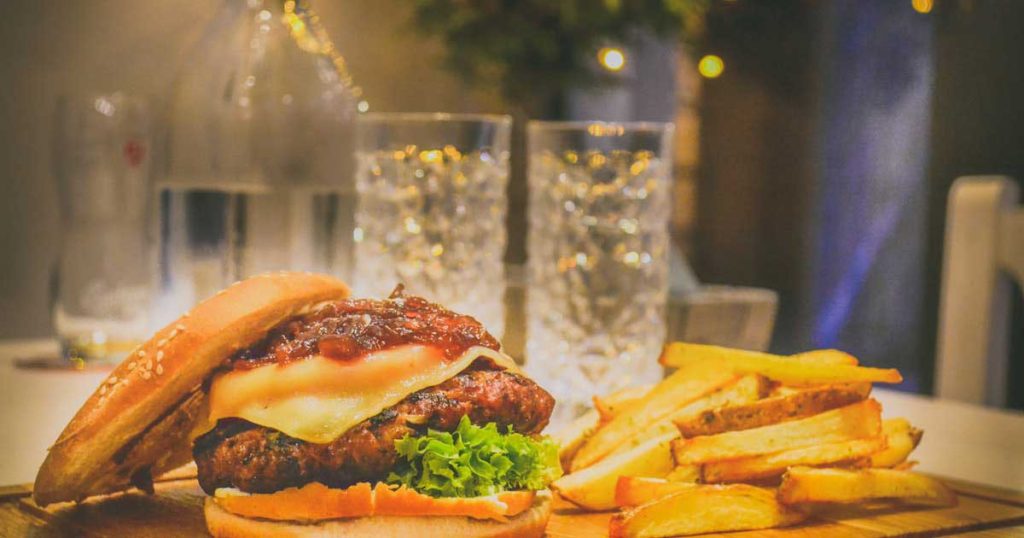
4. Choose the Right Background
Food images require the right background so that the audience’s attention can’t be diverted by the other side or by looking so flat.
But keep in mind that if your background is too chaotic, the audience will become distracted. Try to use a fairly neutral background, but do not use it just as a plain background; add something as a complement.
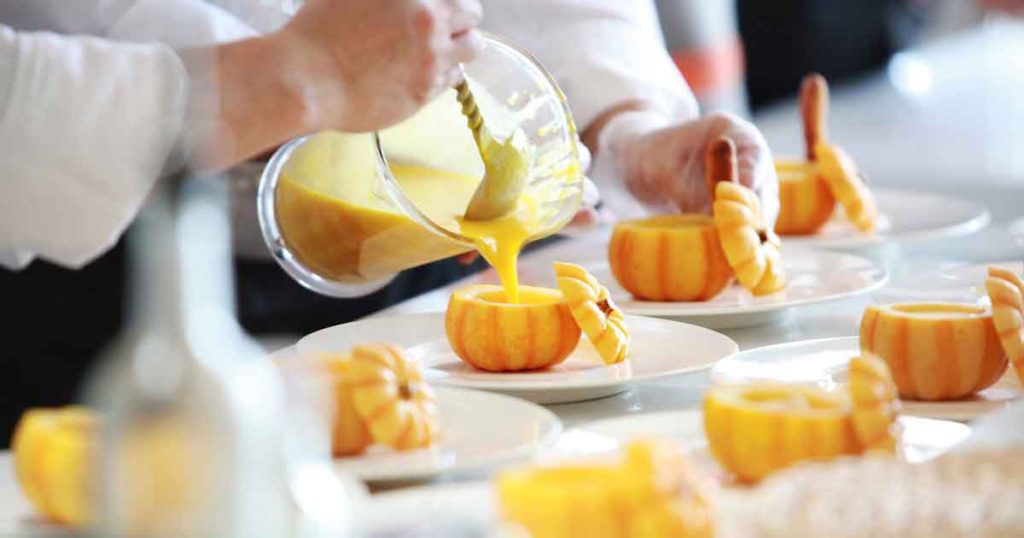
5. Play with Color Psychology
If you want to draw full focus to your main subject, play with color psychology.
iPhone’s macro lens for food photography has a good focal length that instantly captures an accent color. According to color theory, warm tones in professional dessert food photography create a harmonious composition that evokes coziness and serenity; on the other hand, contrasting tones have the opposite effects and produce images that are vibrant and dynamic. Keep experimenting with the colors that make your food pop.
6. Arrange Your Food Neatly
Arranging the whole thing neatly needs to be a strong composition.
The reason is very simple, distractions can ruin your composition while everything is asymmetrically arranged, so there is no scope for imbalance or mess. If your food is arranged neatly or extraordinarily, that visual interest to the audience.
7. Give Your Subject Some Breathing Space
Use the rule of thirds or leading lines to position your subject to give it some breathing room and produce a more aesthetically pleasing composition.
To give the viewer’s eyes a minimalistic perspective, leave negative space for close-up shots. In this way, the empty space around the subjects emphasizes and defines the central figure artistically.
8. Frame Your Shot
When photographing food, framing is a considerable technique.
It uses objects as a border around the main subject and draws attention to the shooting area aesthetically. Plates and bowls serve as natural frames. Align your food photography backdrops with props at the edge of the frame that capture amazing food photos.
9. Telling a Story
Narrating a story with food can be the best part of your photography.
Therefore, to create the cozy and warm atmosphere of your image, add a teacup and an open book, or, to speak of pure relaxation and indulgence, add a bunch of chocolate with a book and teacup that depict your serenity. This Instagrammable food shot can’t help but call the audience’s attention to your pictorial compositions.
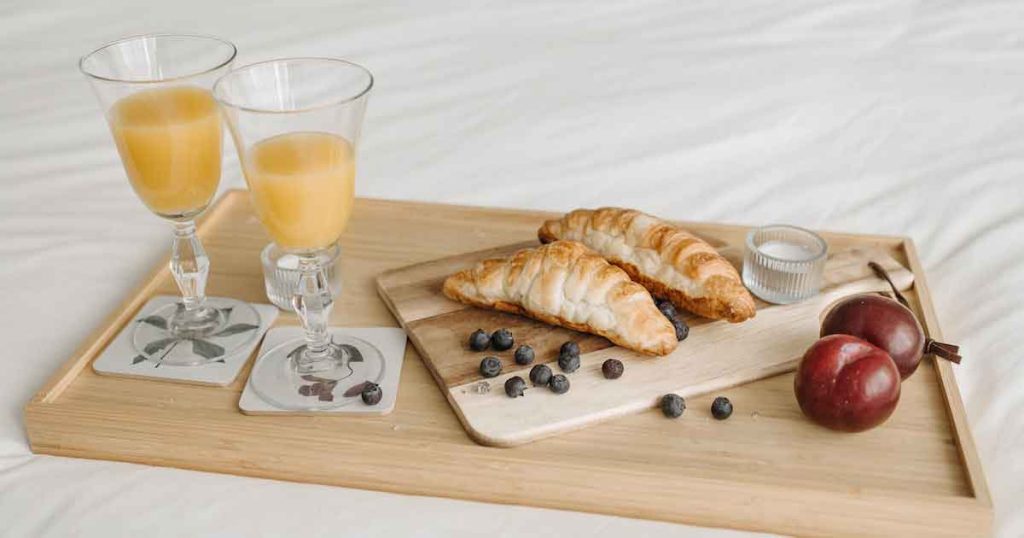
10. Use a Repeating Pattern
To strengthen the graphic component of your food, try to use repeating patterns.
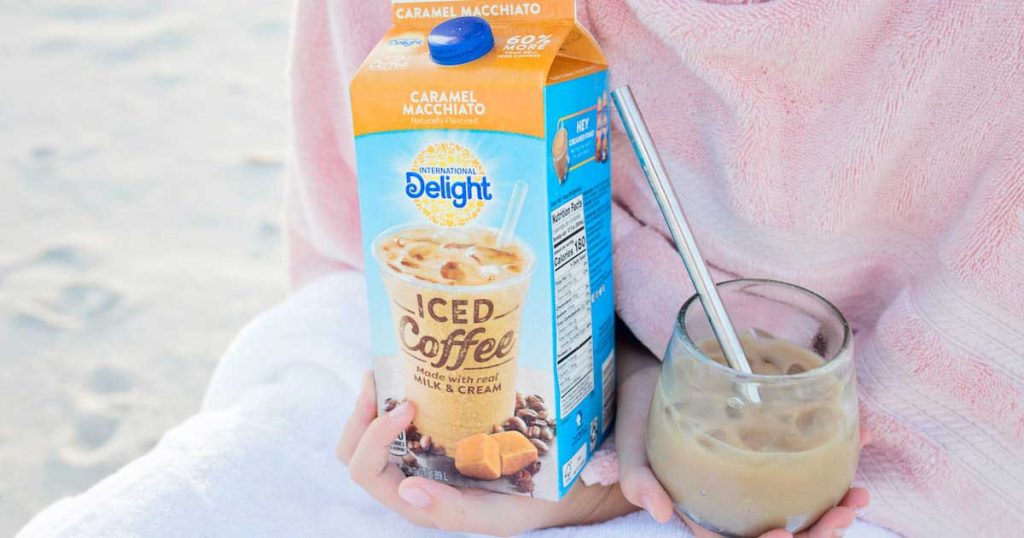
We typically photograph a single deliciously presented food item, but repeating patterns can draw more attention to your dish and help draw in audiences more quickly. It may occasionally be styled in a row, or simply placed on a backdrop. We mostly follow these patterns with drink items.
11. Style Your Food
Styling your food can make or break your photographic image. You can choose salad plates and small bowls as props that work best for styling.
You could dress it up with fresh ingredients and set it upright in the background. They will provide flavor and taste hints to the audience so they can imagine what the dish will taste like. Add layers and garnish your dish to create visual interest among the audience. Do some creativity with cutlery and napkins so that your food’s surroundings appeal to the eyes.
12. Experiment with Close-ups
Taking close-up shots for food photography highlights the intricate details of the dish that intrigue the audience with your social media profile.
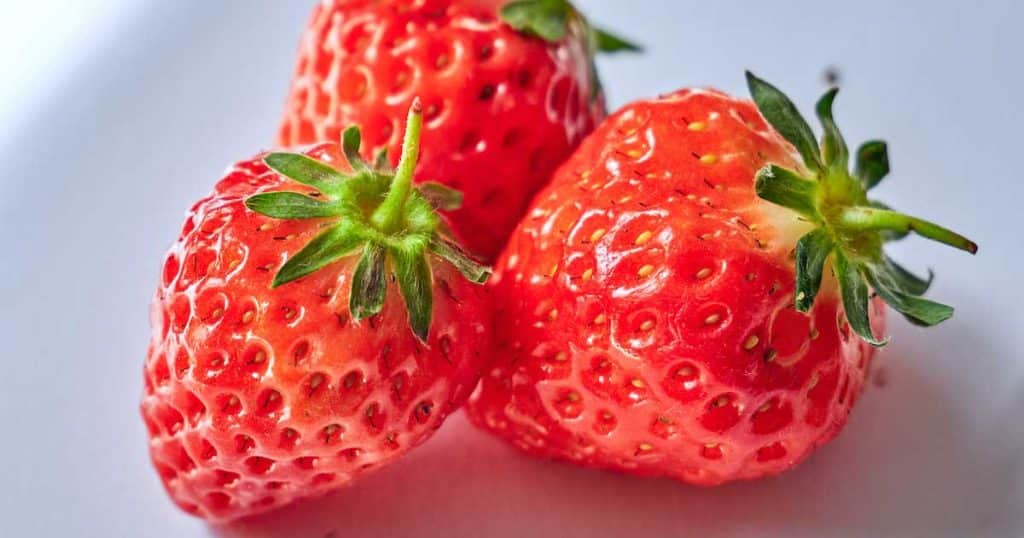
The close-up images of tiny objects, such as water droplets, small trifles, and even the texture of the deserts, were beautifully captured by iPhone macro food photography, making the pictures even more evocative. Even the close-up shots tempt your audiences. It creates multi-sensory experiences so that they imagine the aroma, taste, and feel of biting. Try this shot while photographing the deserts.
Best Food Photography Apps for iPhone
When you end up taking food photographs, all you need to post-processing with your iPhone, so that the photographs look so compelling. There, we’ve enlisted some editing apps for the iPhone, so you can do it by yourself.
1. Foodie-Best for Instagrammble Foodies
Can you get a clue about this name? Exactly, you’re right. This is the app for editing food photography. This editing app has Yum, Chewy, BBQ, and over 30 live filters that will turn your flat images into fresh and delectable looks. You’ll find a useful guide there, with several hints and tips. But we must mention that its timer and the Rule of Thirds grid ensure the best angle for taking mouthwatering food photos.
2. Google Snapseed-Best for Freebie Food Snappers
Google Snapseed is one of the best professional-level free editing apps for both iPhone and Android. It is simple to use and provides a large selection of preset filters for generating different moods, allowing you to save and use them later. It assures a consistent look and feels for your food photography. This app supports both JPG and RAW files.
3. VSCO-Best for Creative Food Professionals
Our list would be incomplete without mentioning this outstanding editing tool, VSCO. To edit food photos, you can choose from more than 200 presets and filters. Its vast collection of presets and effects allows you to add a classic and vintage feel to your food images.
4. Lightroom Mobile – Best for Pro-level Food Photographers
Lightroom is the mobile version of Adobe’s editing apps for an iPhone. There are more than 150 expertly made free and premium presets, so you’ll never run out of impressive options for food shots. With this editing app, you’ll create a quick and enjoyable way to spice up the wonderful memory of an exquisite meal.
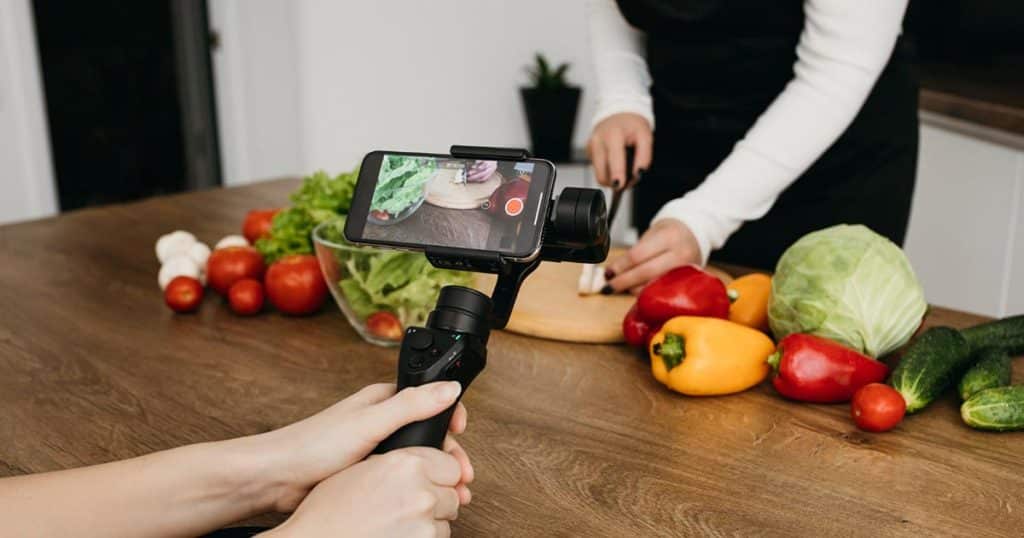
5. Halide Mark II – Best for iPhone Food Vloggers
The best transition from the shooting to the editing process is only possible with the Halide Mark II. It’s wonderfully controlled over camera shutter speed, photography ISO, and white balance. So, it shoots a sophisticated shot with minimal effort. Additionally, this app allows for RAW and JPEG capture.
FAQ’s
Is the iPhone good for food photography?
iPhone is perfectly capable of taking drool-worthy food shots without additional lenses and settings, and it can even capture small and intricate details creatively.
What light is best for food photography?
Definitely, natural light is the best lighting source for food photography. However, sometimes nature needs a helping hand, so artificial light can be the one that really makes food pop with color and texture.
How to make a lightbox for food photography?
Once you’ve picked out your wanted-sized cardboard box, measure it, then cut out the two sides of the windows of your box and adhere the thick sheets of white paper around the surfaces. Make sure it won’t wrinkle. All done! Place the object in the exact middle of the white area and start shooting.
Are ring lights good for food photography?
Definitely, yes! The ring light is the most useful tool for creating a bright, airy, aesthetic lighting setup for food photography. It can immediately shine on the subject and reduce unnecessary shadows.
Final Verdict
Ready to experiment with the above-mentioned tips in your food photography? Utilize some suggested editing apps, and you may make your food composition stand out so that viewers will feel hungry just at a glance. Keep playing around with your iPhone and taking amazing food pictures. Good Luck!
