
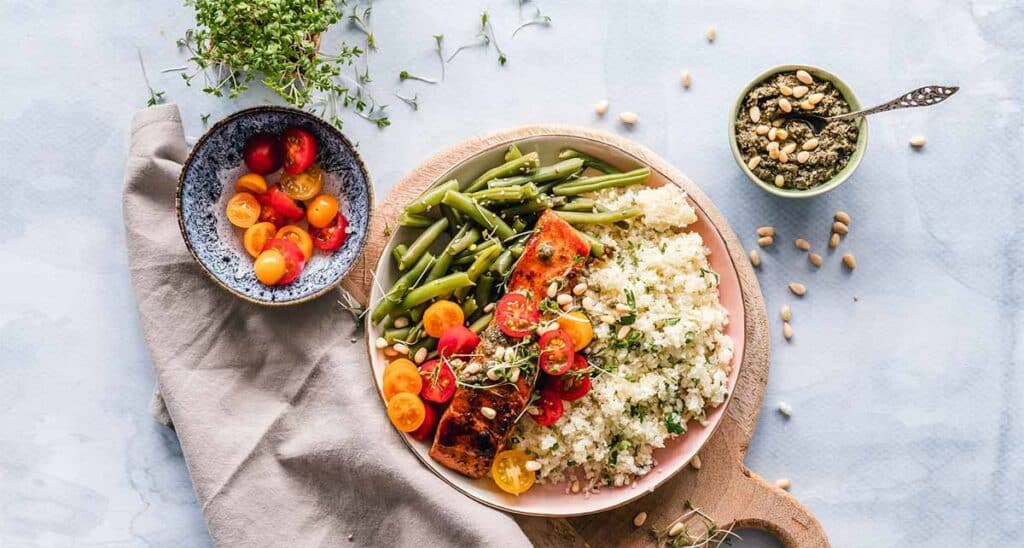
Food photography is one of the biggest sectors in the commercial photography world. Along with the e-commerce world, food photography has also taken a strong place in product photography. Also, this is one of the most critical fields too. It requires enough practice to shine in this field.
This content will reveal some of the most important tricks to do better in macro food photography. These 10 quirky tips for making your macro food photography perfect will guide you throughout your food photography career. Along with tips, we’ll cover the equipment list that you’ll need for the work.
To nail food photography, there is no alternative to practice and research. This is way more important to learn this field than anyone can think. This is no easy task. Pre-production, shooting, and post product all three are equally important in macro food photography. So, there is no easy way to succeed here.
What you’ll learn in this article
- 1 What is Macro Food Photography?
- 2 How to Prepare for Macro Food Photography
- 3 10 Tips for Macro Food Photography
- 3.1 1. Use Good Quality Products
- 3.2 2. Take Unwanted Elements Out
- 3.3 3. Play Around with Different Backgrounds
- 3.4 4. Styling Your Food
- 3.5 5. Experiment with Different Subjects
- 3.6 6. Understanding Depth of Field
- 3.7 7. Experiment with Different Apertures
- 3.8 8. Shoot with a Fast Shutter Speed
- 3.9 9. Use Manual Focus
- 3.10 10. Be Mindful of the Composition
- 3.11 11. Experiment with Framing
- 3.12 12. Edit Your Photos to Look More Professional
What is Macro Food Photography?
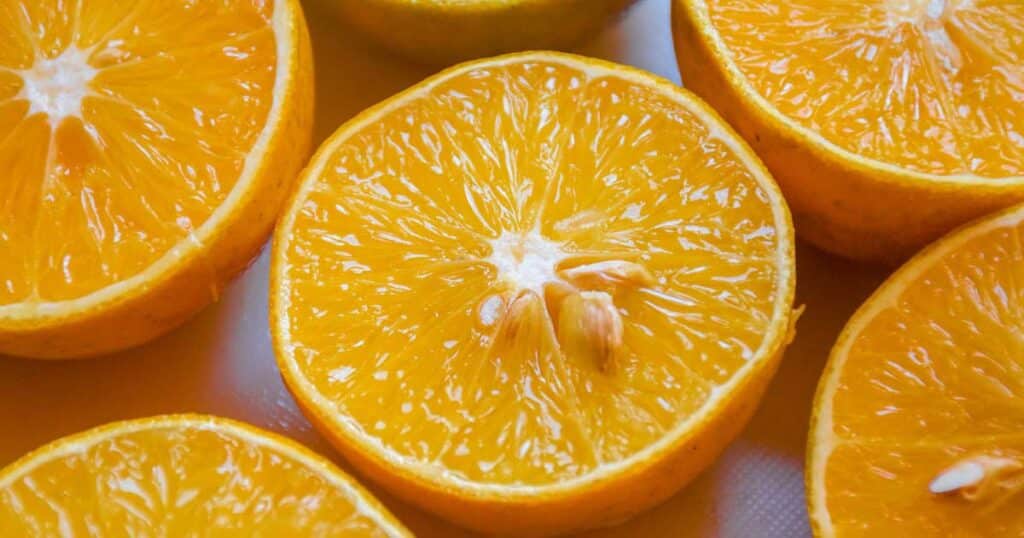
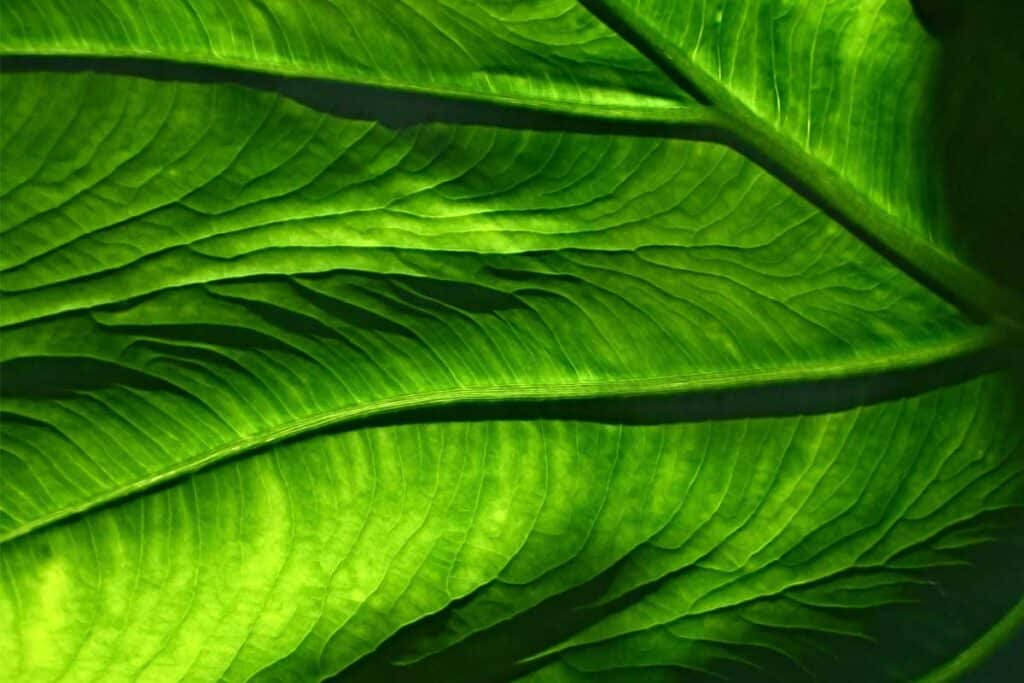
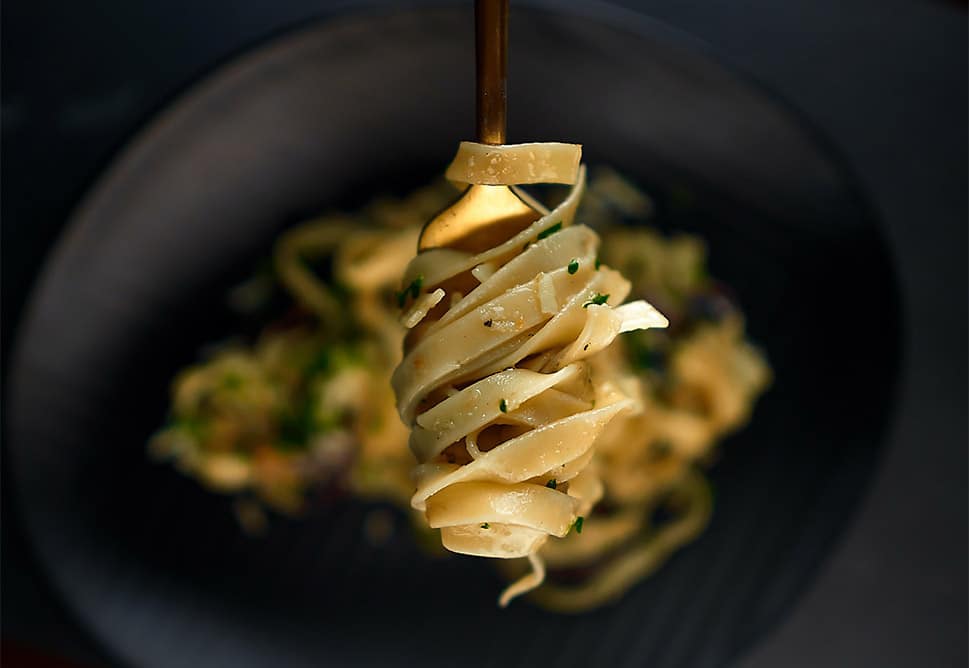
Macro food photography means enlarging one part of a food or a small-sized food. Macro photography focuses on one part of a subject and enlarges that part. Showing details of that subject gives the viewer an in-depth vision of a particular food.
Macro food photography not just explores the depth view of food, it also gives the essence of the food. The taste, smell, and texture all become prominent in macro food photography. This is a more abstract form of photography. The goal is not just to shoot the food; this is to capture the art of food.
How to Prepare for Macro Food Photography
To prepare for macro food photography, use a the best camera, a macro lens, and a sturdy tripod. Keep the storytelling simple and ensure your proper lighting setup. It seems that pre-production doesn’t matter that much in photography, but this is one of the most vital steps of commercial photography. Before starting the shoot, the team needs to be clear on what they are going to do and how the shoot will be executed. A well-planned preparation will lead to a successful shoot. This is how you need to prepare yourself for the shoot –
1. Use the Best Camera
Technically any camera can take photos of food. But if you want to do professional work, you shouldn’t go for just any camera. The size of the sensor is really important for high-quality food photography. Your camera needs to be super fast at taking photos. Along with that, use a faster SD card for better performance.
The best camera for food photography will vary. Some of the best cameras for food photography are Canon EOS RP, Nikon D3400, Canon EOS 6D Mark II, Canon EOS 5D Mark IV, Nikon D850, Sony a7R IV, Panasonic Lumix, Nikon Z7II. You can choose both a full frame and a mirrorless camera. Decide on the purpose and nature of the work.
Which Camera Mode is Best for Macro Food Photography?
Manual camera mode is Best for Macro Food Photography. In manual mood, you can choose the exposure depending on your situation. This freedom is a must for a photographer if he has his own style. The camera’s auto mode sets an average setting by measuring the scene. With manual mode, photographers select the mode of the photo by themselves.
What Should be the Exposure Setting While Doing Macro Food Photography?
The exposure setting while doing macro food photography should be f/8 to f/16 for a wide depth of field, f/2.8 – f/5.6 for a shallow depth of field, shutter speed of 1/200th of a second, and a low ISO 100 to 200 to minimize noise. You should set a low f-number if you want to create a bokeh. Also, use a fast shutter speed unless you have any special effect of a slow shutter. Decrease the ISO number, too, to avoid grain in your image. If you’re shooting in low light, then go for a slower shutter speed and a higher ISO.
2. Use Macro Lens
This is obvious that you can’t do macro food photography without using a macro lens. Using a macro lens gives huge benefits while doing food photography. One can go dig deeper with a macro lens and capture the essence of the food. So there is no way you can avoid a macro lens.
While choosing a macro lens, try to get something with a wide aperture and fast speed. This will allow you to play with the depth of field and produce sharper images. Macro lenses are very good at taking photos of tiny things. In food photography, this gives more options to the photographer.
3. Use a Tripod
For any kind of product photography session, using a tripod is essential. This not just stabilizes the frame, but also improves composition by slowing down the photographer.
Also, it’s a must while using a slow shutter speed. Obviously, you won’t want a blurry image for your photography. While shooting, make sure your tripod is aligned and check the water balance before taking the photo.
4. Keep Storytelling Simple
In macro food photography, keeping storytelling simple is another essential for macro food photography. This is already an abstract form of photography; on that, there isn’t much work to do in storytelling. If you plan to shoot a series, that time you can go for storytelling. But still, it needs to be simple.
5. Use Proper Lighting
In macro photography, lighting should be perfect for ensuring the texture comes out perfectly. As you’re doing in-depth photography, you need to make sure the area is well-presented. Otherwise, the image won’t make sense you want to make. Use filler if you need one.
Another reason you should be careful about lighting is that light plays a role in creating meaning. This means different lights, depending on the color and intensity, creates different meaning in an image. This also changes the mood of the image. So, be very specific about what kind of light you want to use, from which angle, and at what intensity.
10 Tips for Macro Food Photography
10 Quirky Tips for Macro Food Photography includes
Macro food photography is quite different from the usual food photography. You won’t get so many things to fill up your frame. Rather, you’ll have to be minimal and think wisely about how to use the frame space. This requires more intense work on the composition. Though there is no fixed way to nail macro food photography, there are some tricks and tips one can try to apply while doing macro food photography. These will help you to organize your work and understand exactly what steps you need to take to improve your photography.
Here are 10 tips for macro photography. Check these out!
1. Use Good Quality Products
You need to use good quality products for food photography. But this is in terms of color and texture. The viewers need to connect with the taste of the food through the images. So, this is a must to bring out the color and texture of the food perfectly.
Remember, while photographing food, it’s not always about well cooked. Rather, it’s more about being well-presented. Make sure the product you choose doesn’t have any kind of spot or mark. It needs to be in perfect shape to get the customers’ attention.
2. Take Unwanted Elements Out
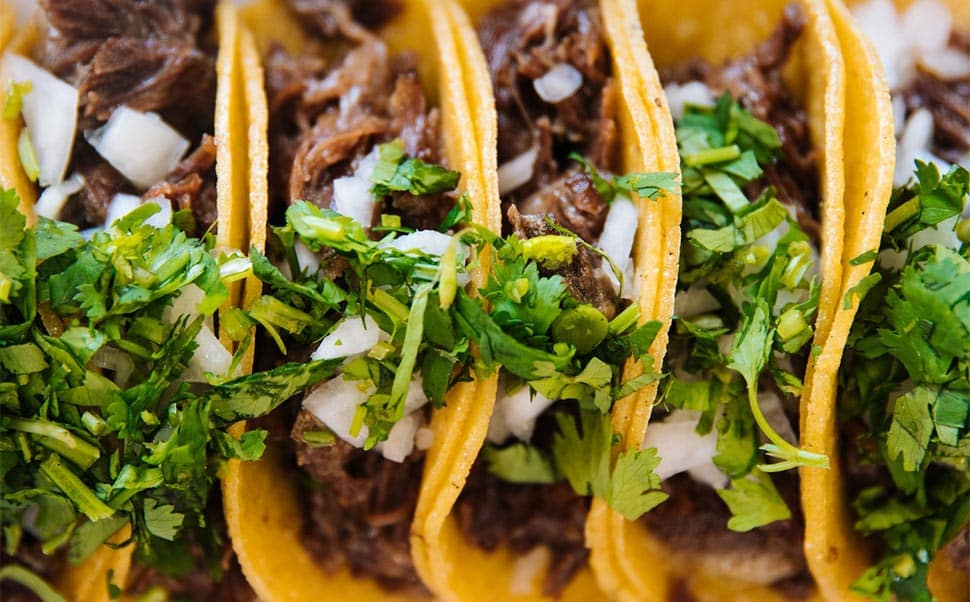
Food photography often includes so many elements in the frame. But these are only necessary if the photo demands the elements. Otherwise, these unwanted elements will break the concentration of the viewers. Keep the composition minimal by removing these from the frame so that nothing shifts the attention of the viewer.
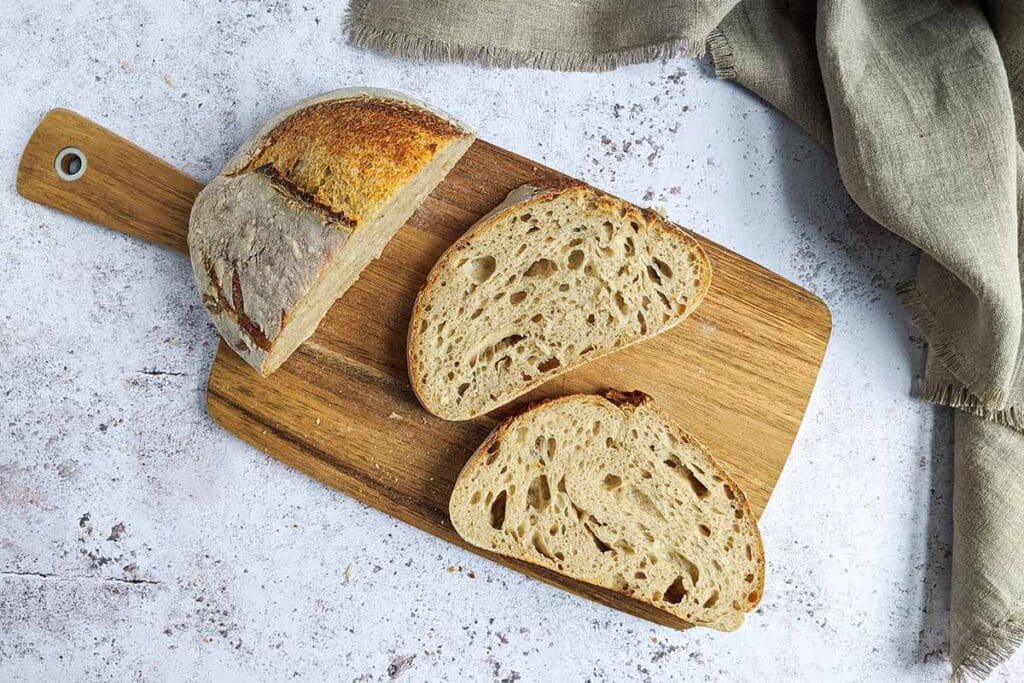
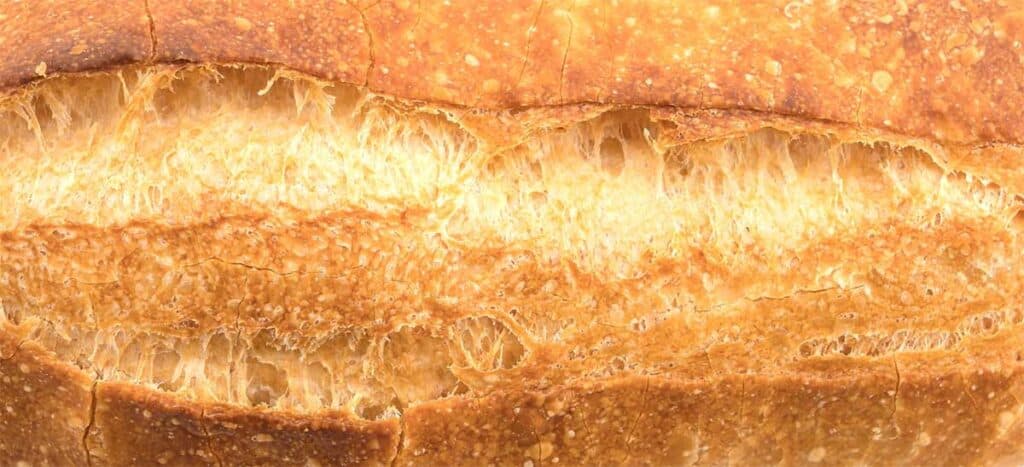
For instance, You’re taking photos of a pizza; there are already so many elements on top of the pizza, so you don’t need to add many things there. On the other hand, while shooting bread, you can add flour or yeast to your composition. In this case, these elements will be relevant and won’t shift the attention from the main subject.
3. Play Around with Different Backgrounds
There is no one rule of composition that’ll work for all kinds of images. So, what one needs to do is to experiment. Try and change the background of the image as long as you’re not satisfied with the photo. Even the same background might not work for two different foods of the same color because of the texture.
Both solid and textured backdrops (as background) can work for food photography. Often times there is not even a fixed background. The food might be placed on a table, and the background can be the table and the wall. Apart from all these, one can work on the background in post-production too.
4. Styling Your Food
Styling the food is part of the composition. Don’t place your food on the table and start straight with your photography. Decorate the food properly. Look for what you can add to the plate to make it look elegant. Ask for expert opinions on what elements you can add.
Cooking and photography are both parts of art, and you’re combining these two. You don’t need to prepare the food as you’ll eat it; rather, prepare it in a way that looks appealing to the viewers. Put cooking ingredients or other small things around the food. These minor details work like magic in macro food photography.
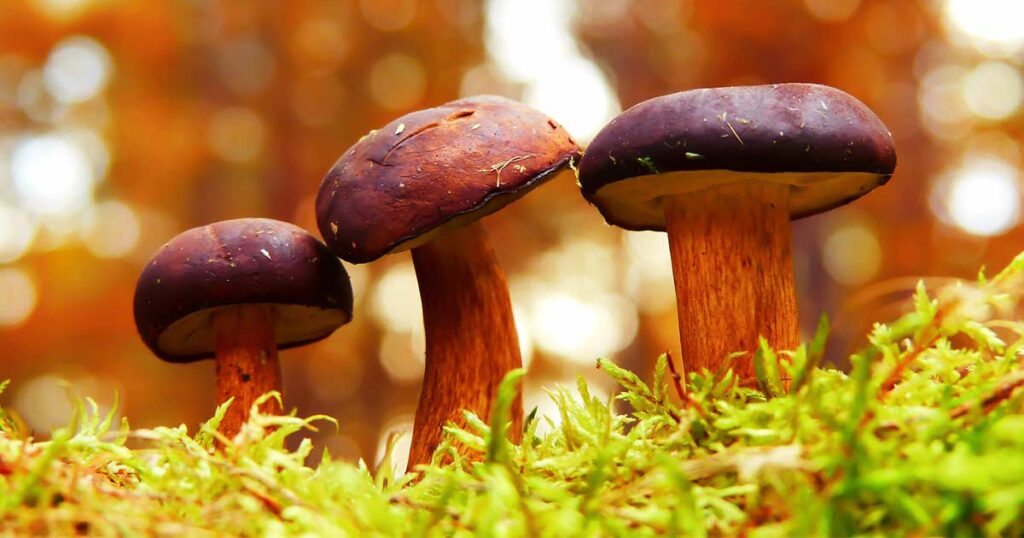
5. Experiment with Different Subjects
There is no alternative to experimenting with different subjects to master something. Trying different subjects will let you explore new visuals. In macro food photography, this is essential to go through trial and error. Through this process, the photographers not only produce better photos but also understand the composition.
So, do as many experiments as you can. Choose the most unusual subject one can choose. When it’s macro, it’s often difficult to identify the subject, and this is where you get the chance to play with your viewers. Give them surprises with your subjects. This will also improve your photography sense. So, don’t hesitate to explore new subjects.
6. Understanding Depth of Field
The depth of field determines the sharpness of an image. To be precise, which part of an image will be sharp and which part will be blurred depends on the depth of field. If you keep a shallow depth of field, this will create amazing bokeh and focus on a specific area.
On the other hand, a large depth of field will keep everything in focus. You need to decide what you want to show. Depending on the subject and composition, both shallow and large depth of field works here. So, it’s up to you how you want to play with the depth of field.
7. Experiment with Different Apertures
Again, controlling the aperture is to control the depth of field. Aperture controls how much of your subject will be visible and how much will be a blur. If you set the aperture number lower, you’ll get bokeh. This will blur the image. And if you set it higher, the image will be sharp everywhere.
While experimenting with the aperture, you’ll understand how you should compose your image and where you need to focus. Oftentimes, the previous plan doesn’t work properly on an image. In those cases, you need to just experiment with different settings and follow your instinct.
8. Shoot with a Fast Shutter Speed
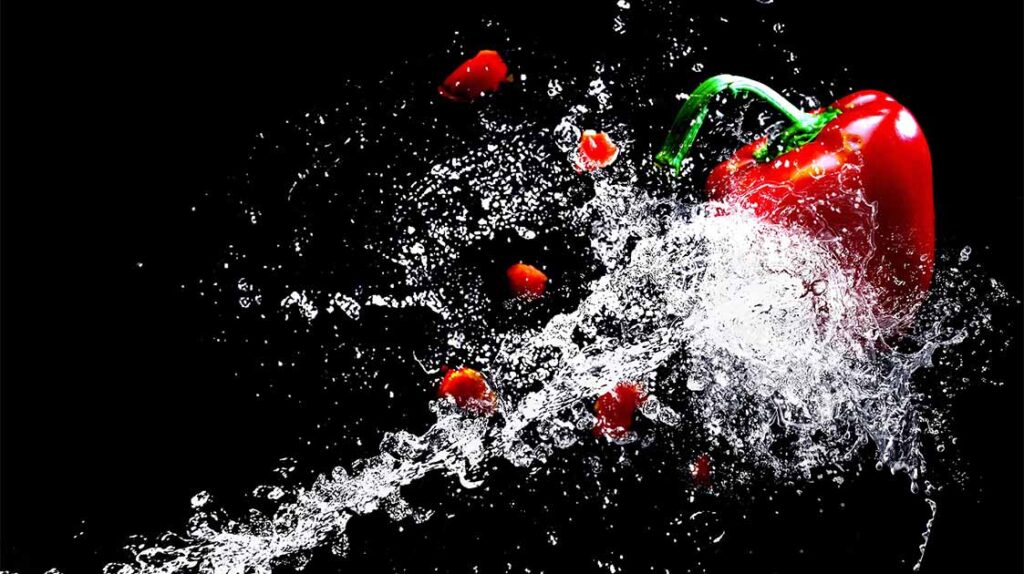
Fast shutter speed is the master of capturing the moment. You can create extraordinary visuals with a fast shutter speed. Set the shutter speed at 1/4000 or 1/8000 and try to capture the moment. Fast shutter speed creates amazing effects on photos. If you know how to utilize this, your images will always stay ahead in the run.
One of the most common uses of fast shutter speed is composing using water. You can throw water on your subject or colors, or you can even capture your subject on air. This is possible only if you’re shooting at a fast shutter speed. Don’t think twice about exploring your subjects with different elements.
9. Use Manual Focus
Using manual focus gives the freedom to create the image in your own style. There will be a very tiny space to focus. You can shift the focus wherever you want. Moreover, you can set the focus points to be even more specific. This option allows you to fix the specific areas you want to focus on.
Autofocus doesn’t let the photographer have this freedom. You’ll have to leave this on the camera. With manual focus, you can focus on the center or any corner you want. Many cameras have a focus magnifier, which helps to focus perfectly. Autofocus often struggles in low light too. So, shooting in a manual is the best option.
10. Be Mindful of the Composition
The Photography field is very competitive, and if you want to survive, you need to bring something new to the table. And there’s no alternative to experimenting with composition. You need to understand the rules of composition as well as how to break them too. This will also give you a unique identity in the photography world.
Mastering composition depends on practice. It takes time to be an expert in composition. Another thing that helps, in this case, is following successful photographers. Not that you should copy them, but you should observe their working process, composition styles, and experiments, and this practice will assist you in your photography.
11. Experiment with Framing
Never be so fixated on any kind of compositional style. Framing is the base of the composition. It is all about what you want to include in the box and, what you want to exclude, which angle you want to use. Try different kinds of framings and also change that with your subjects.
There are many tricks that you can use while framing your subjects. You can create a frame within a frame or a weird vantage point. Try to use new styles of frames in every shoot. Try not to repeat your frames. Your framing will be monotonous if viewers get the same angle and style in all your photos.
12. Edit Your Photos to Look More Professional
Finally, post-production is a must. You can’t publish your images right after the shoot. You need to make a selection and then edit the selected photos. That’s the place where you create your final production from the raw. Follow the terms of the site you want to publish your photos on while editing.
You might need to reach out to professionals to edit your food photos. They know exactly what to do with your photos. Often, you might need to add artificial effects, which should also be done by professionals. Otherwise, if you’re confident enough to edit your own photos, you can go for that too.
Is a Studio a Must for Food Photography?
Not necessarily. It’s good if you shoot in a studio. But you can do your work anywhere as long as you know what you want to do. In that case, carry the elements you might need while shooting outside; for instance, a backdrop, lighting setup, tripod, etc.
How Much Do a Macro Photographers Make?
Macro photographers make $20-$75 per hour in United States. Macro photographers have enough demand in the commercial photography world. The amount is not fixed, but they make a good amount of money depending on the amount of work, the time they invest, and the company they’re shooting for. They also have the option of selling their photos as stock images.
